Best Camera Settings for Landscape Photography
Ask any photographer with a following what the most common question is, and after the gear questions, it's this one: "what settings?" Sometimes it arrives with a little more care. Often it's a single word under a picture. Settings?
I've had a few hundred thousand people following my work across social media for more than ten years, and I've answered that question more times than I can count. In the comments, in private messages, again and again. And most of the time I answer it properly. I don't just say f/11. I say f/11, ISO 64, one-eightieth of a second so the water smooths out a little, and here's why I wanted it that way. I give the context, because the context is the part that matters.
Here's what took me a long time to accept. You can give someone every setting for every photo you've ever taken, and they still won't be able to make the picture. Not because they're not smart enough. Because the numbers on their own are inert. A setting only does something when you know why it works for that shot, in that light, under those conditions. Change the scene and the same numbers give you a different result, or nothing at all.
So this is the answer I could never fit into a reply box. Not a list of numbers to copy. A way of deciding.
The short version
If you just want a place to start and you'll read the rest later:
Shoot RAW. Keep the camera at its base ISO (64 on mine, 100 on many). Use an aperture around f/8 to f/11 for front-to-back sharpness. Put the camera on a tripod so the shutter is free to be whatever the picture needs. Focus about a third of the way into the frame on something with contrast. Then adjust from there, because the scene decides the rest.
That's the honest starting point. Everything below is how to move off it on purpose.
Settings are the last step, not the first
A camera is a tool. That sounds obvious, but it changes everything once you take it seriously. If you learn to operate the tool, you are suddenly free. You can recreate a picture you admire. You can stand where a thousand people have stood and find something of your own. You can go looking for the place nobody has photographed yet, if you have the time and the means. None of that opens up until the camera stops being in your way.
Which means the settings are not where a photograph begins. A photograph begins with an idea of the picture you want. The settings are how you get there, chosen backward from the result you already have in your head. Most guides hand you the numbers first and the thinking never. I'd rather give you the thinking, because there are many valid combinations of settings that reach a good shot, and the skill is knowing which dial controls which part of the image so you can choose between them.
There are only three. Let's take them in order of how much they actually shape the picture.
Shutter speed — the one that matters most
I'll say the controversial part first. For me, shutter speed is the most creative and most important setting on the camera. It's the one that shapes the image. Everything else I set in order to reach the shutter I want.
Think about what shutter actually does. It decides how motion appears. A wave becomes a sharp crash or a soft veil. Clouds become crisp shapes or long streaks pulled across the sky. Water in a river turns to glass or stays alive. That's not a technical adjustment, that's the mood of the photograph, and it lives almost entirely in the shutter.
The rule I keep coming back to: match the shutter to the motion, not to the subject. A fast cascade tumbling right in front of you and a slow, wide river both photograph beautifully with that creamy long-exposure look, but they need completely different times to get there, because the water is moving at completely different speeds. The subject is "water" in both cases. The shutter is decided by how fast that water is actually moving and how you want it to look. Read the motion, then choose the number.
Aperture — depth and shapE
Aperture does two jobs. It controls how much light comes in, and it shapes depth of field, which is how much of the scene is sharp from front to back and how the background falls away.
For most single-exposure landscapes I sit between f/8 and f/11. That range gives me plenty of depth without pushing into the softness that comes at the very small apertures. When my idea calls for a blurred background instead, a flower standing out against a wash of colour, I open the aperture up. Not because a rule told me to, because the picture wanted it. That's the whole point. The aperture serves the image you're after, and the image changes from frame to frame.
ISO — the least creative dial
ISO is the honest workhorse and the least interesting of the three. It doesn't shape anything. It's a brightness control, a way of telling the camera to record more or less light. That's it.
So I keep it at base ISO as much as I possibly can, which is 64 on my camera. Base ISO gives me the cleanest files and the most dynamic range. I only raise it when I have to, and I raise it to protect the two settings that are actually doing creative work. If I need a particular shutter and a particular aperture and there isn't enough light to have both, ISO is the dial I move to make room. It's in service to the other two, almost always.
Focus, without the maths
For a standard single exposure at f/8 to f/11, I focus about one third of the way into the frame, onto an element with a bit of contrast so the autofocus locks on cleanly and nails it. As long as my nearest foreground isn't closer than roughly a metre to a metre and a half from the camera, that gives me sharpness from front to back that's more than enough to print, to show on a screen, to hang on a wall.
There's a technical name for why that works. It's called hyperfocal distance, the focus point that maximises depth of field for a given aperture and focal length. You can calculate it precisely, and if I ever really need to, I use an app called PhotoPills that does the maths for me in seconds. But I'll be honest about how I actually shoot. I don't stand on a cliff calculating anything. I focus a third of the way in on something contrasty, and I take the picture. The rule of thumb gets me there, and the tool is fluent enough in my hands that I don't need the calculator.
When I get very close to my foreground, that changes, and that brings us to the scenarios.
Where I actually start, scene by scene
These are starting points, not commandments. Every one of them bends with the conditions in front of you.
The standard wide vista. Single exposure, f/8 to f/11, base ISO, focus a third in. Shutter falls wherever the light and the tripod allow, because nothing's moving fast enough to fight over. This is the bread and butter, and the short version at the top of this article covers it.
Ultra-wide with a dominant foreground. When I want to get right on top of a foreground element and use the distortion of a wide or ultra-wide lens to blow it out of proportion and make it loom, a single focus point can't hold both that near leaf and mushroom and the trees in the background. So I focus stack. I take three to six frames, moving the focus from near to far, and blend them later. I like to do this around f/8 because it's a sweet spot for sharpness, though I can stack at any aperture. Open the lens up because it's dark and I'll just need more frames to cover the depth.
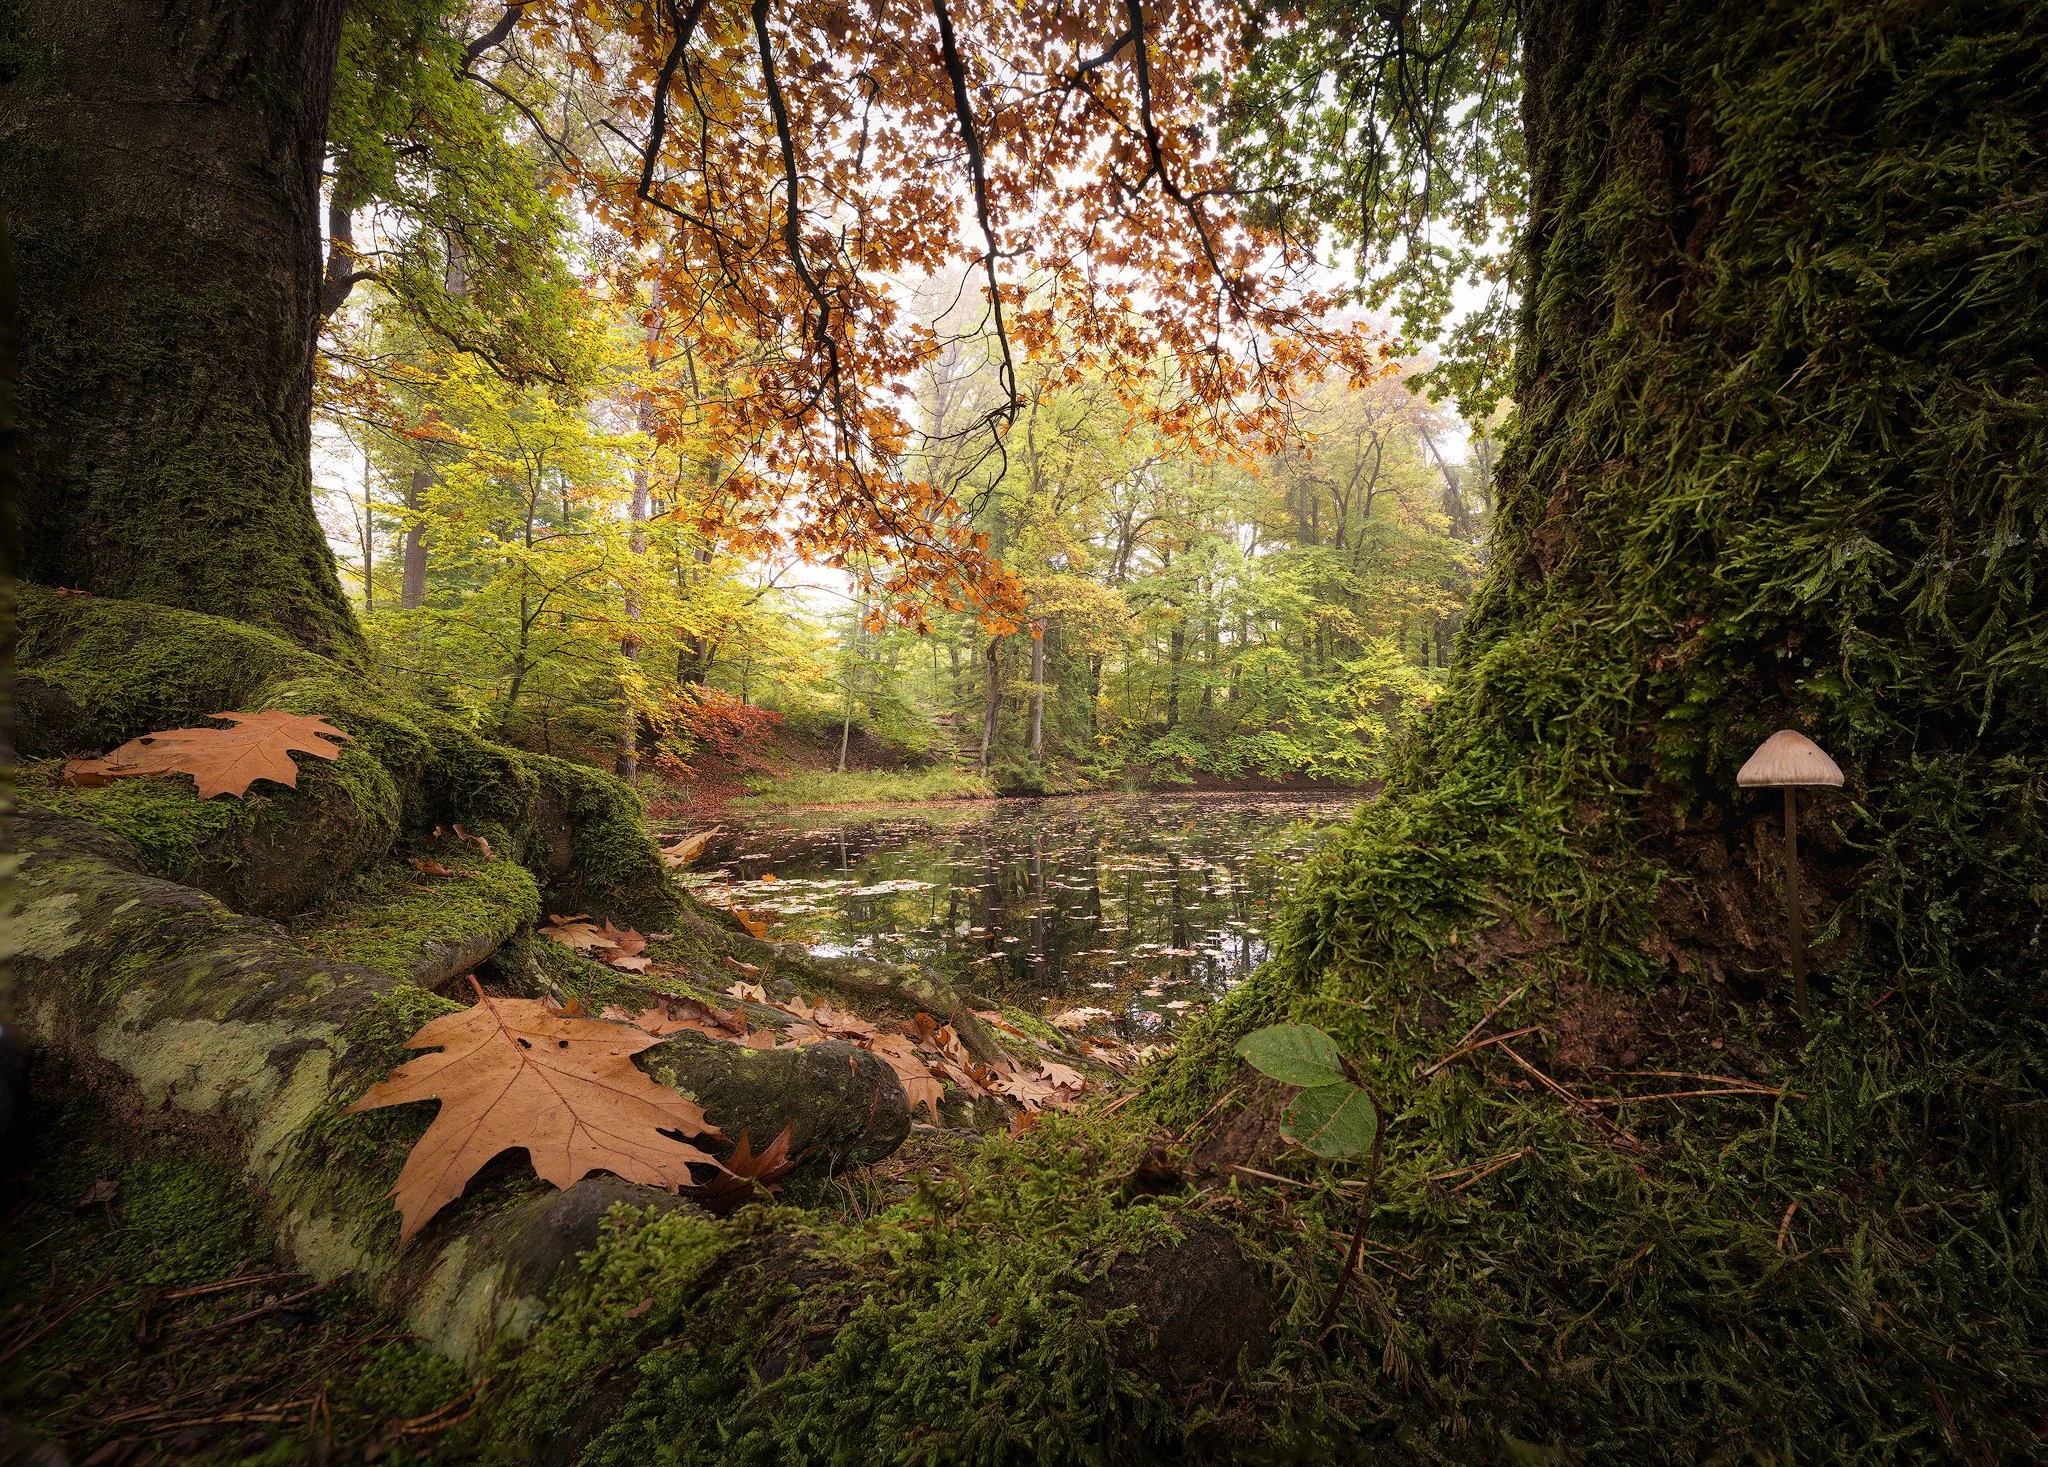
Get this close to a foreground element with a wide lens and no single aperture holds both the leaf and the far trees sharp. Focus-stacked, several frames at f/8, base ISO.
Seascapes. My home range. I keep the shutter close to a second, plus or minus, when I want the water to have movement and softness without dissolving completely. When the waves are receding fast or crashing toward me and I want to keep some of their shape and energy, I go slightly under a second, somewhere around a sixth of a second. Fast enough to hold the form of the water, slow enough to let it breathe.
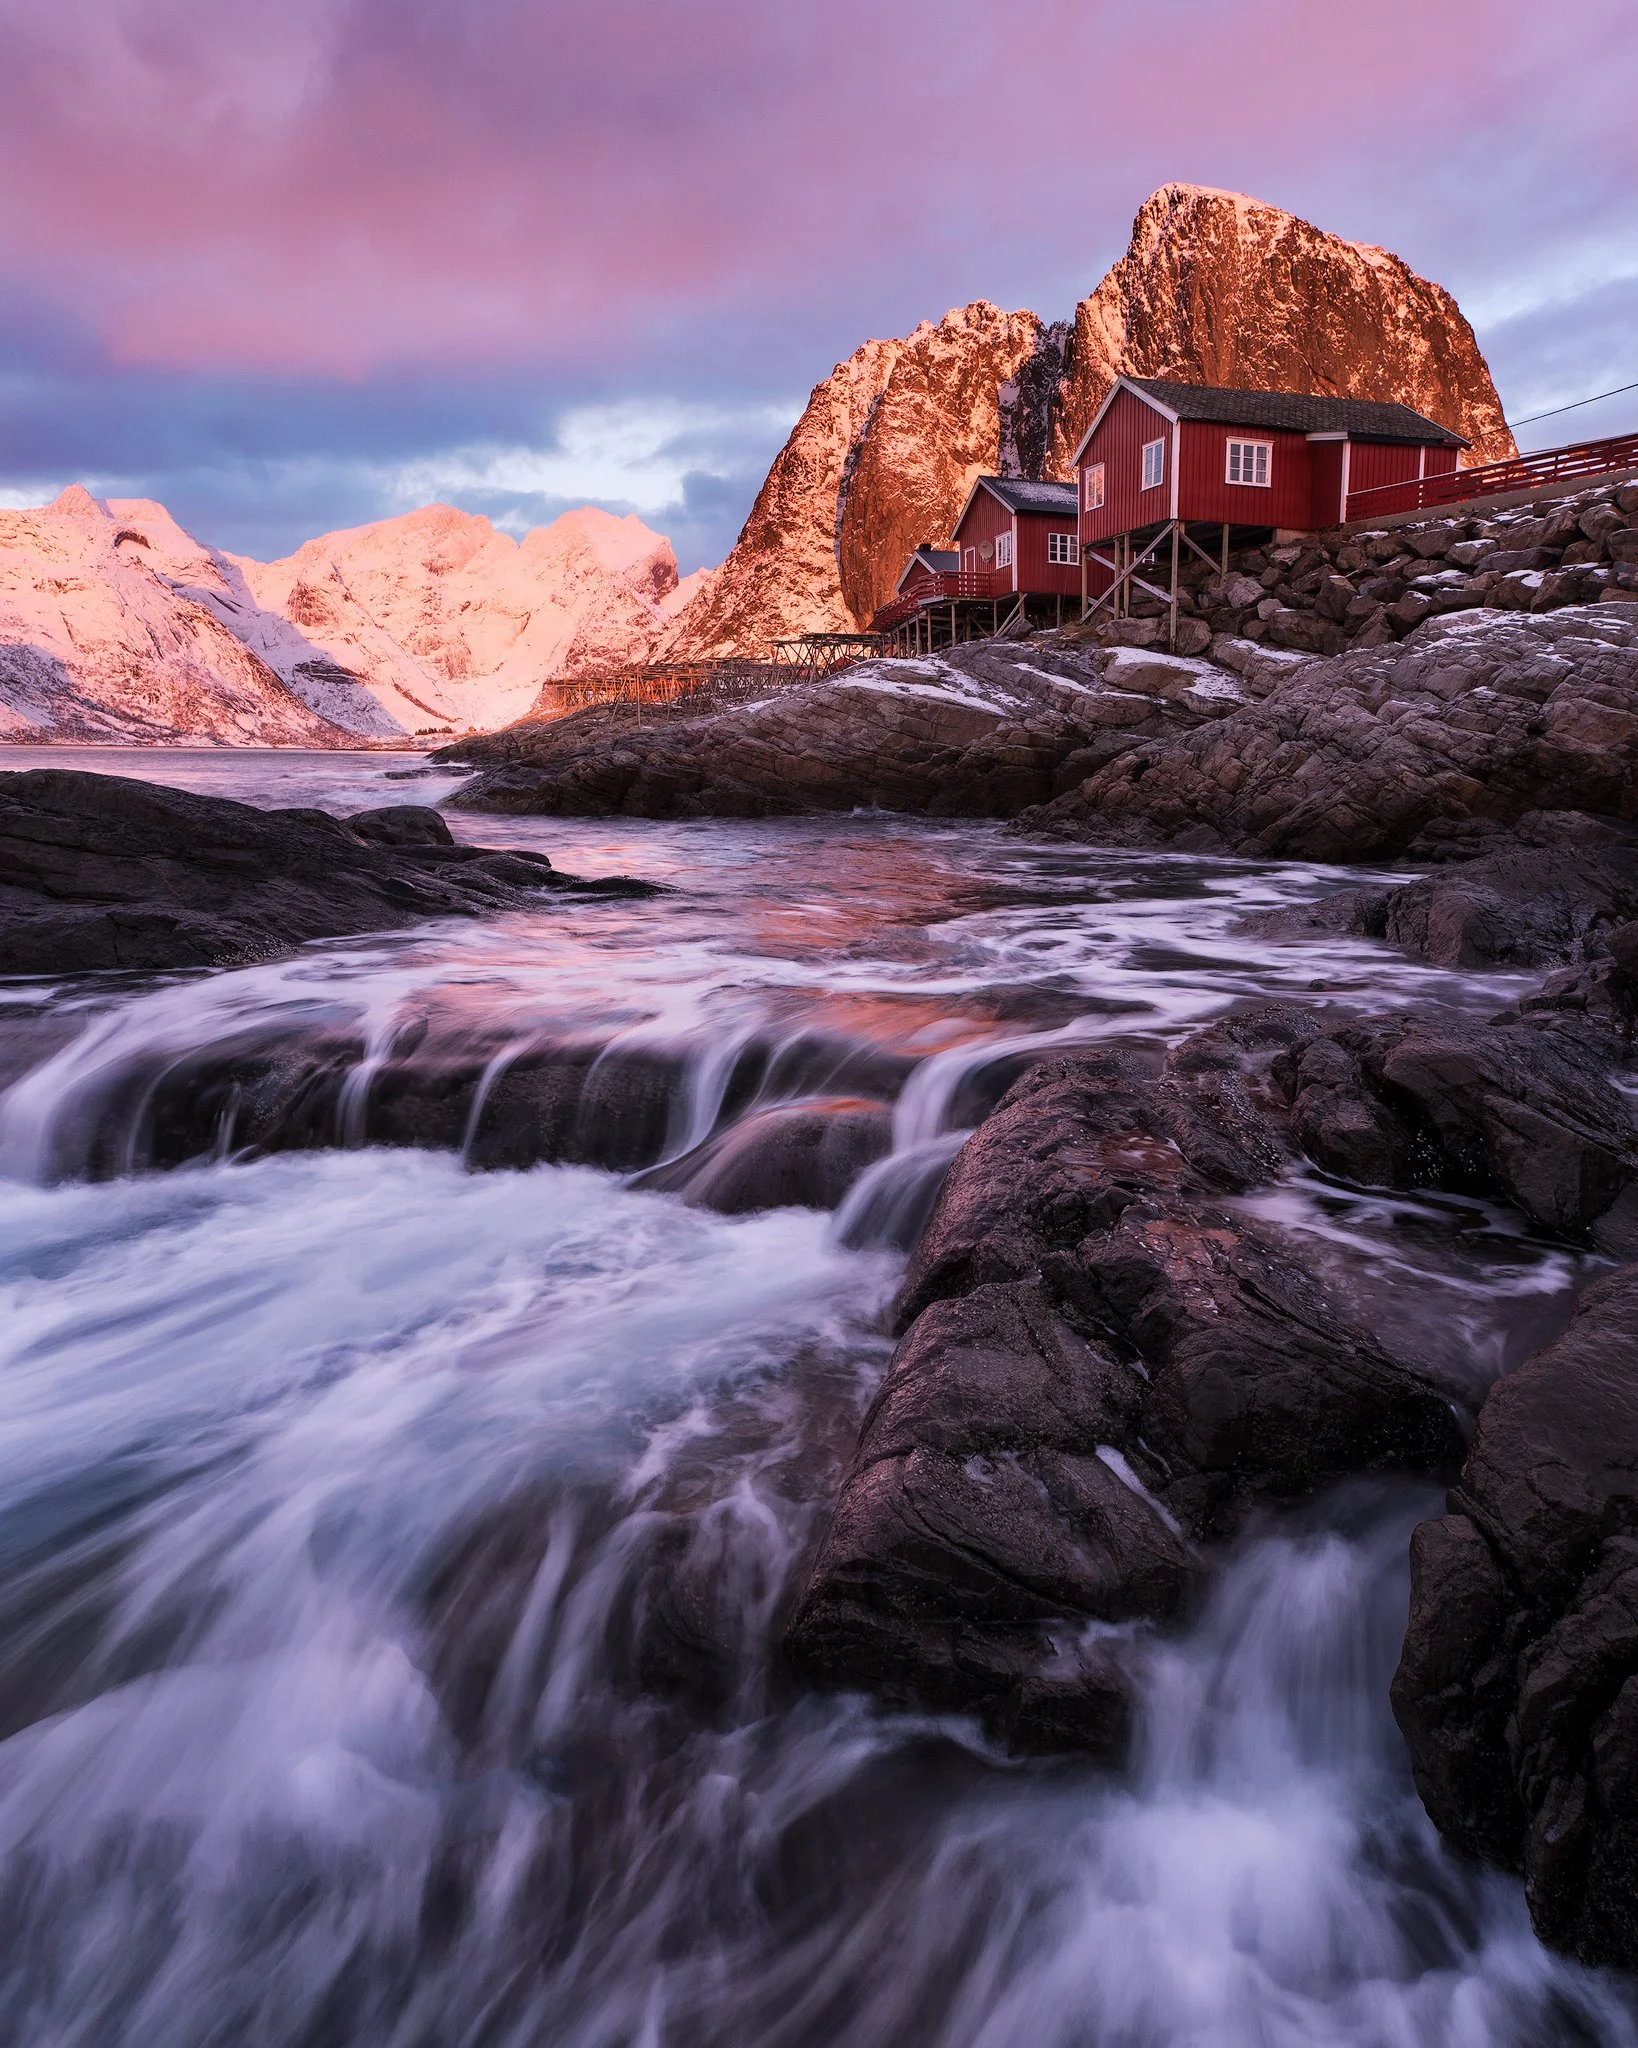
Around a second of exposure to give the water movement and softness without dissolving it completely. The shutter is chosen for the water, everything else set to allow it.
The surreal, creamy look. Moving clouds overhead, flowing water below, and I want that dreamlike stillness where everything turns to silk. Here I go long, one minute to two and a half. This is exactly where "match the shutter to the motion" earns its keep. A slow-flowing river needs a long time to smooth out. Get close to a fast cascade and you'll reach the same effect far sooner, so you back off the exposure time. Same look, different number, because the water is a different speed.
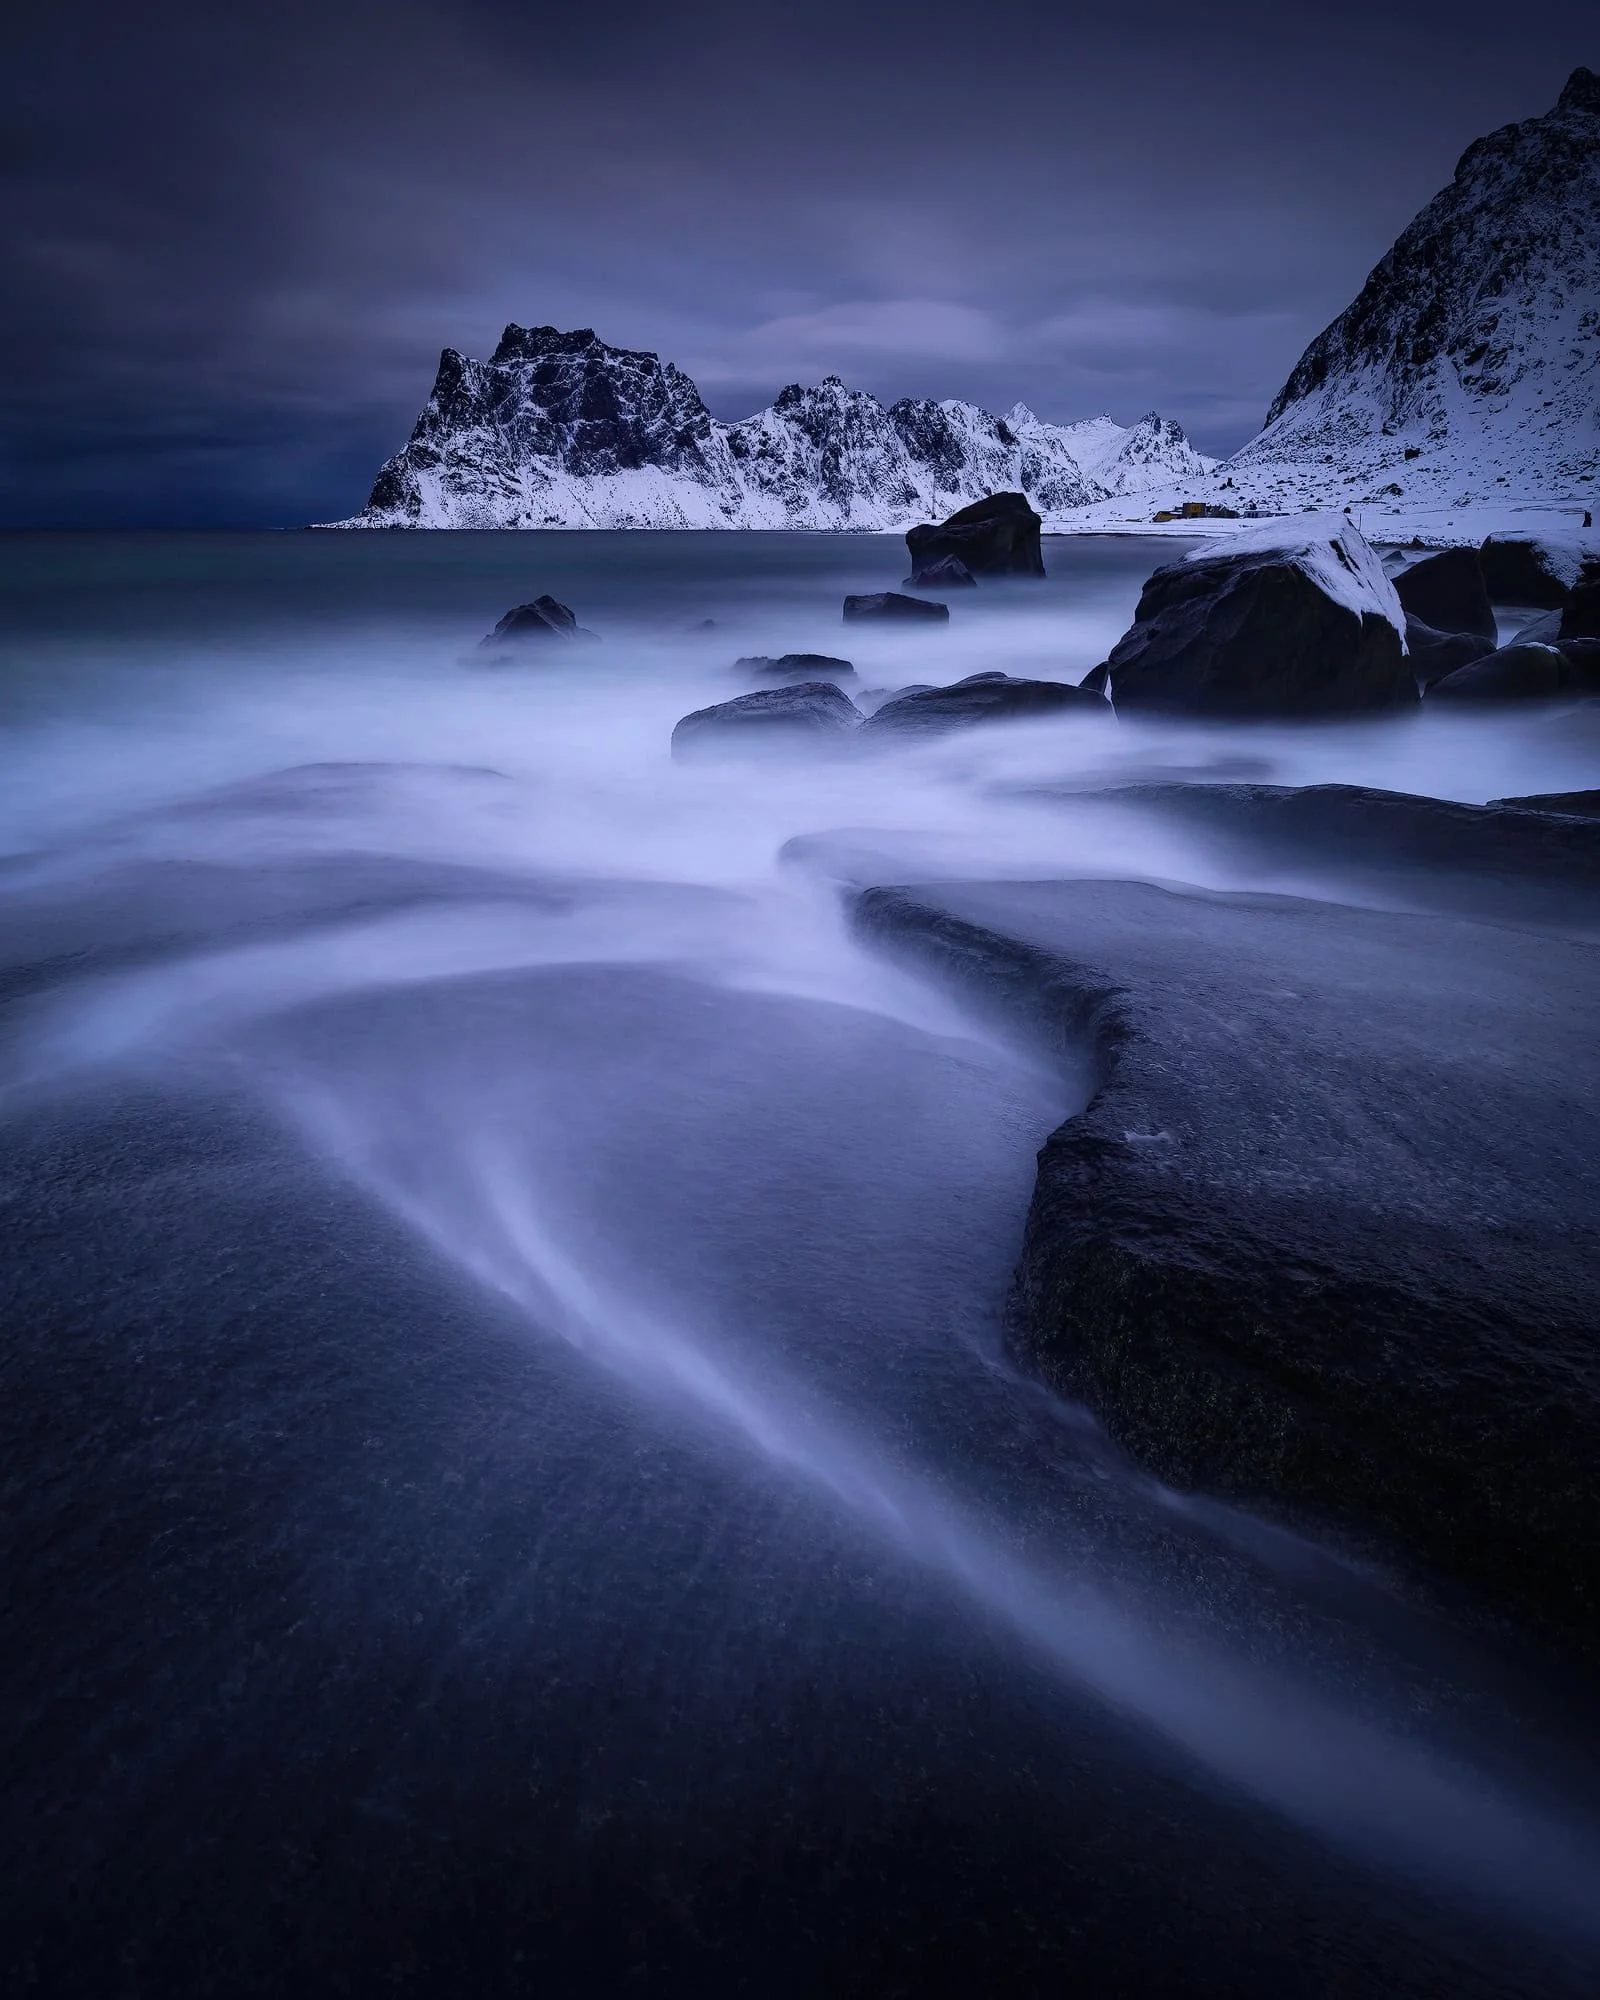
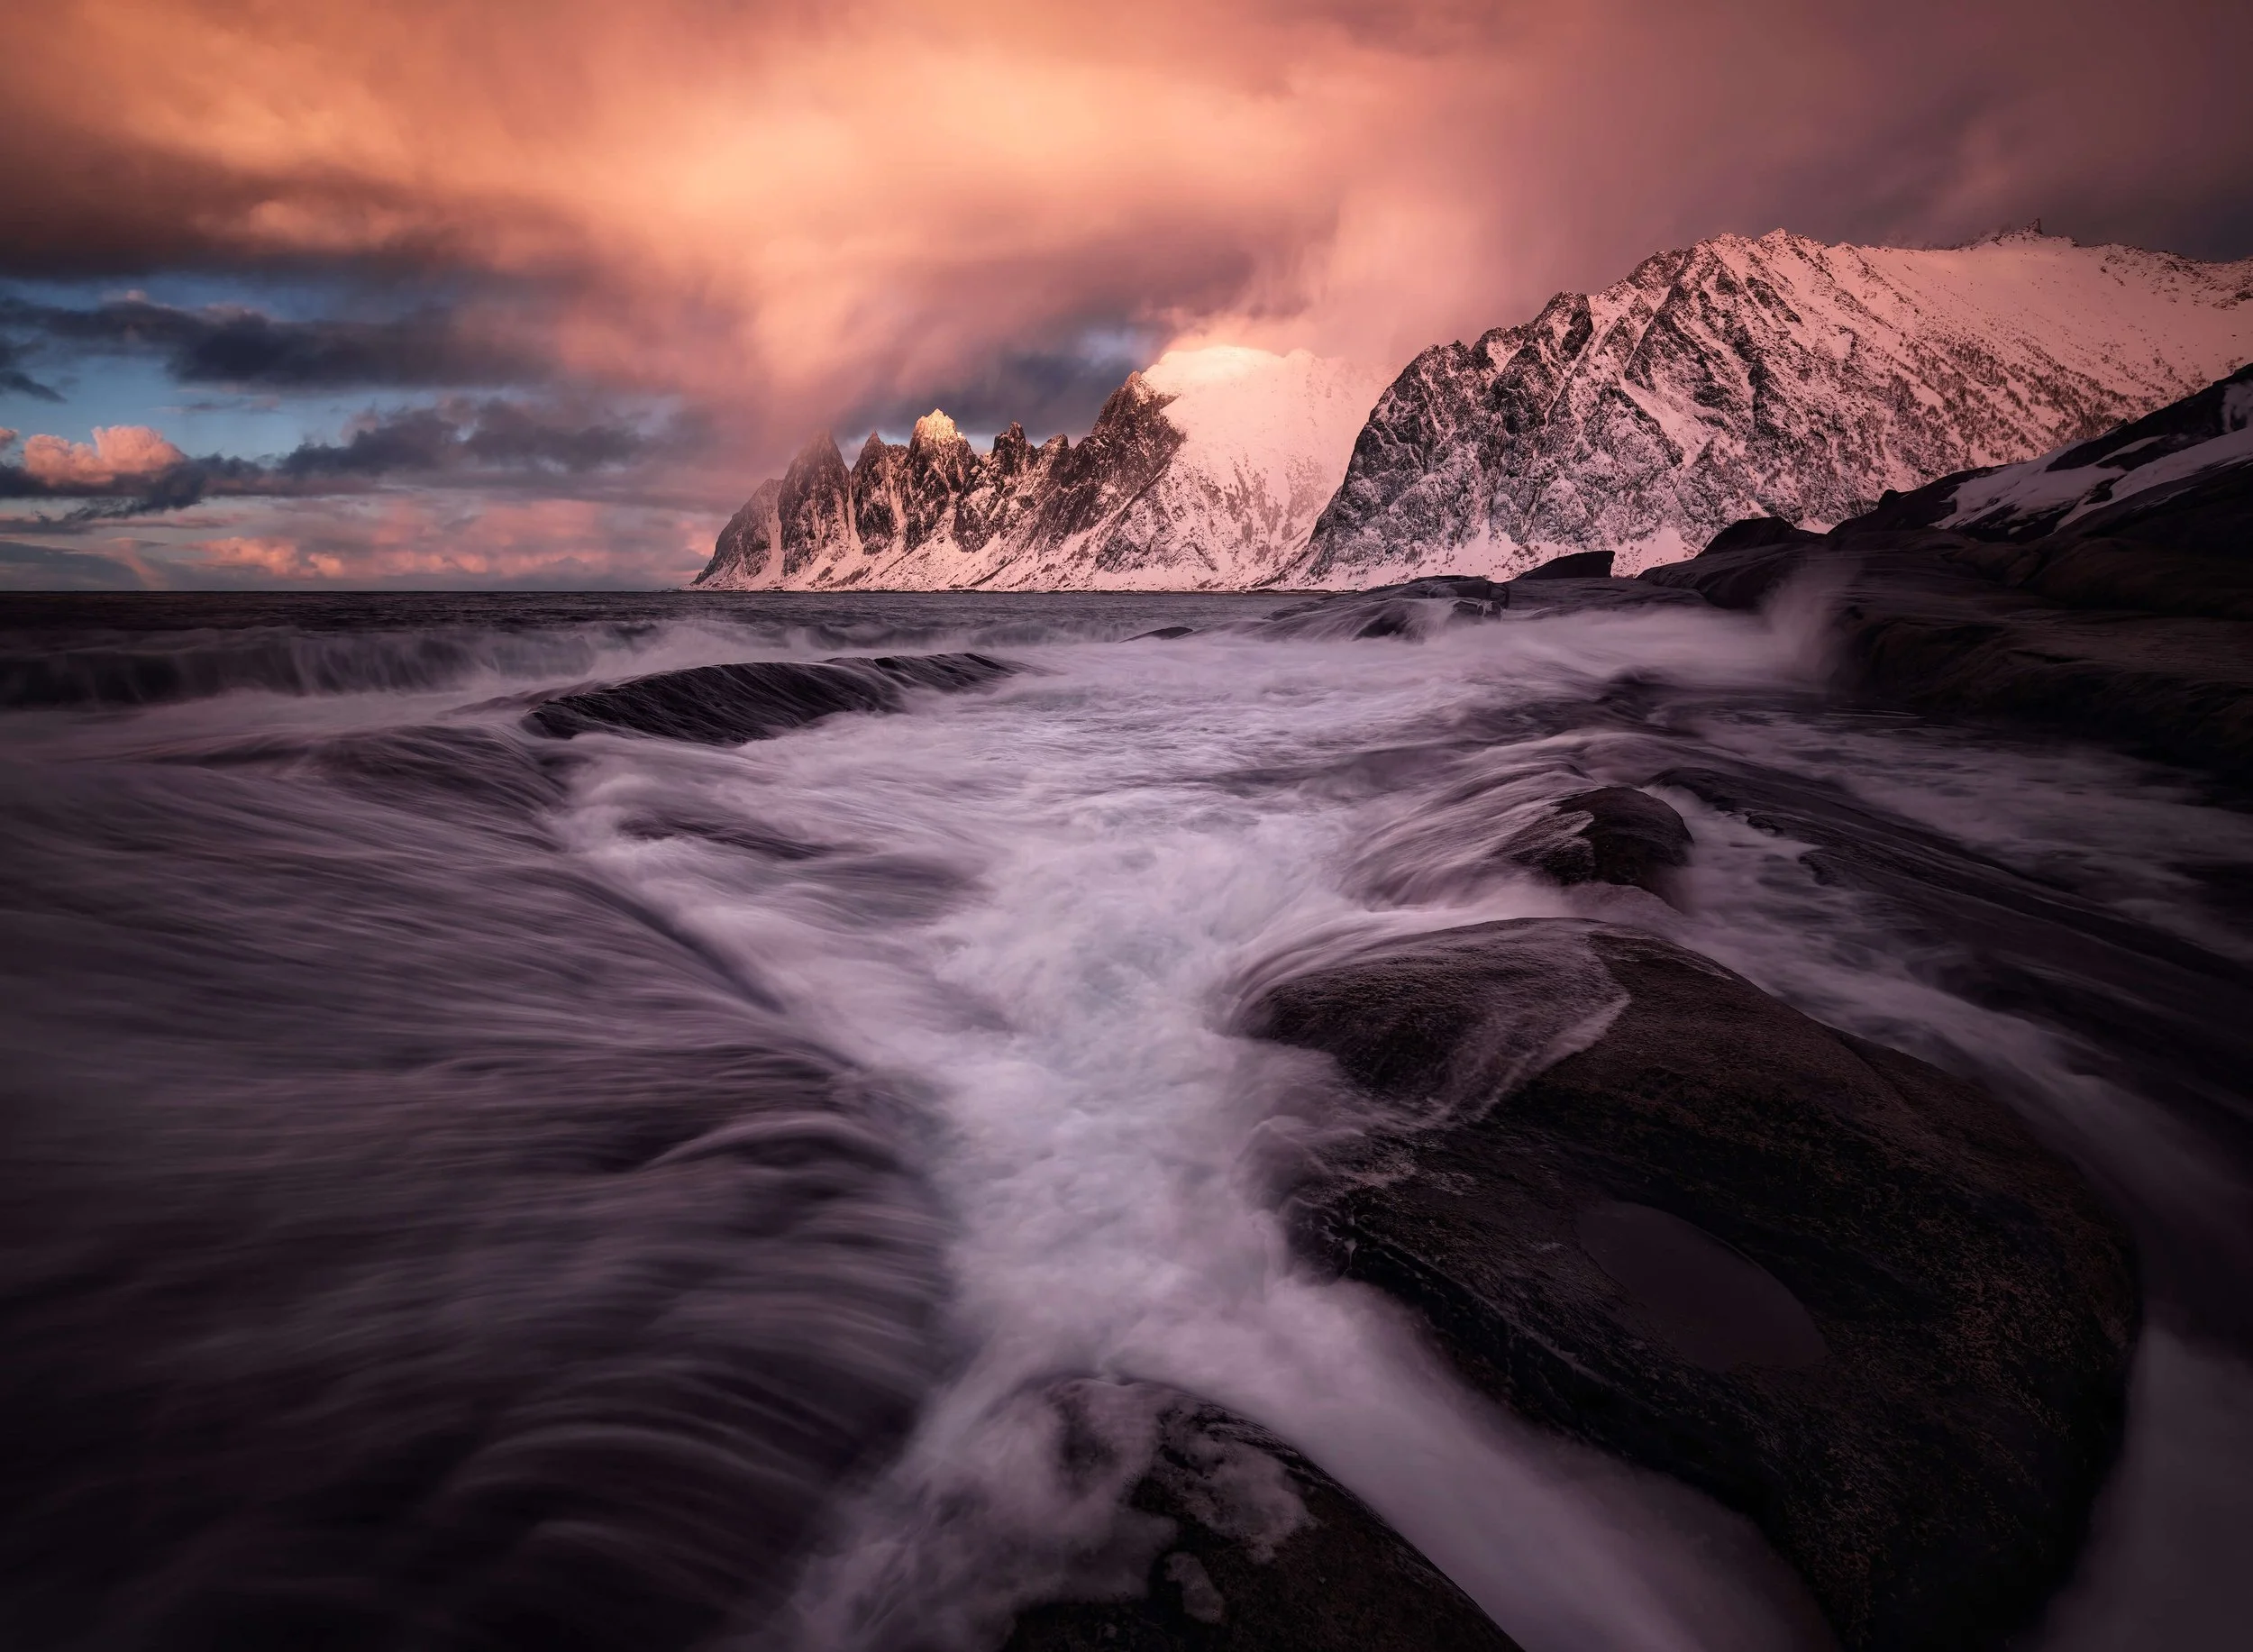
A 4 minutes long exposure at blue hour, the water pulled into quiet motion over the rock. Match the shutter to how fast the water moves, not to the subject.
Sunbursts. When I want the sun to render as a defined star with clean rays, I close the aperture down to around f/14 to f/16. The small opening is what forms the sunburst. I rarely go past f/16, and that's for a reason worth understanding.
At very small apertures you run into diffraction. When light squeezes through a tiny opening, it bends slightly at the edges of the aperture blades, and the smaller the hole, the more of your light is doing that bending instead of passing straight through. Those bent rays smear each fine detail a little, so past a certain point, stopping down further to gain depth of field actually costs you overall sharpness. The whole frame goes slightly soft. On most full-frame cameras that turn happens somewhere around f/11 to f/16, which is why f/16 is my practical floor. It's not superstition, it's the physics of the light.
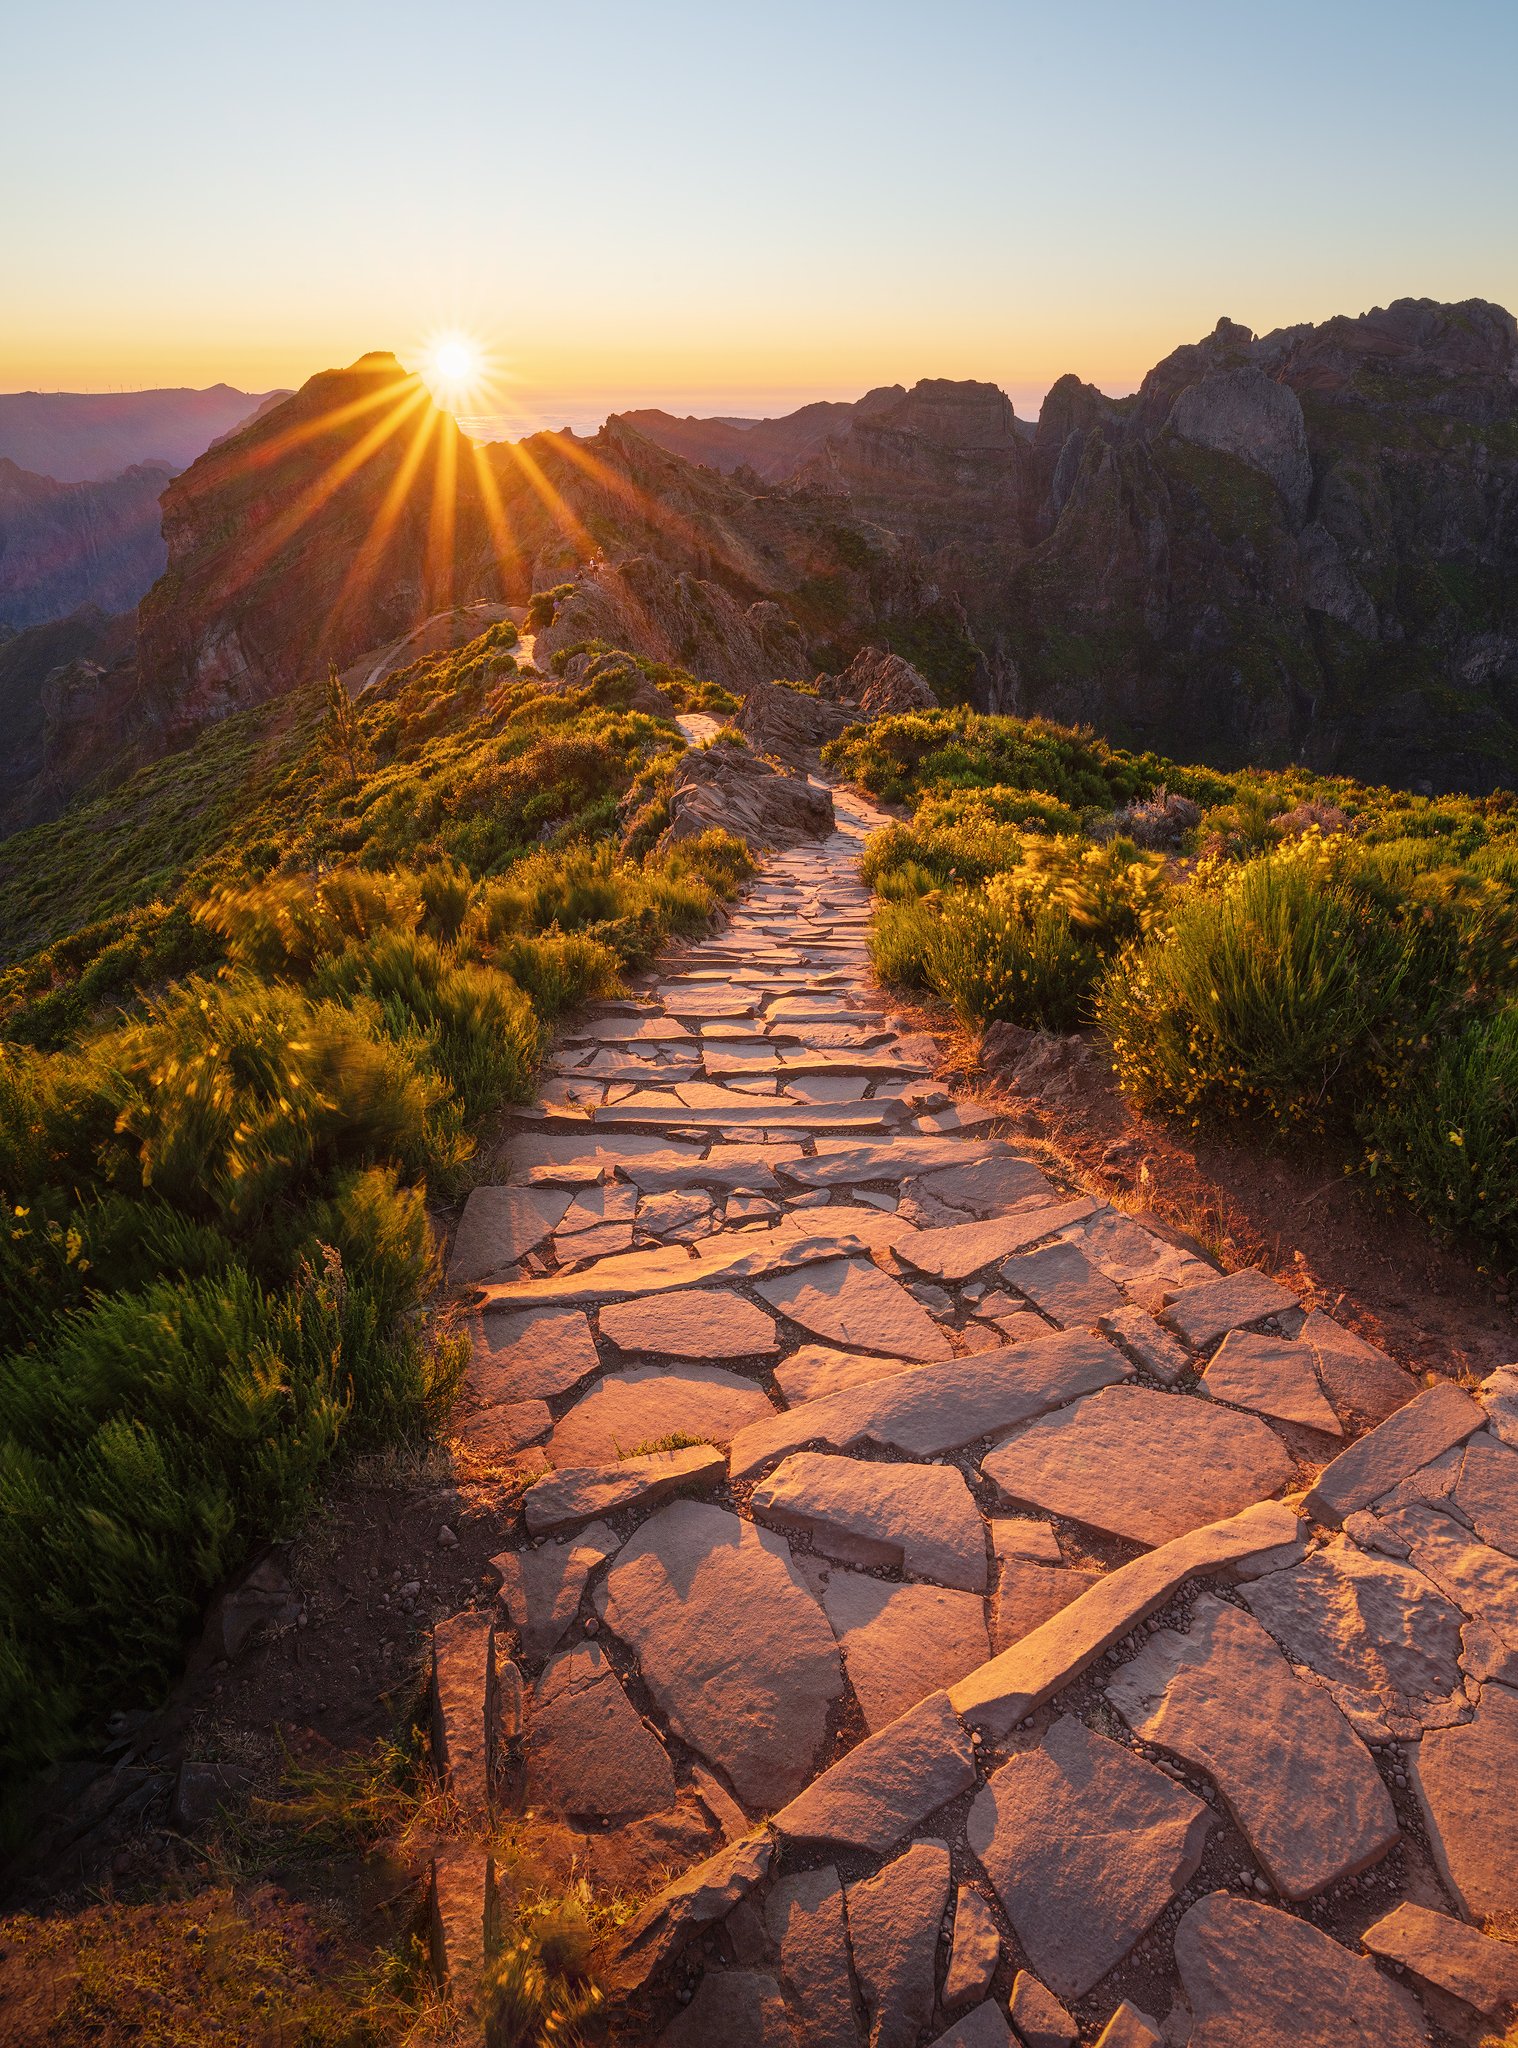
f/16 renders the sun as a defined star. Past f/16 diffraction costs more sharpness than the burst is worth, so that's where I stop.
Freeze or flow: flowers, foliage, action. Say I want a sharp flower on a windy day. I raise the ISO and open the aperture a little to buy myself a fast shutter that freezes the motion. If opening up costs me the depth I wanted in the background, I stack it, sometimes manually, which is harder in wind but very learnable with a bit of practice. That reflex, decide you want it frozen and bend every other setting to reach a fast enough shutter, is the same one I use for a bursting wave, a violent waterfall on the Faroes, a helicopter crossing in front of me. Pick the fast shutter first. Serve it with everything else.
But here's the other half, and it's the more interesting one. I'll often let those flowers go soft on purpose. A frozen flower can't tell the story of a windy day. Blurred petals, leaves streaking in the gusts, that motion is the story. Freezing or flowing isn't a technical decision. It's a decision about what the picture is saying. And you can only make it once you know that the shutter is the dial holding that choice.
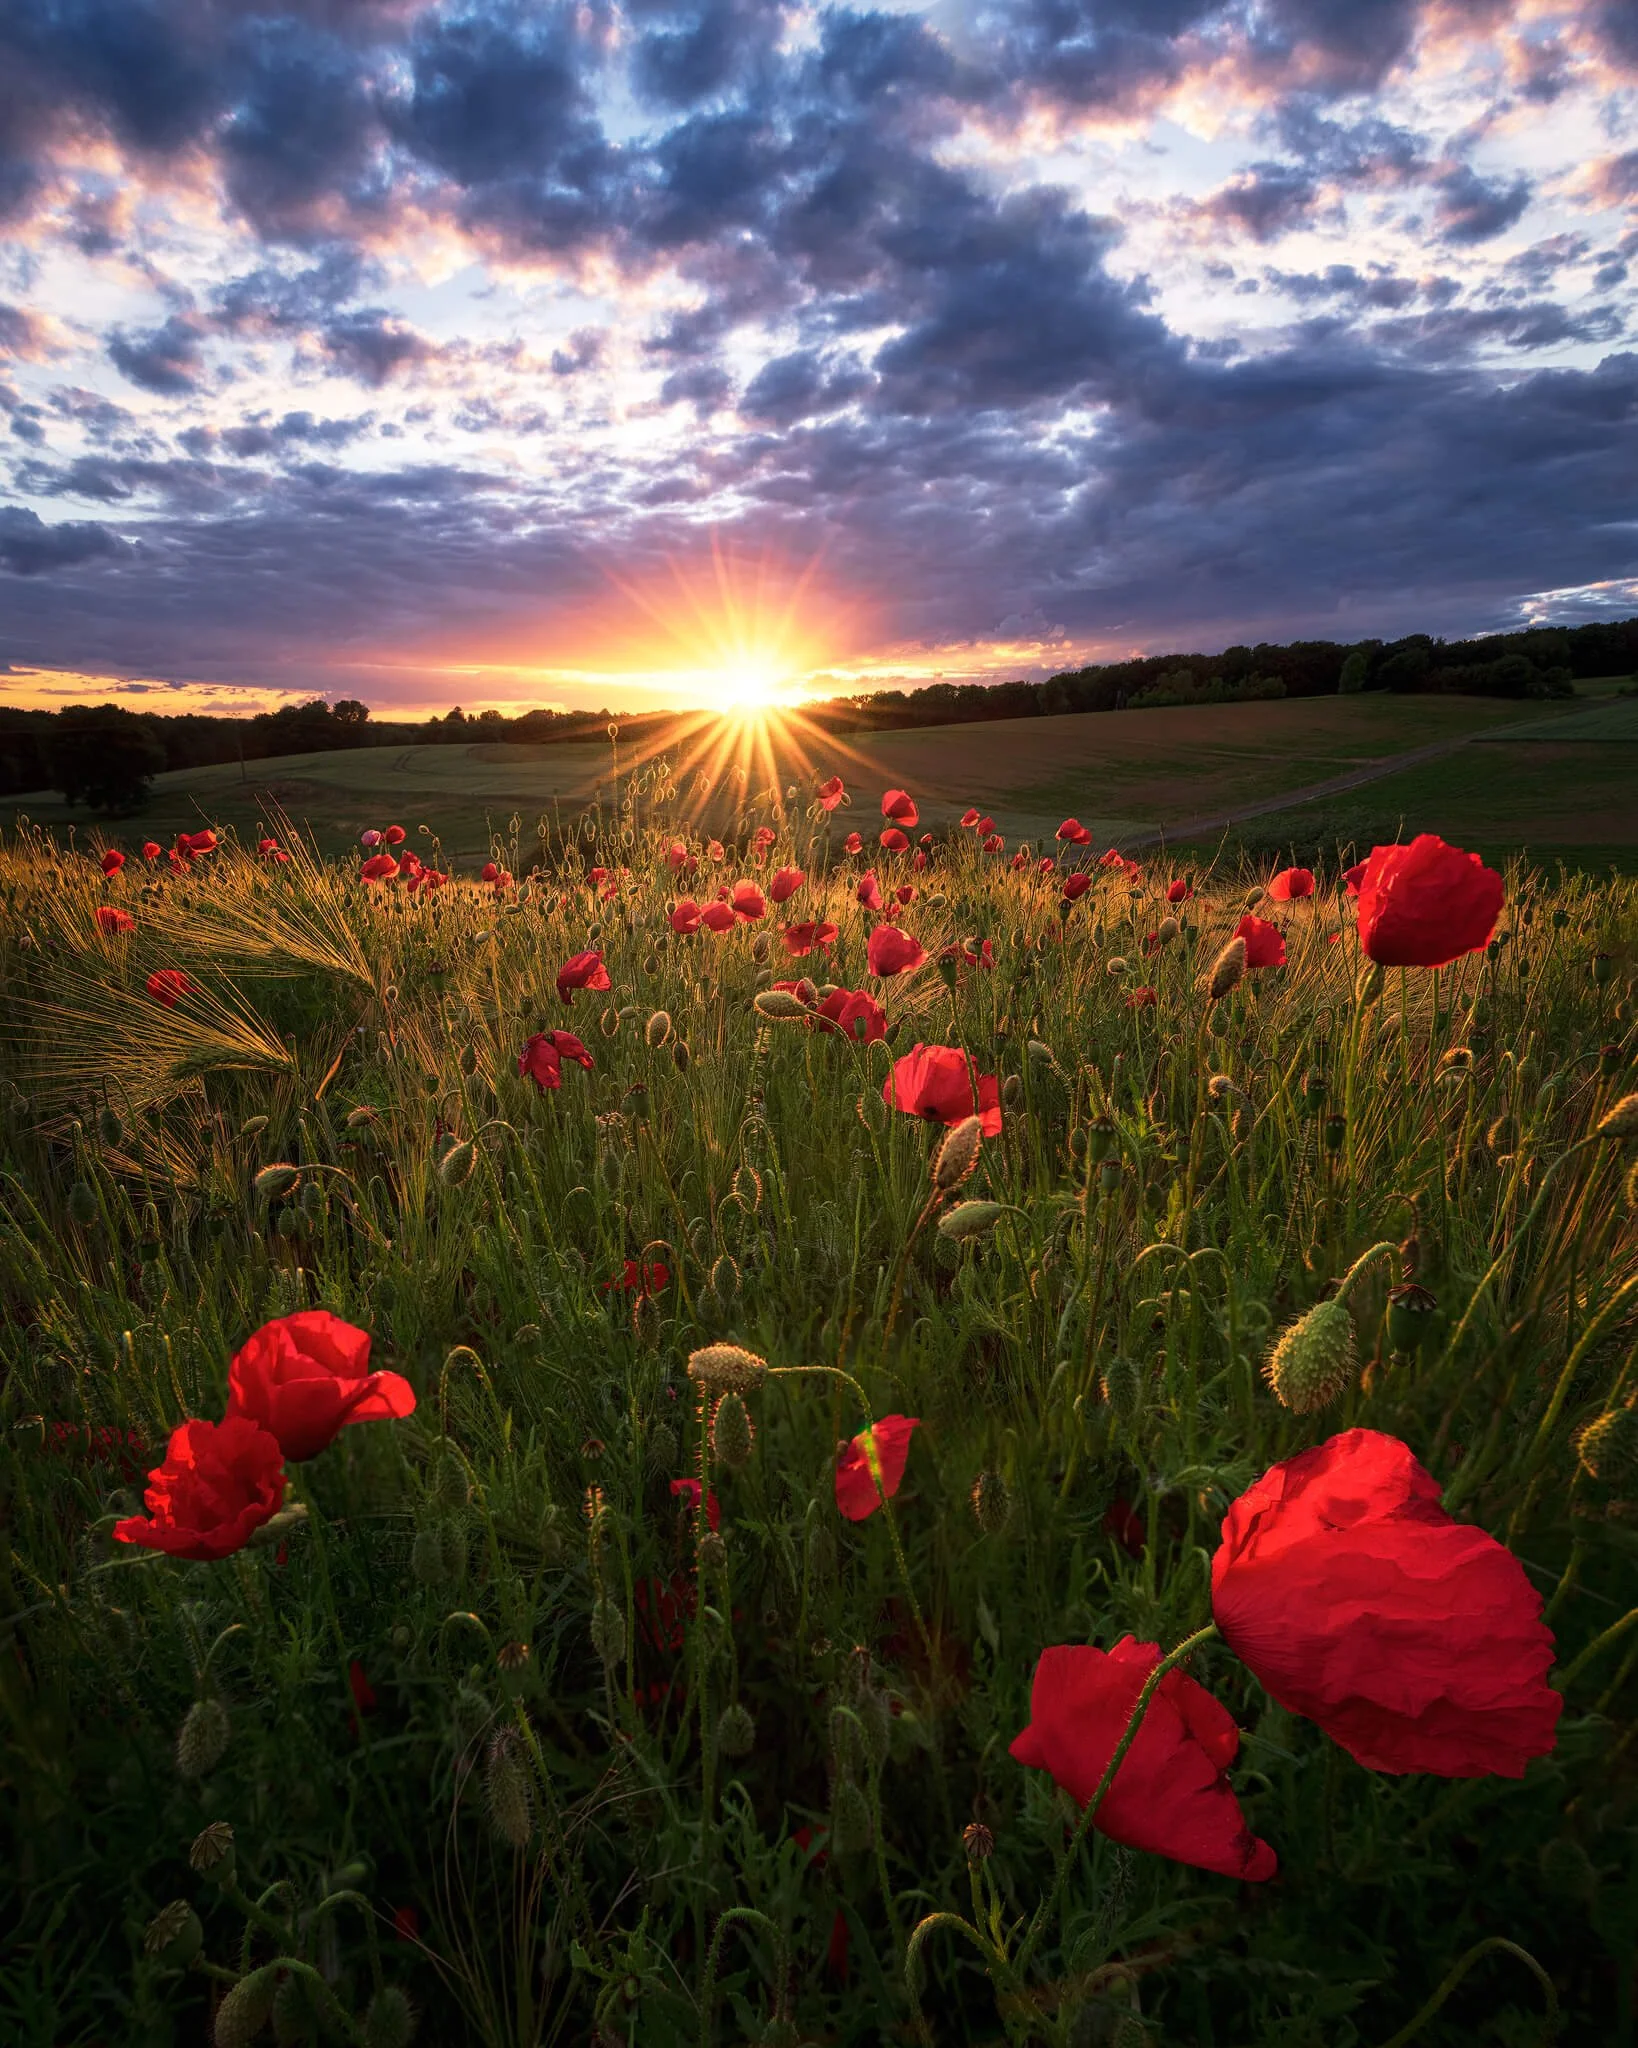
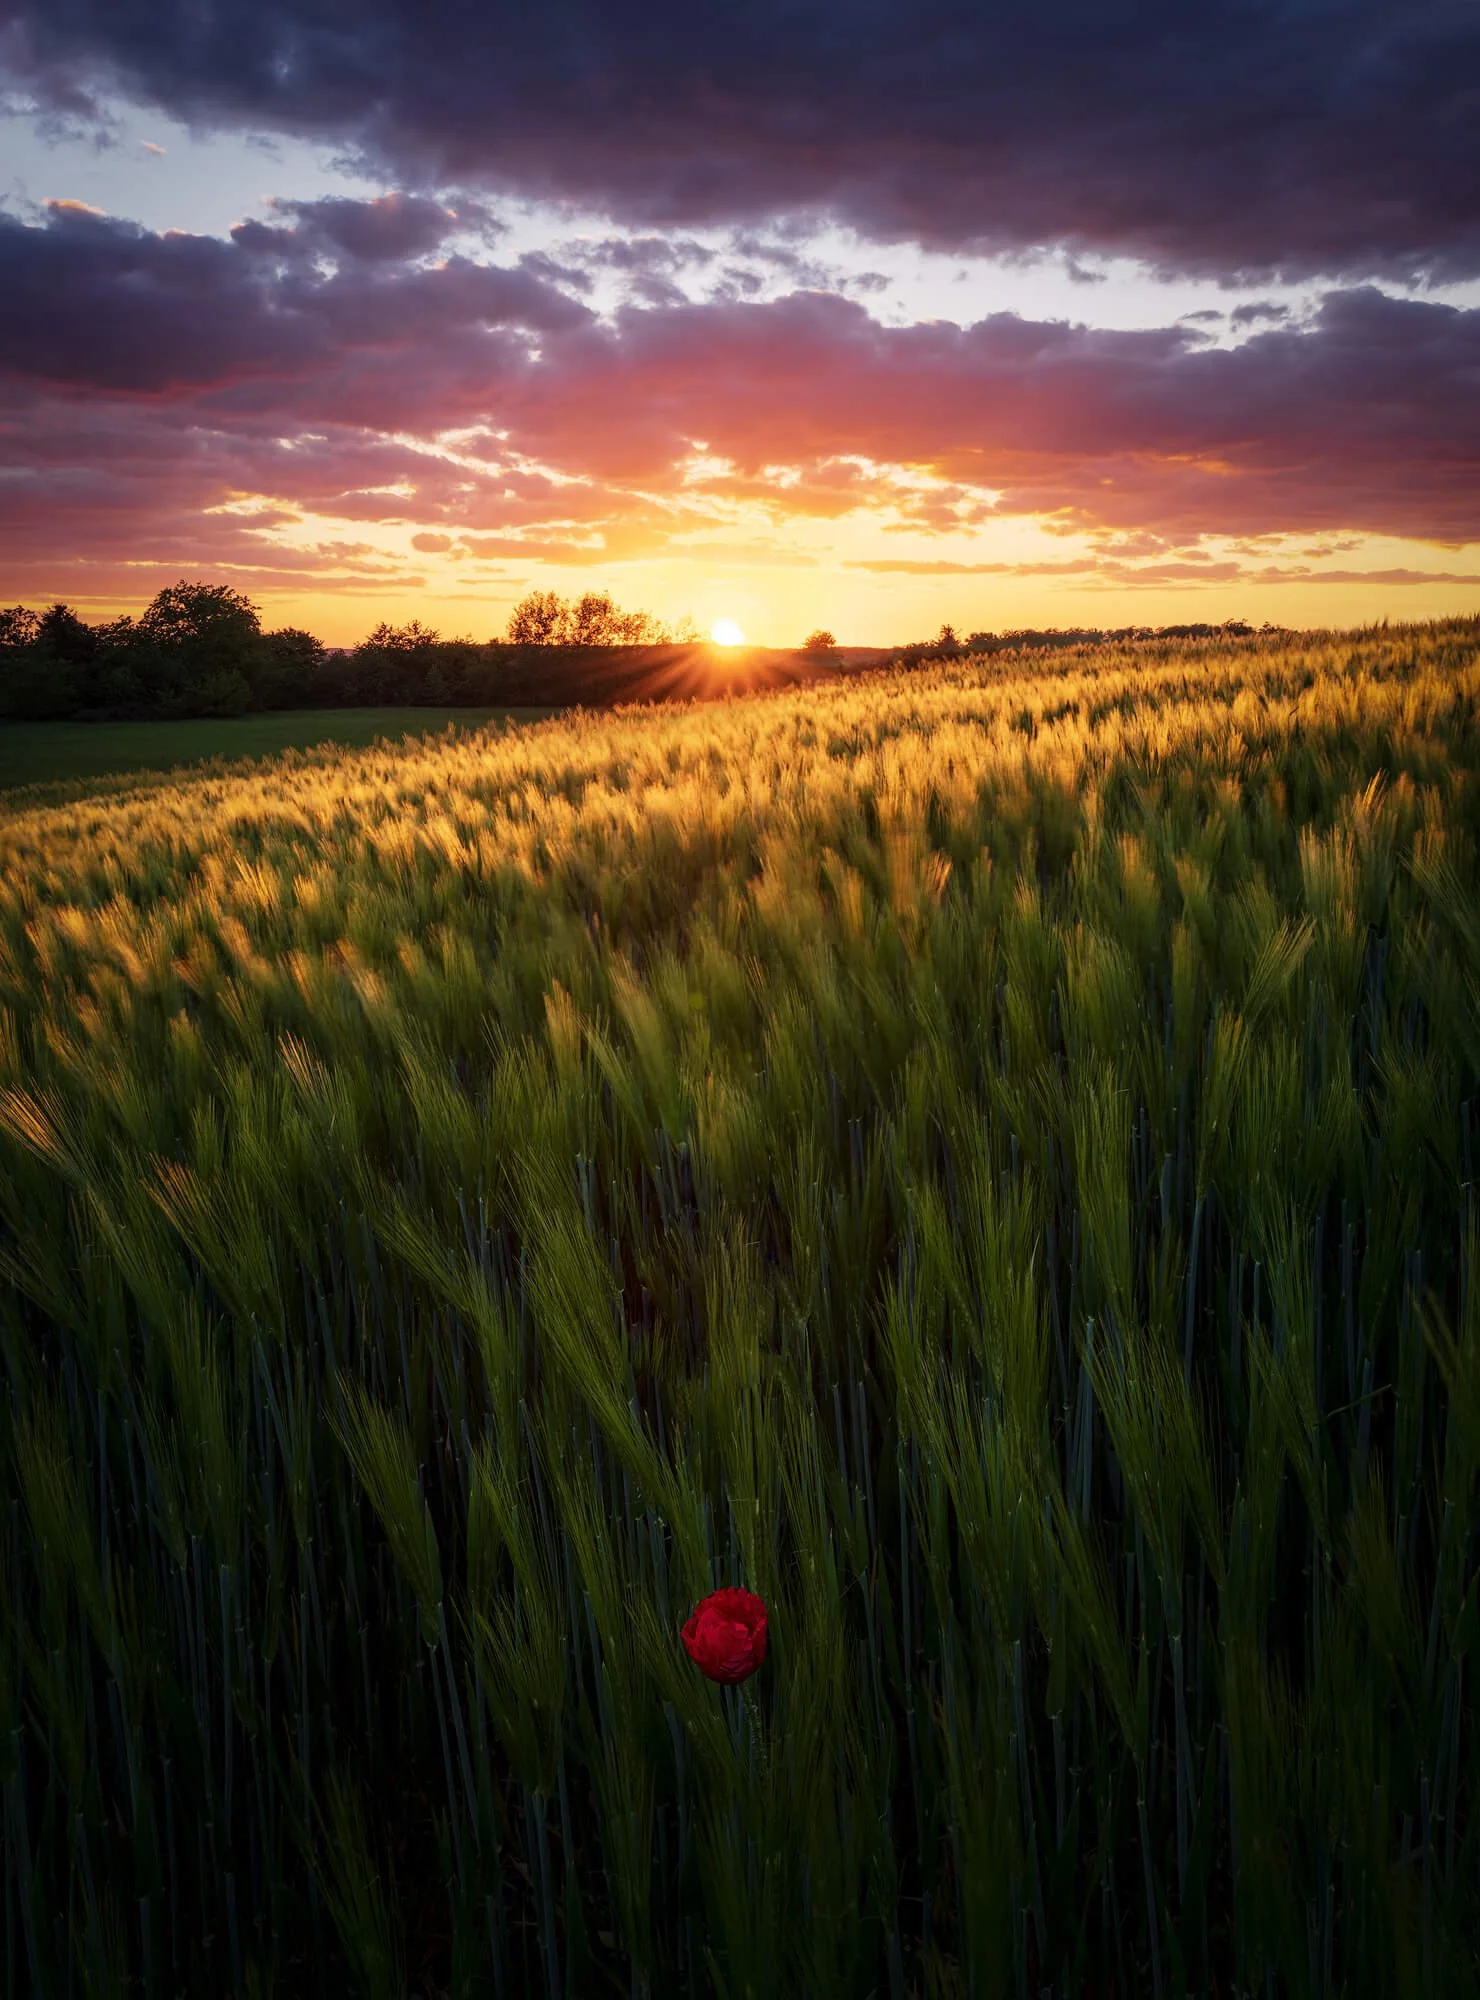
Same subject, opposite decisions. On a windy day the shutter is where you choose what the picture says. Freeze the poppies with a fast shutter (raise the ISO, open the aperture a little to buy the speed) and the blooms hold sharp, clean and crisp, but nothing in the frame tells you the wind was blowing. Leave the motion in with a slower shutter and the grasses streak and blur, and that movement becomes the whole story of the evening. Neither is more correct. One says poppy, the other says windy. Deciding which is the actual creative act, and the settings just carry it out.
The set-and-forget list
A few things I genuinely don't touch, so I never have to think about them in the field:
RAW, always. The editing latitude is not optional for landscape work.
Base ISO as the resting default. I move up from it only when forced.
Single-point autofocus, so I decide exactly what gets sharp.
Histogram over the rear screen for judging exposure. The LCD lies in bright light and at night. The histogram doesn't.
A tripod whenever the shutter needs to be free. Most of the frames I care about were made on one.
Everything else is a live decision.
The last ten percent
Here's what I've come to believe after all those years of answering the settings question. The settings are the last ten percent of the photograph. The other ninety is the idea, the light, the composition, the decision to be standing in the right place when it happens. The numbers are how you execute a picture you've already seen. They don't invent it for you.
I'll give you the moment that proves it. Sometimes I'm out with nothing but the camera on me, no filters, and the shot needs a shutter I can only reach by dropping to base ISO for its extra stop and stopping the aperture way down past my comfort zone into real diffraction. I know it'll cost me a little sharpness. I take it anyway. A slightly soft picture that exists will always beat a technically perfect picture I didn't get because I was busy protecting the rules. The settings serve the photograph. The photograph never serves the settings.
Learn what each dial does, and you stop asking what settings to use. You start deciding, backward from a picture you can already see. That's the freedom the tool was always meant to give you.
Keep going...
How to photograph the northern lights — the deep dive on night and aurora settings, where shutter rules everything