Most of an edit is quiet work. You get the exposure right, the colors honest, the selections clean, and the image arrives at maybe eighty percent finished. It looks good. A lot of people stop here.
The last twenty percent is a different thing. It's the fine-tuning that takes the most time and has the biggest impact on the final image, the part where a photograph goes from good to yours. For years, that stage is where I lost hours, building every adjustment by hand.
This is a review of the tool that changed that: Nik Color Efex, part of the Nik Collection. I'll tell you what it does, where it sits in my workflow, the exact filters I reach for and how I keep them subtle, and who can happily skip it. This isn't a feature tour. It's how the tool performs in real use, from someone who cares about the last bit of quality but doesn't have unlimited time to chase it.
What Nik Color Efex actually is (and what it isn't)
Color Efex is a finishing tool. It's a plugin, not a full editor, and it isn't a stack of one-click looks you slap on and hope for the best.
What it gives you is a set of finely targeted controls for color, tone, contrast, saturation, luminosity, whites and blacks, the fine adjustments that shape the mood of a finished image. You bring in a photograph that's already most of the way there, and you use Color Efex for the precise, high-impact work at the end, the work that would otherwise mean a lot of slow manual masking.
So if you want something to edit a RAW from scratch, this isn't it. If you want the thing that handles the final push, the stretch that decides whether an image sings, read on.
The one rule that governs everything: build it up, don't force it
Before the filters, the method, because it matters more than any single one of them.
I almost never apply an effect in one strong layer. I'd rather take a single effect at low opacity and apply it a few times, and often mask it in selectively, only into the areas that actually need it. Building a look up gently, in layers, gives you control that a single heavy hit never will. Push one slider hard and the image starts to fall apart, the tones block up, the colors go plasticky, the whole thing gets that overcooked look. Build the same result softly, in passes, and it holds together.
This is true everywhere, not just here. In Lightroom, the tools that can make pixels fall apart, clarity and the rest, I treat lightly. The whole approach comes down to one word: balance. And balance comes from working carefully, not from pushing sliders to the extreme.
There's a reason to think this way before you even open the plugin. I prepare the image in Lightroom with a vision for the visual flow, emphasizing the areas I want the viewer's eye to travel to, quieting the areas I want them to pass over. Color Efex is where I finish directing that flow. Every filter below serves it.
The filters I actually use
There are a lot of filters in Color Efex. I use a handful. These are the ones I come back to, image after image, always at gentle strength.
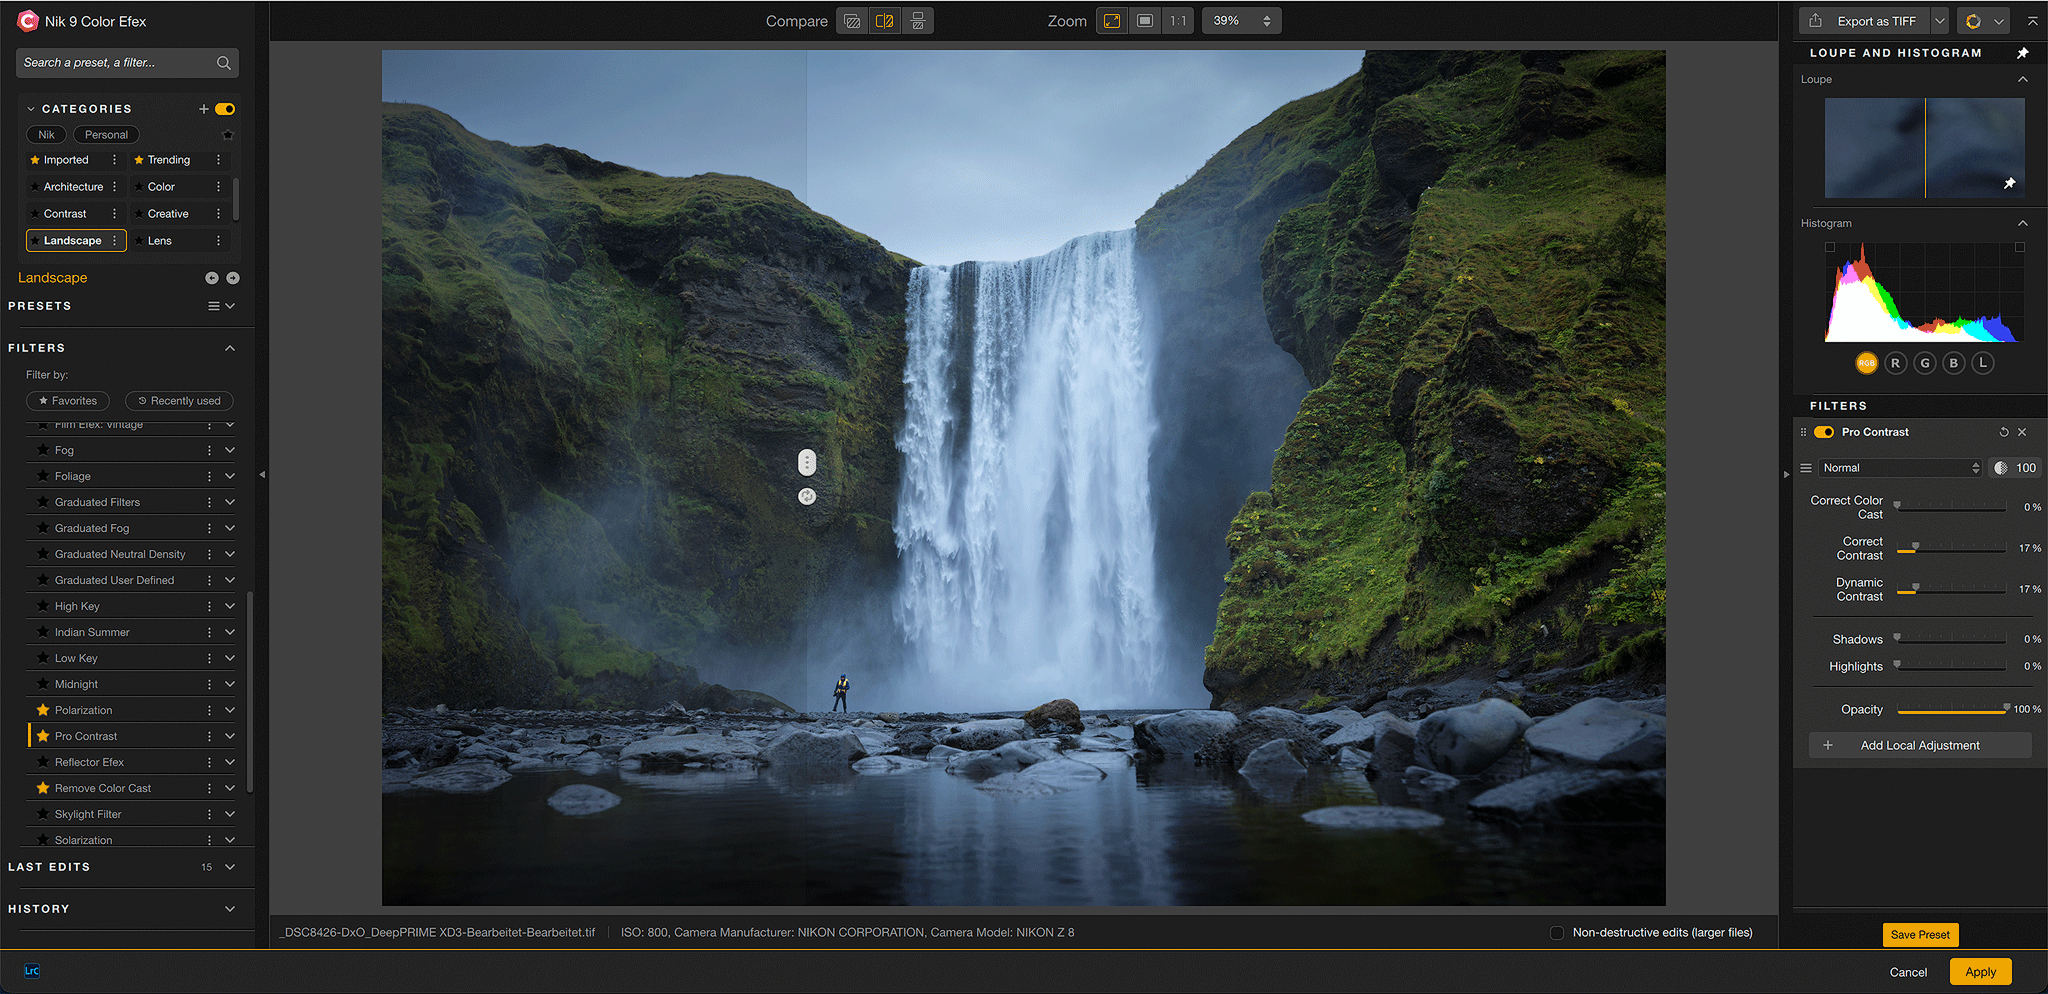
Pro Contrast. First, almost always, and the one I'd miss most. I rarely touch its color values, but I use both contrast sliders, usually keeping them under +20. That alone gives a nice boost to both micro and macro contrast, and it does it cleanly, without the crushed, heavy look that manual contrast so often produces.
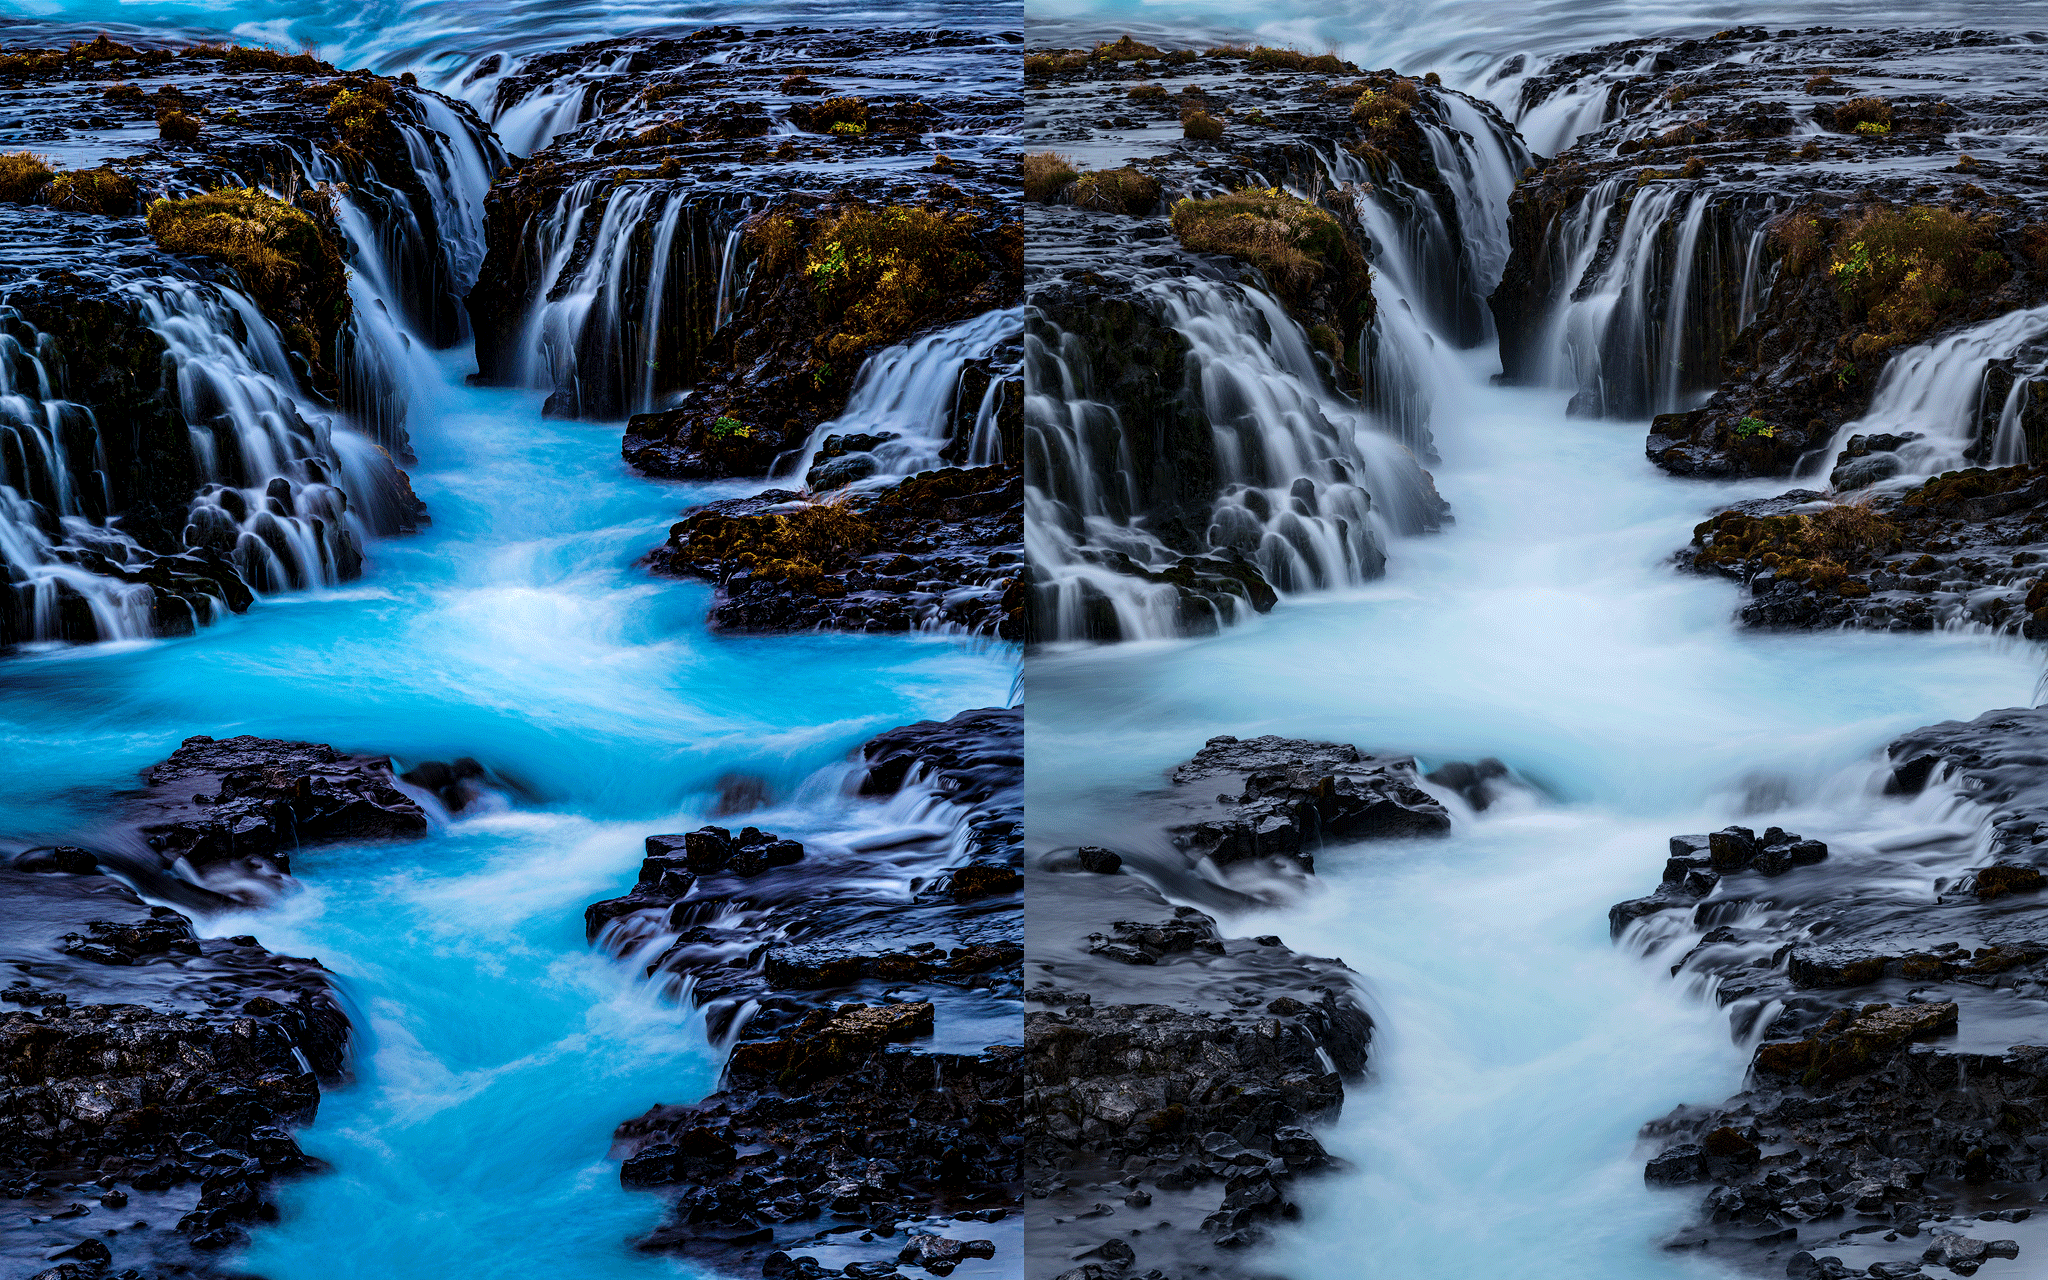
Remove Color Cast. This one I don't use to correct, I use it to tell the story. You can reach a million different looks with a few touches of these sliders, shifting the entire mood and ambience of a frame. So I sit with it, moving it until the feeling matches the story I actually want the picture to carry. Color is among the most powerful storytelling tools we have, which is exactly why this filter matters so much to me.
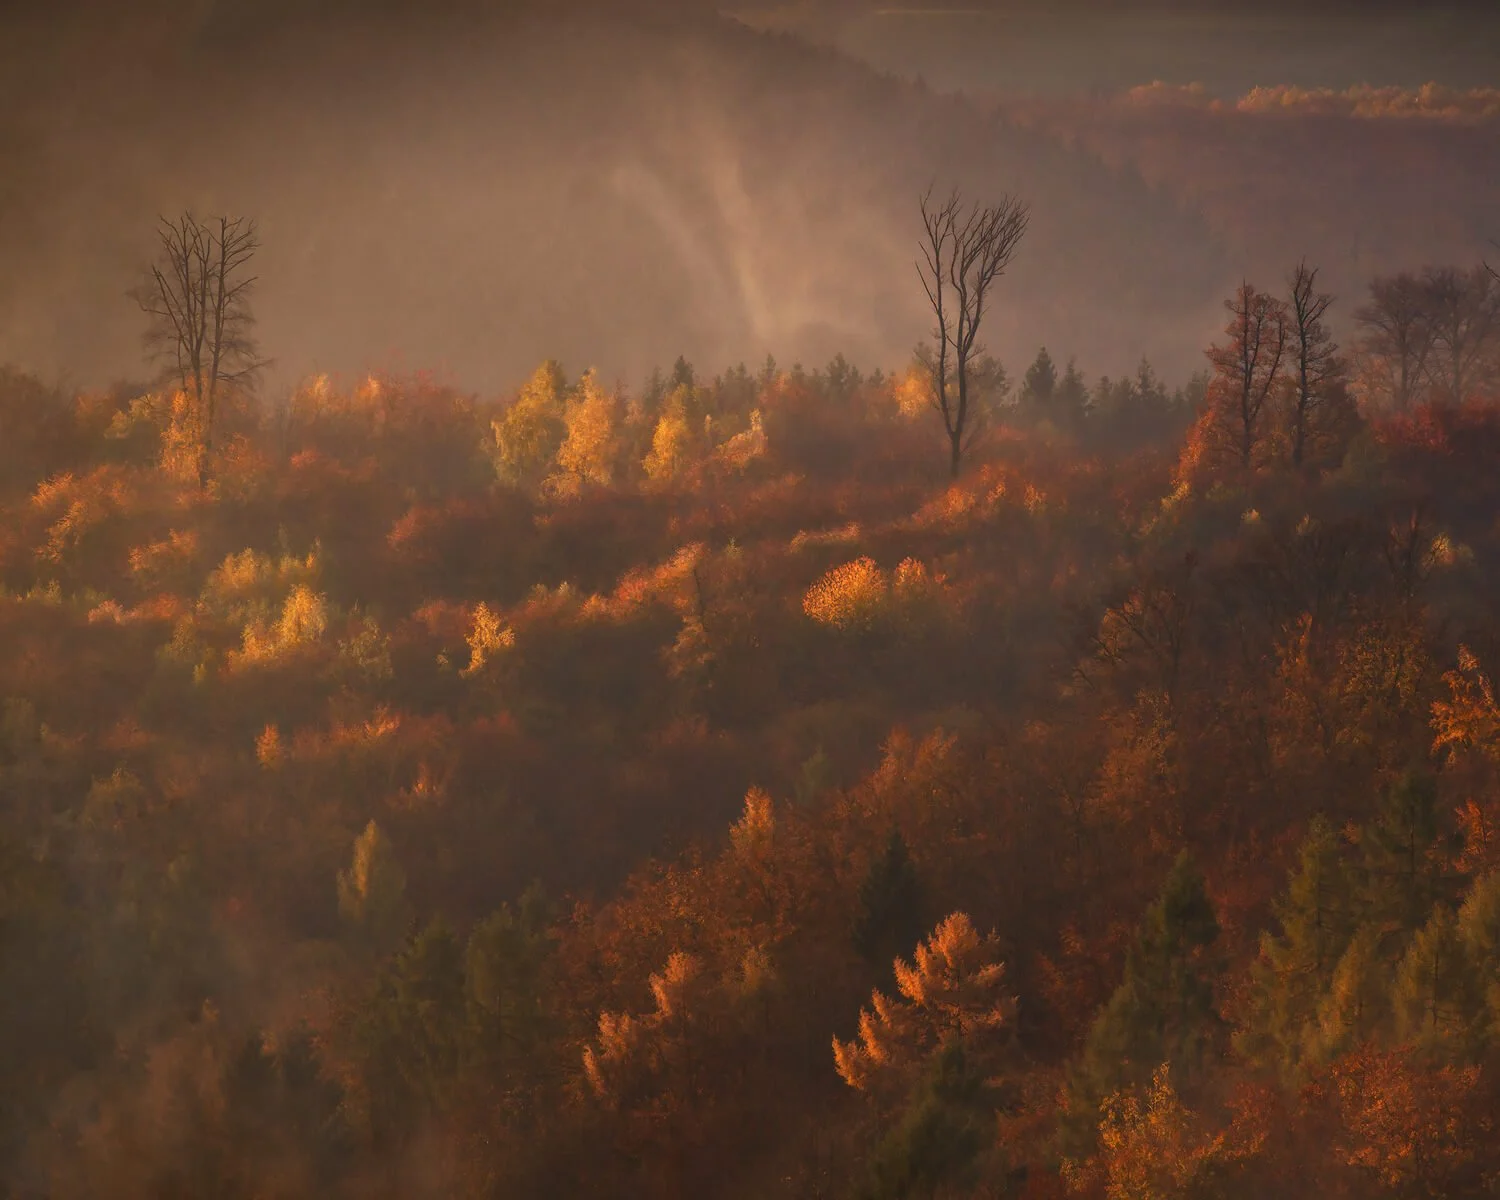
Cross Processing. I use this a lot, and it's the one that lets me keep building contrast without the image falling apart. Here's why it works, and it's worth understanding: Cross Processing emulates an old film-development mistake, running film through the wrong chemistry, which shifts the colors in each tonal range independently. So instead of a global contrast increase that clips your highlights and blocks your shadows, it adds depth by separating colors across the tonal range, warm one end, cool the other. Your eye reads that color separation as richness and contrast, but the actual highlight and shadow detail stays intact, because you never crushed the brightness. It builds contrast in the color dimension, not the luminosity dimension, which is why you can keep layering it gently and the file holds.
Brilliance/Warmth. When a scene had beautiful light, but the frame isn't quite delivering it, this is where I bring it back. I warm the image carefully on the warmth slider, then usually mask it in, mostly into the highlights, where the light lives. Not a global warm-up, a targeted push to make the light land the way it did in person. Storytelling again, the same idea as Remove Color Cast, pointed at the light itself.
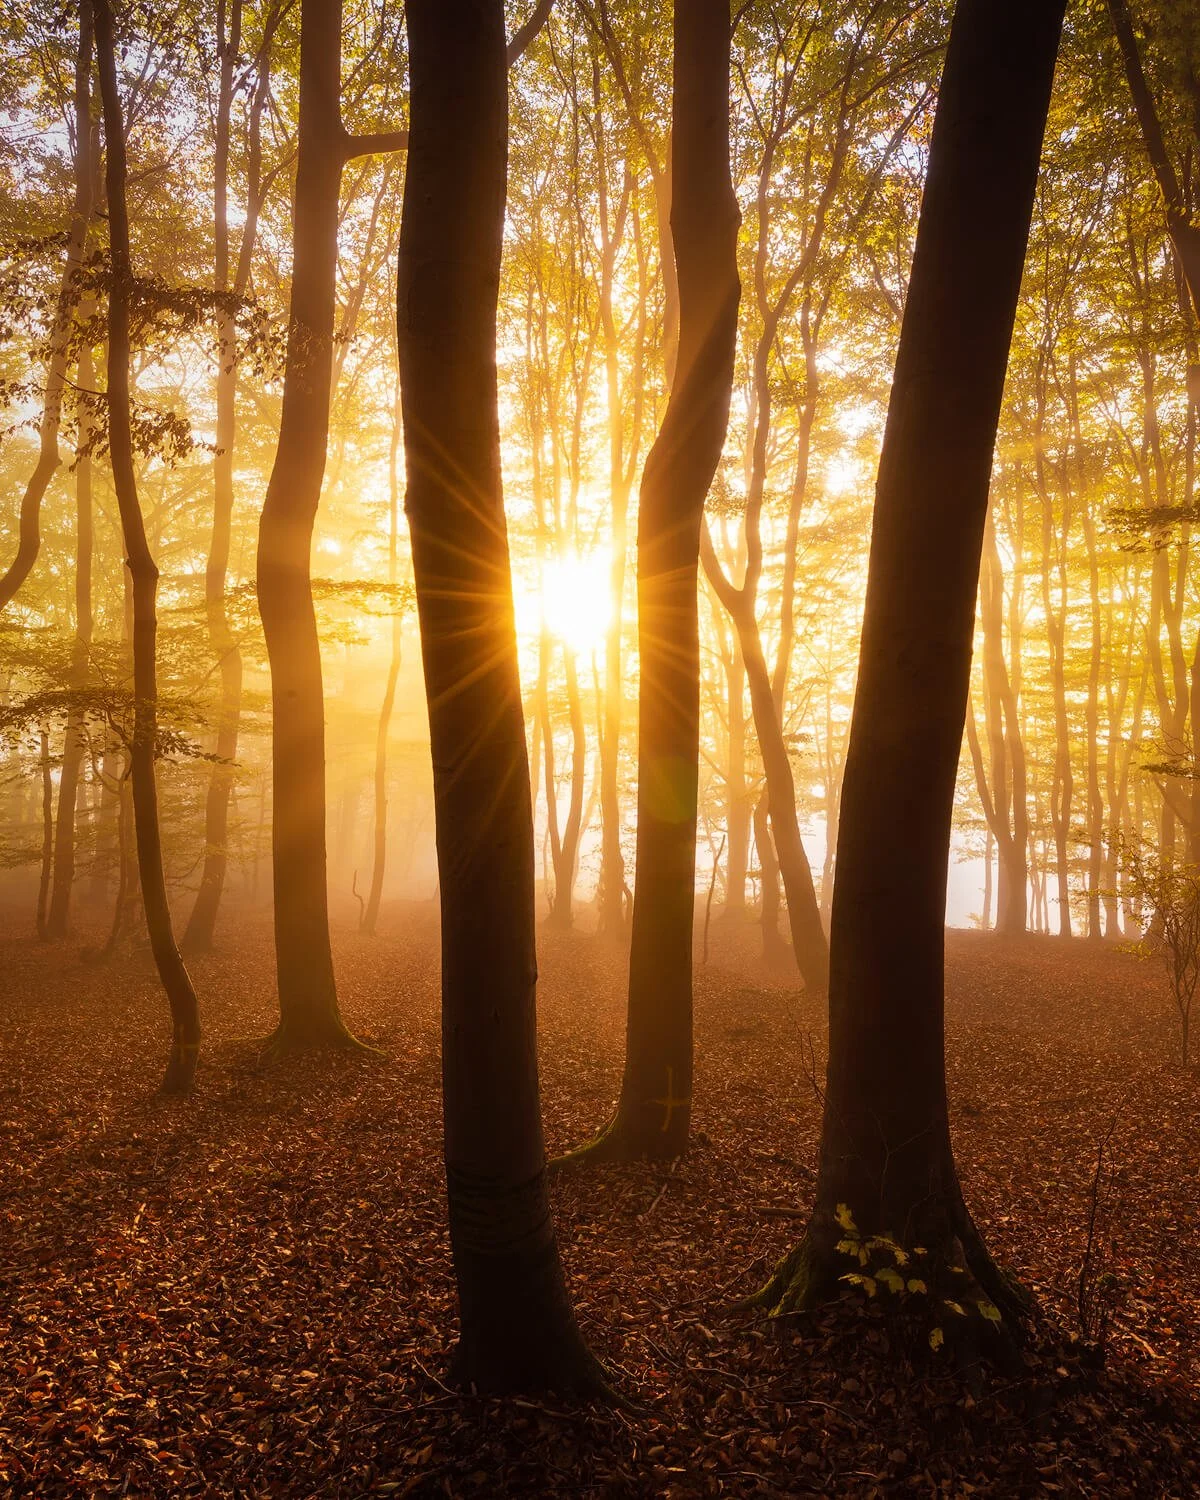
Detail Extractor. I use this only in a specific case, and against the way it's usually taught. I embrace that a bright sun means dark shadows, that's physics, and I like it. I hate the flat HDR look of shadows lifted until they're grey and lifeless. So I keep my shadows dark, because they should be dark, and I use Detail Extractor only to pull a little detail out of very dark areas while keeping them dark. When I do, I apply it and then manually mask it into just those areas in Photoshop, since that selective masking is one of the few things Lightroom still doesn't do as cleanly. The point is never to brighten the shadows. It's to let dark shadows keep their detail.
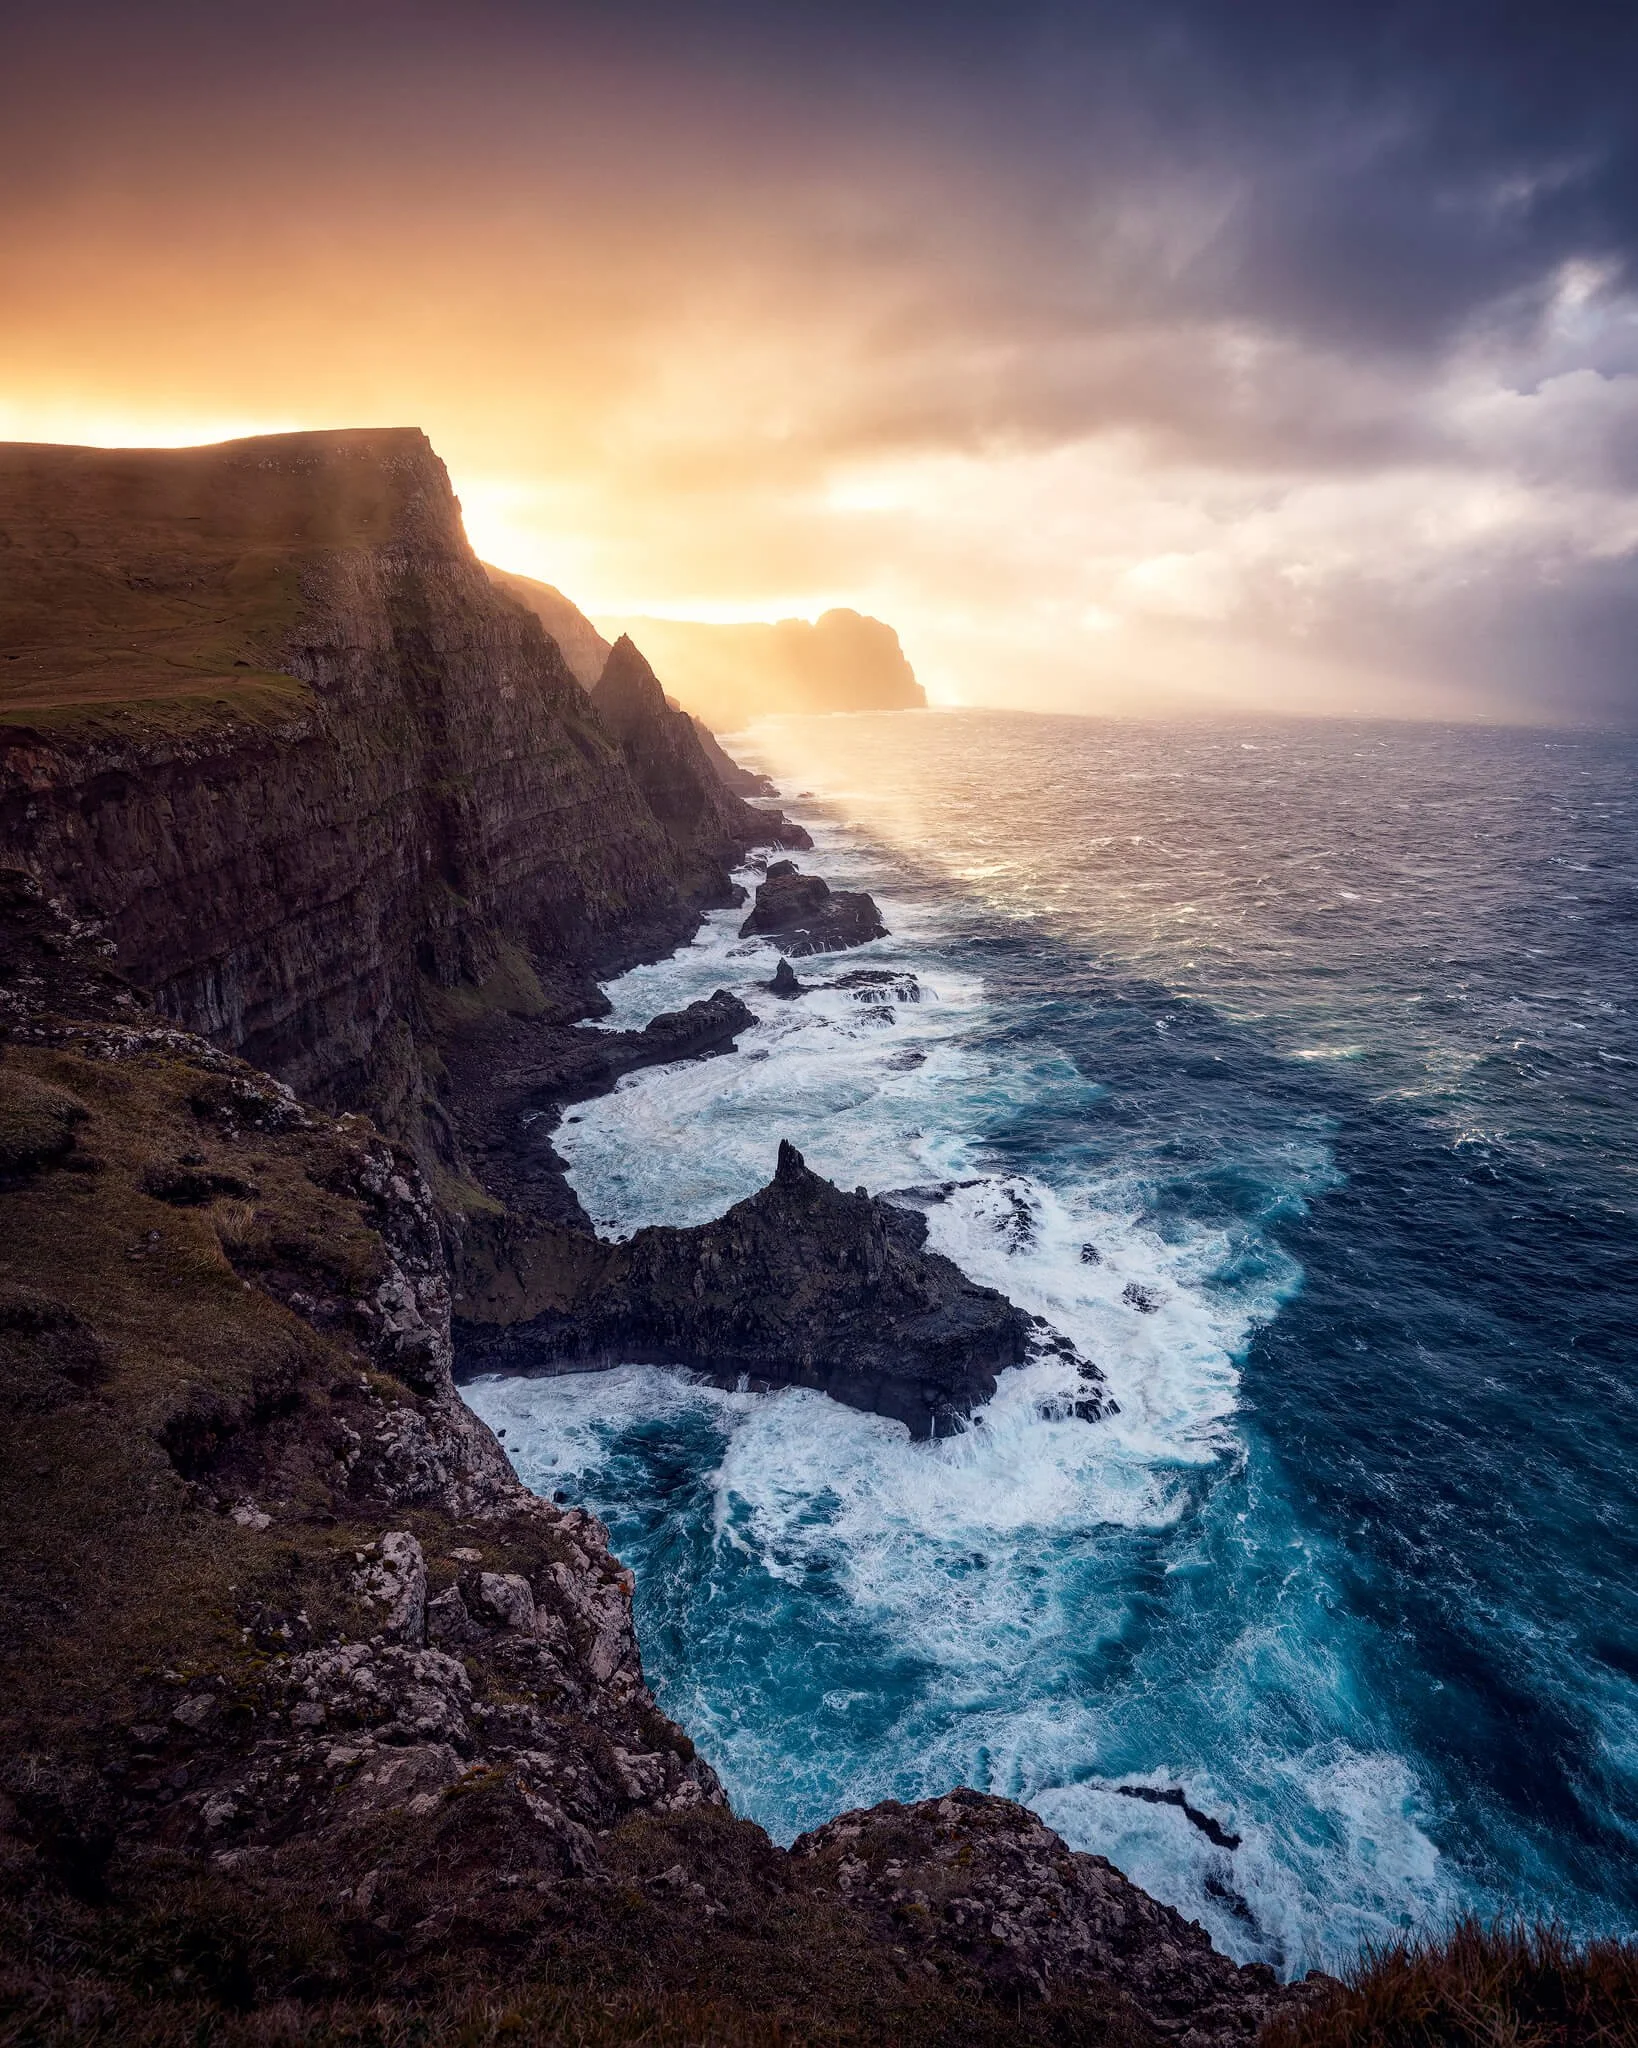
Glamour Glow, for a controlled Orton effect. I don't use this often, but when I do it's great for a refined Orton look, and the key word is refined. I hate the soft, dreamy wash people get when they apply it to the whole frame. So I work Glamour Glow onto the highlights only, just enough to make them glow and bleed a little into the scene. Then I make a new merged copy of the layers and apply a slight dose of Tonal Contrast, to recover some of the detail the glow softened. Push, then recover. Balance, not the extreme.
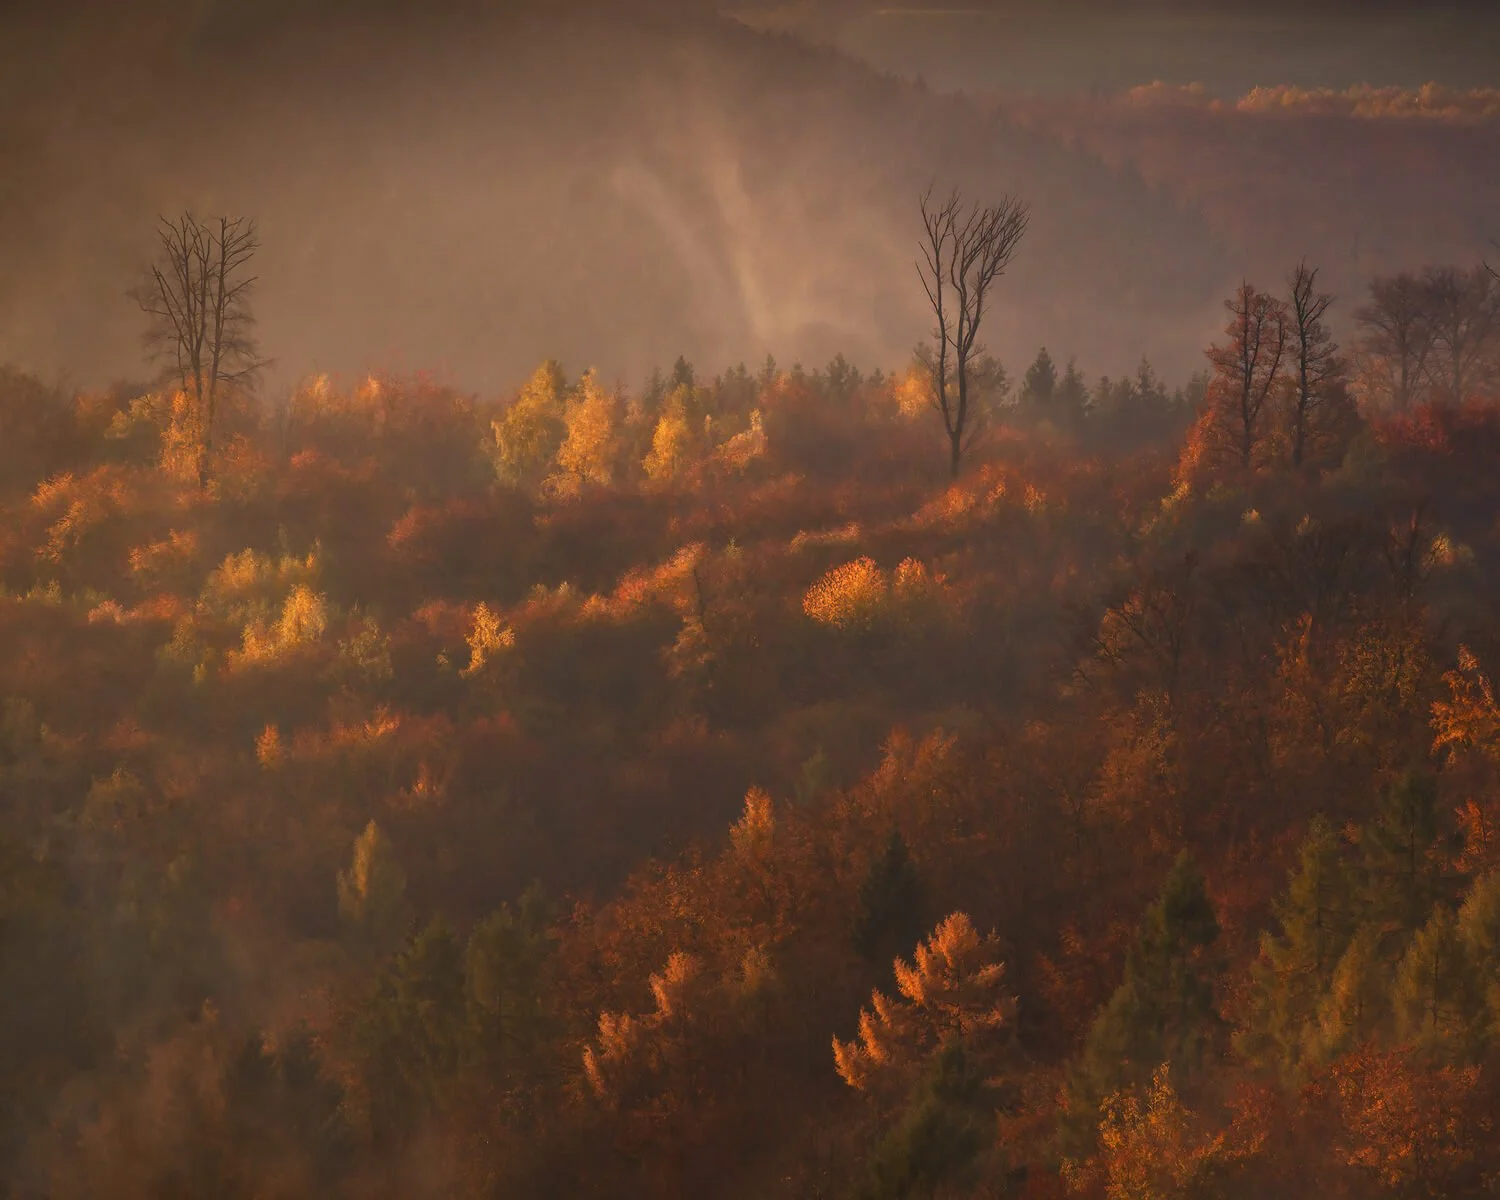
Each of these is a decision, not a preset. The skill isn't knowing the filter exists, it's knowing which one an image is asking for, and how far to take it before it tips over. Which, for me, is never very far.
And the last step: Viveza. Not Color Efex, but part of the same Nik Collection and the final thing I do. I go into Viveza to fine-tune the highlights, midtones and shadows, the last small pushes before an image feels genuinely finished.
Other filters worth knowing
I don't use these, but they come up often enough to mention, and one of them might suit the way you work:
Detail Extractor at higher strength, if you actually want that lifted, textured look, some people love it. Graduated Filters for darkening a sky or balancing a bright edge in-plugin. Darken/Lighten Center for a subtle vignette that guides the eye. White Neutralizer for cleaning up whites under mixed light. None of these are part of my process, but the plugin is deep, and it's worth an afternoon of trying them on your own images to find what fits you.
Why it's worth it
Here's the honest case, and it's about time as much as quality.
I can build most of what Color Efex does by hand. I spent years in Photoshop learning exactly how, layers improving each other, blend modes, sharpening and softening techniques playing off one another. I know that road well. Which is exactly why I can tell you the shortcut costs you nothing: when a tool reaches the precise effect I want in a minute, without losing image quality, I take it, every time. There's no sense spending half an hour on something a minute does just as well, when the manual result isn't meaningfully better.
That last part is the condition that matters. Without losing quality. When manual genuinely wins, I still go manual. But for the fine color and tone work at the end of an edit, Color Efex reaches the same place I would by hand, faster, and it lets me do that high-impact last twenty percent properly on every frame instead of rushing it. For the way I work, that trade is the whole game.
The cons — and who doesn't need it
My honest view, so here it is.
It's a finishing tool, not a foundation. It won't fix a weak edit underneath it, and it won't rescue a photograph that isn't working. Bring it a mess and it stays a mess.
If you love manual control, you may not want it. Some people genuinely enjoy building every adjustment by hand and want that total control. If that's you, and you have the time, you can reach similar places without this. It'll just take longer.
Lightroom alone may be enough for you. If you're happy with your normal look and you don't feel the last stretch missing, don't add a step you won't use.
So who is it for? Photographers who care about the finish, who want fine, targeted control over color and tone at the end of an edit, and who don't have unlimited hours to get there by hand. If that's you, this belongs in your workflow.
My verdict
Nik Color Efex is the permanent last step in how I finish my landscape work. It doesn't replace my editing and it doesn't invent the image. What it does is make the final twenty percent, the part that takes the most time and matters the most, fast enough and controlled enough that I can do it properly on every frame, gently, in layers, without the file ever falling apart. For the kind of photography I do, and for anyone who cares about the finish, it's worth every bit of that last step.
If you want to try it, the Nik Collection has a free trial, so you can run it on your own images and see what the finishing stage does on your own screen, which is the only test that really matters.
Reader discount
Get 15% off the Nik Collection
Nik Color Efex is the last step in how I finish every image. Try the Nik Collection free, and if you keep it, the code below takes 15% off at checkout — it works across the whole DxO range too, so PureRAW, PhotoLab and FilmPack count as well.
The code gives you 15% off and earns me a commission. It costs you nothing extra, and I only recommend DxO because I use it on my own work.
Keep exploring — more from Stories from the Wild
DxO PureRAW 6 Review: How It Fits Into a Real Landscape Photography Workflow — the front of my workflow, where noise and detail are handled before the edit begins.
How to Improve Your Landscape Photography: 12 Tips That Actually Work — the habits that make the biggest difference, gear aside.
Best Camera Settings for Landscape Photography — getting the frame right in the field, before any of this.
Before I press the shutter anywhere in the world, I run through four quick checks that keep my compositions strong. I've put all four into a free guide called The Field Method.