How to Photograph the Northern Lights
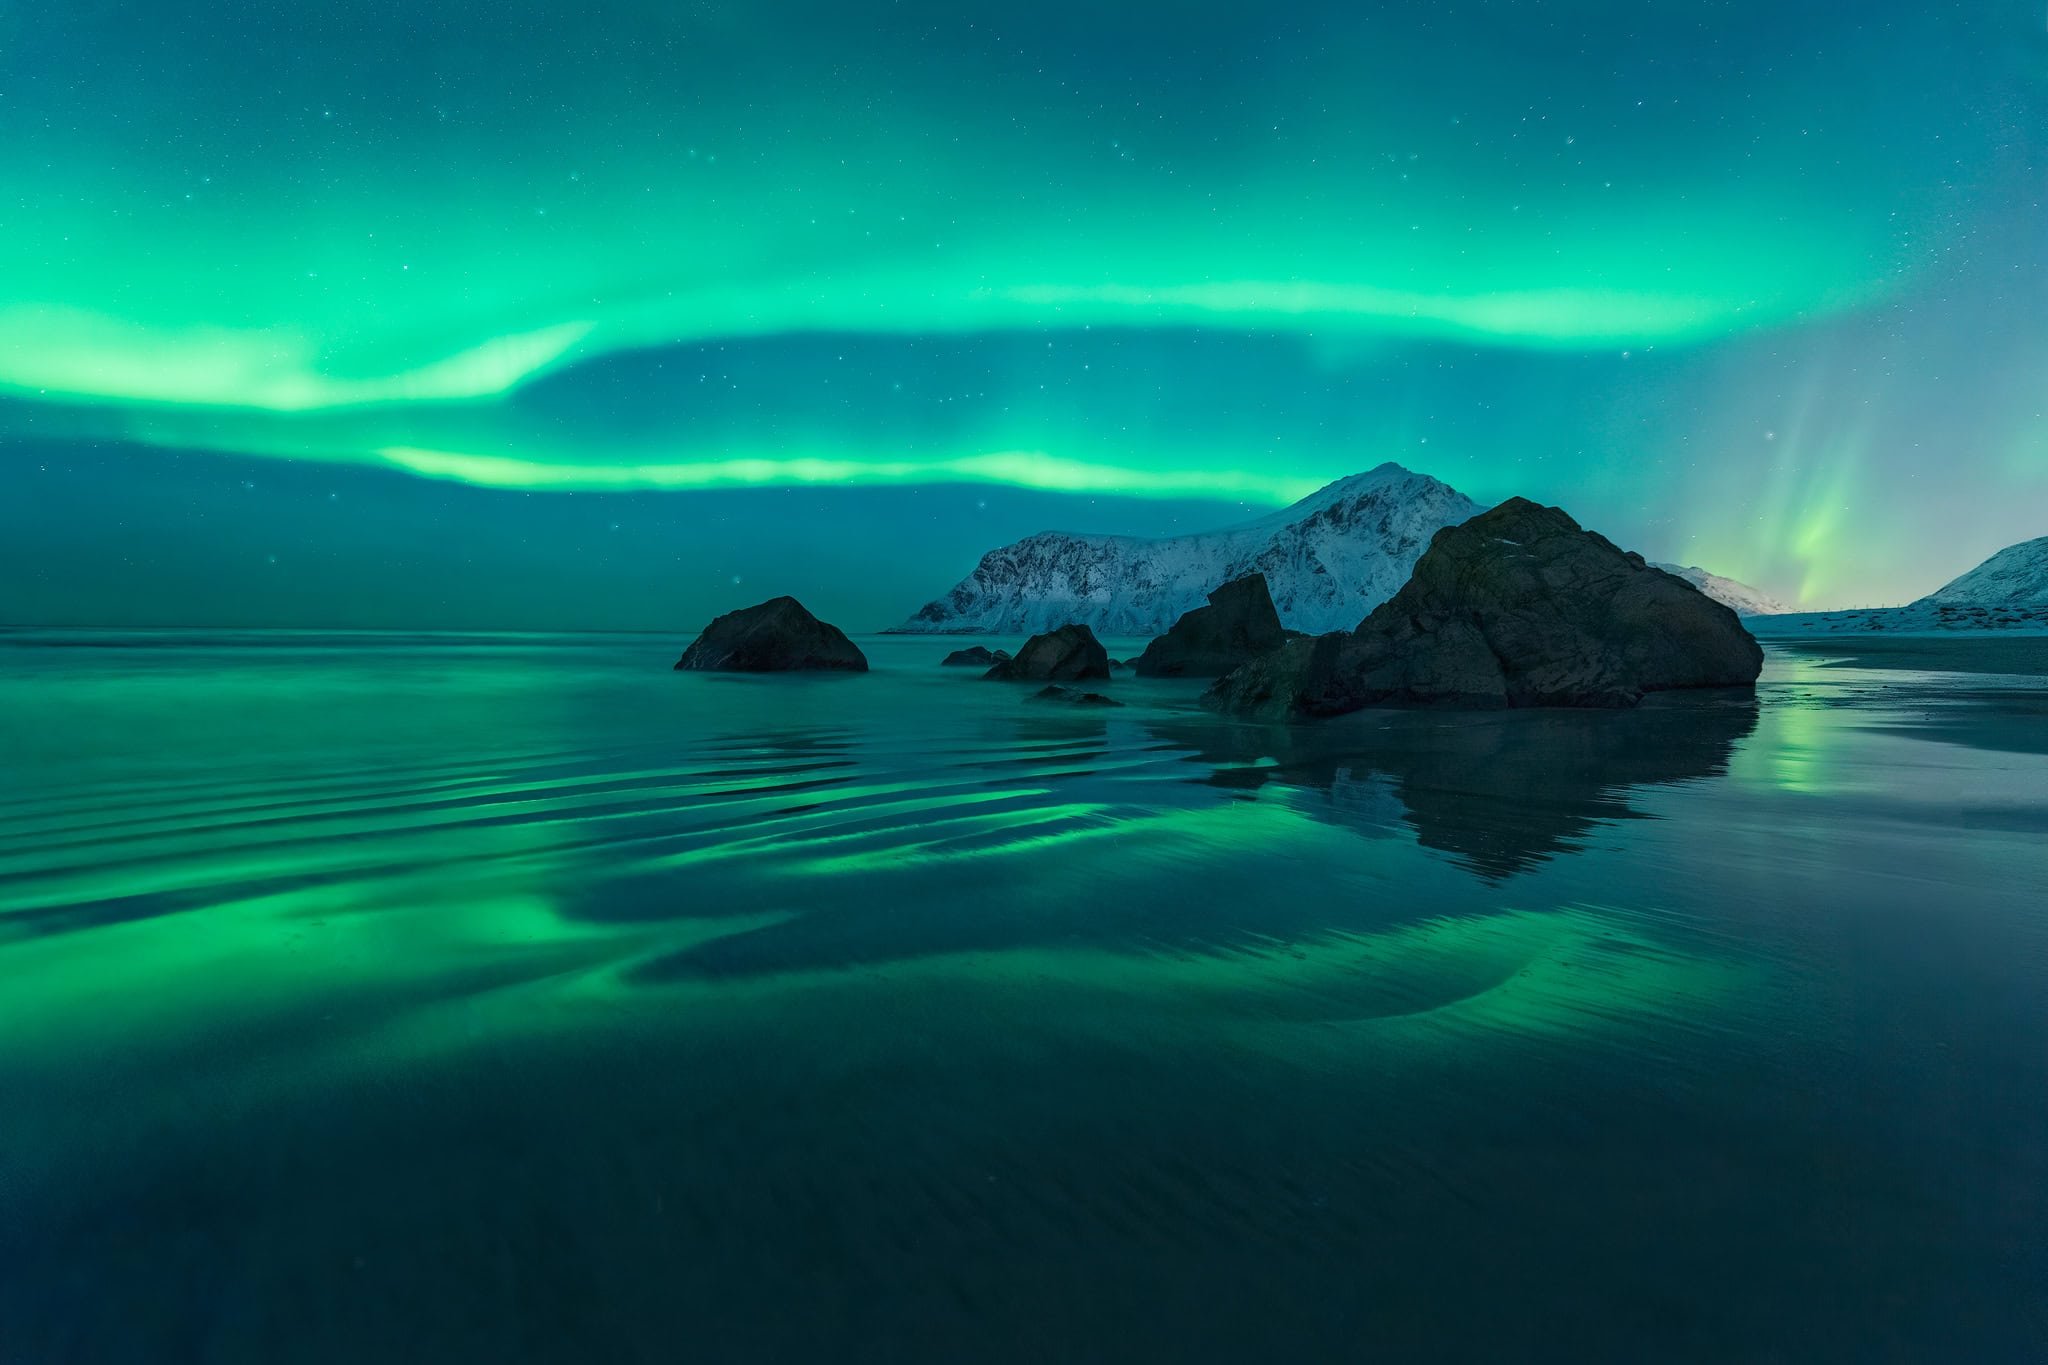
Every aurora trip I have taken or led has ended with at least a little bit of the northern lights on the memory card. Not because I am such a lucky guy (I wish). Because I treat the aurora like a discipline: read the data, stay out when most others would go to bed, and drive as far as it takes to find a hole in the clouds.
This guide is that discipline, written down. What the aurora actually is, how I forecast it, the gear that matters, and the camera settings I really use in the field — not a magic recipe, but the reasoning that lets you build the right exposure in any conditions.
The short answer: shoot RAW on a tripod with a wide, fast lens (f/2.8 or faster). Start around ISO 1600–3200, aperture wide open, white balance around 3750 K. Then let the aurora's speed dictate your shutter: 15–25 seconds for slow, faint displays, down to 1–5 seconds when it dances fast and bright. Every other decision in this article builds on that.
1. What Are the Northern Lights?
The sun sends out more than heat and light. It constantly releases energy and charged particles into space. Earth's magnetic field deflects most of them — but during strong solar activity, some of these particles travel along the field lines toward the poles. There they collide with gases high in the atmosphere and make them glow. That glow is the aurora: borealis in the north, australis in the south.
That is all the physics you need. But two terms from the forecasting world are worth understanding, because they decide whether you sleep or stay out:
Kp index measures global geomagnetic activity on a scale from 0 to 9. The higher the Kp, the further south the aurora becomes visible. In the far north — Lofoten, Iceland, Lapland — even Kp 1 or 2 can produce a beautiful display overhead. For the Faroe Islands we already need stronger activity.
Bz is the direction of the interplanetary magnetic field carried by the solar wind. When Bz turns negative (southward), it aligns against Earth's field and opens a magnetic door: energy pours in, and auroras appear. A strongly negative Bz is often the real trigger for a great night, even when the Kp forecast looks modest. If you learn to watch one number, watch this one.
2. When Is Aurora Season?
The northern lights are happening around the clock, all year, whenever the sun is active. What changes is whether you can see them — it needs to be dark enough.
That makes the practical aurora season August to April in the northern hemisphere. Around the equinoxes, geomagnetic activity often spikes, with several solar storms possible in a row. My own favourite time to chase the northern lights is deep winter: I love the contrast between icy, snow-covered foregrounds and a sky in full motion. If you are planning a dedicated trip, my guides to Lofoten in winter and the Faroe Islands cover locations that pair strong foregrounds with dark northern skies.
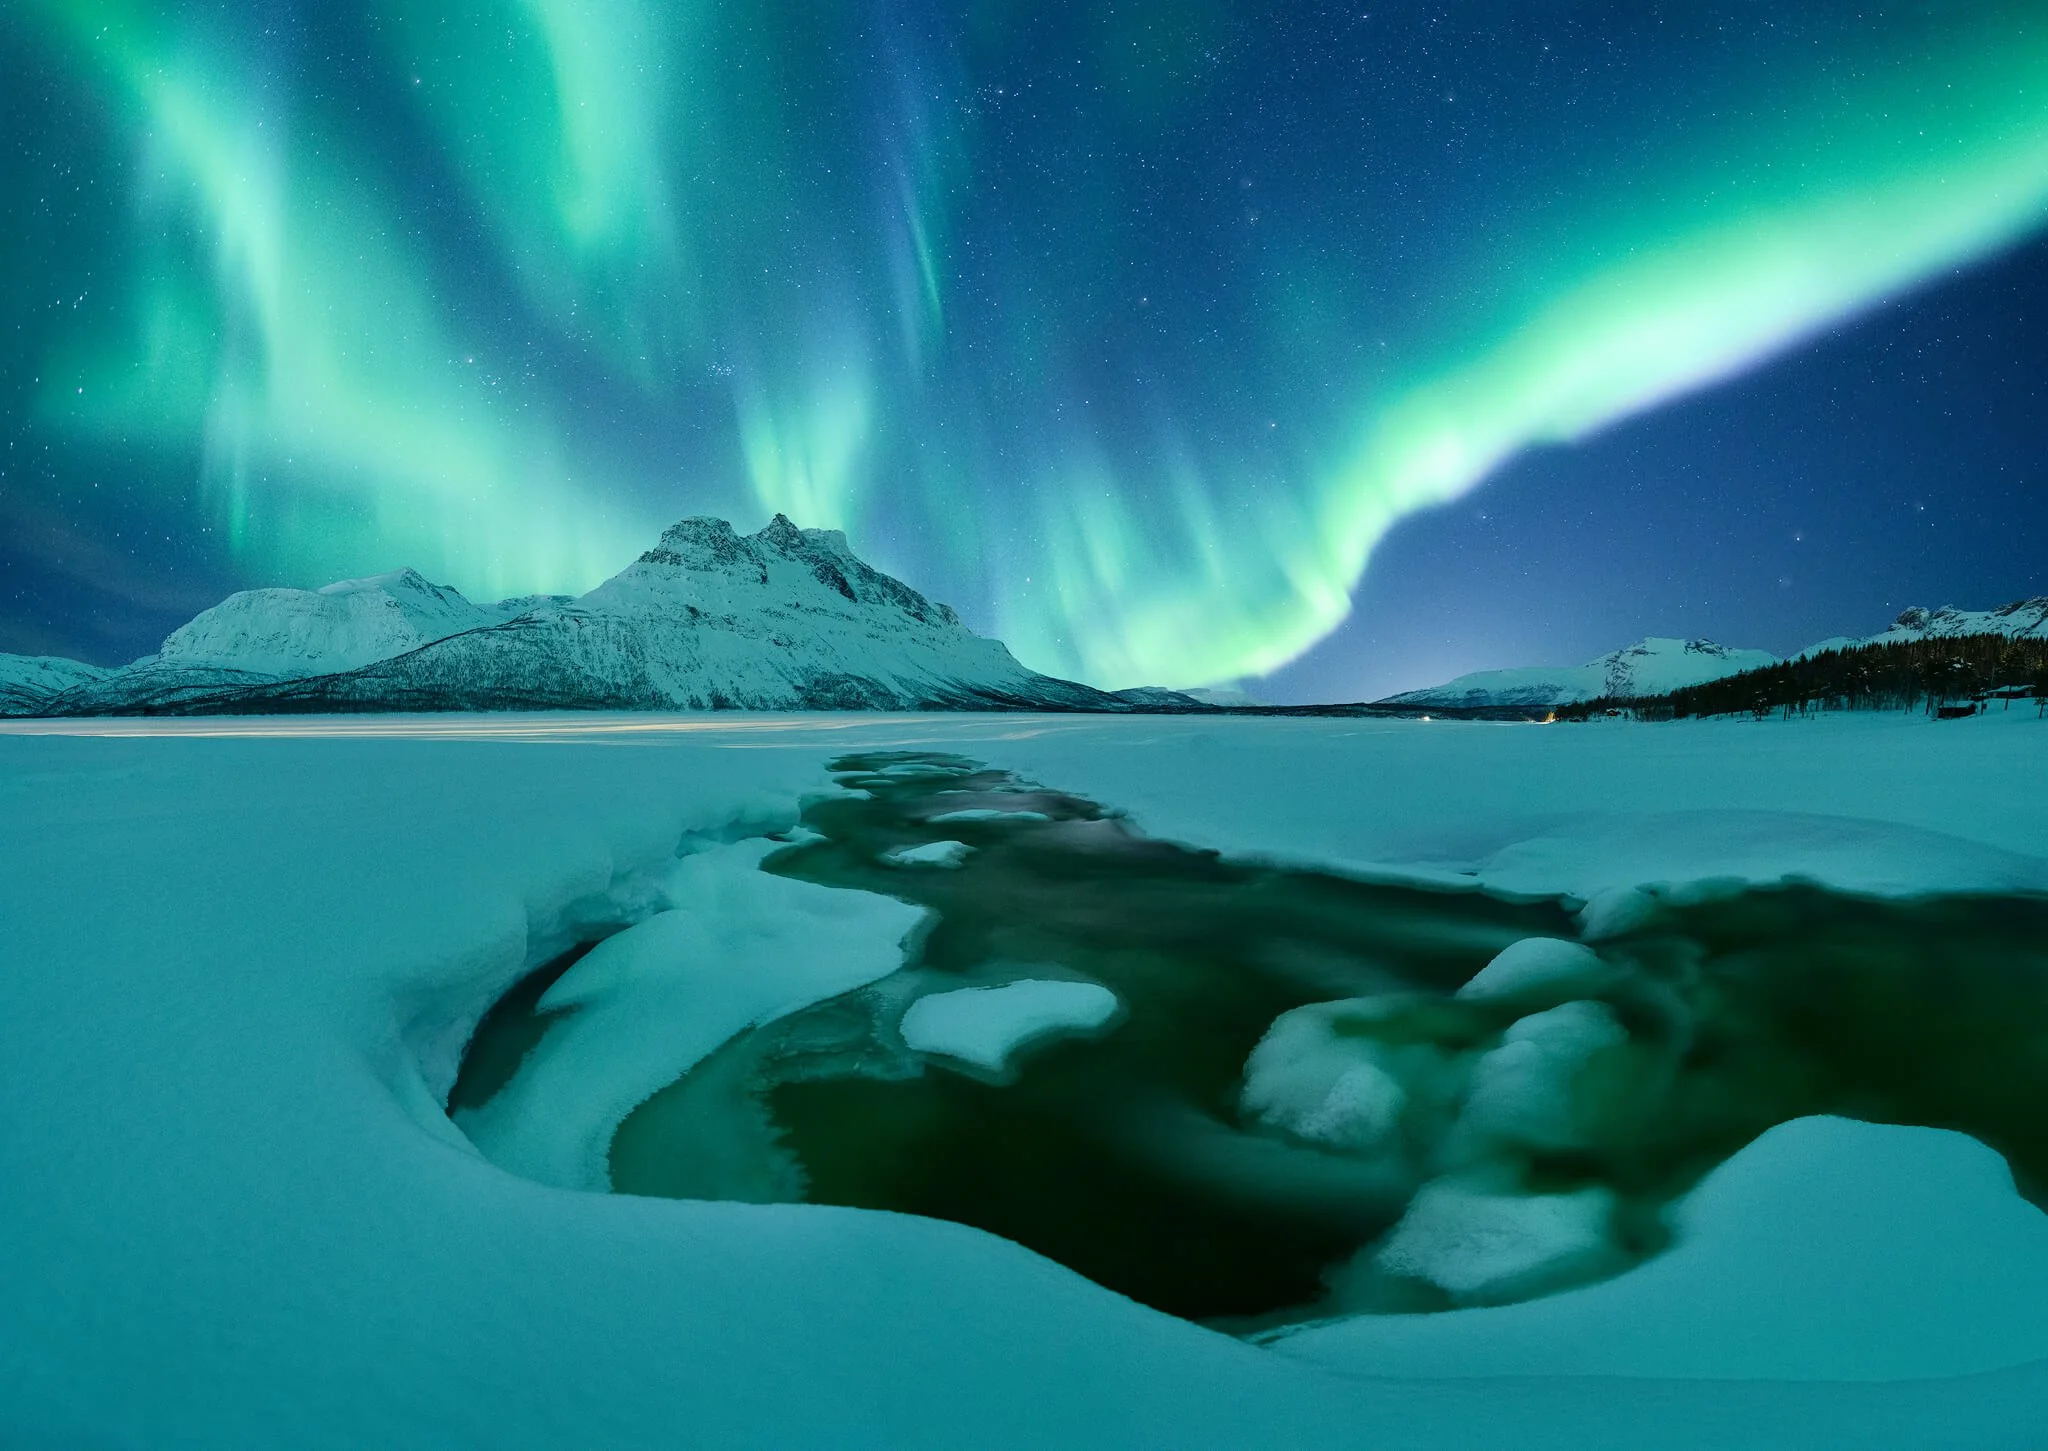
When the sky is full of dancing Aurora borealis and the foreground is awesome, try to stitch a panorama
3. How I Forecast the Aurora
There are a million aurora apps now, and most of them are fine. Some are free with ads, some are paid with better design. None of them changes the essential fact: the skill is in reading the conditions, not in choosing and owning the tool.
My backbone is SpaceWeatherLive — the website and the app. It shows the live solar wind data, the Bz, the magnetometers. I have successfully forecast aurora many, many times using SpaceWeatherLive alone. Spaceweather.com is my second reference for the bigger picture: incoming coronal mass ejections, solar flare activity, the three-day outlook.
The third tool is Aurora Pro, and I use it for one function above all: users report aurora sightings from their GPS position in real time. I combine those live reports with cloud-cover maps. If people 80 kilometres east of me are seeing the lights and the cloud map shows the layer breaking in that direction, I know whether it is worth getting in the car — or staying in bed. The free version already does everything you need; the paid one adds some extra features if you want them.
And that is the part no app can do for you: the decision to go. On my own trips chasing the aurora, my success rate is 100 percent — every single time. The reason is not software. It is persistence. If the northern lights are your priority, you skip a sunrise session and sleep instead, so you can be awake at 2 a.m. when the sky erupts. You drive hundreds of kilometres to escape a cloud layer, and come out under clear sky in a place you never planned to shoot, while your original location sits under rain all night. The aurora rewards the people who are still outside — the ones free to stay out as long as the night demands.
4. The Gear That Matters
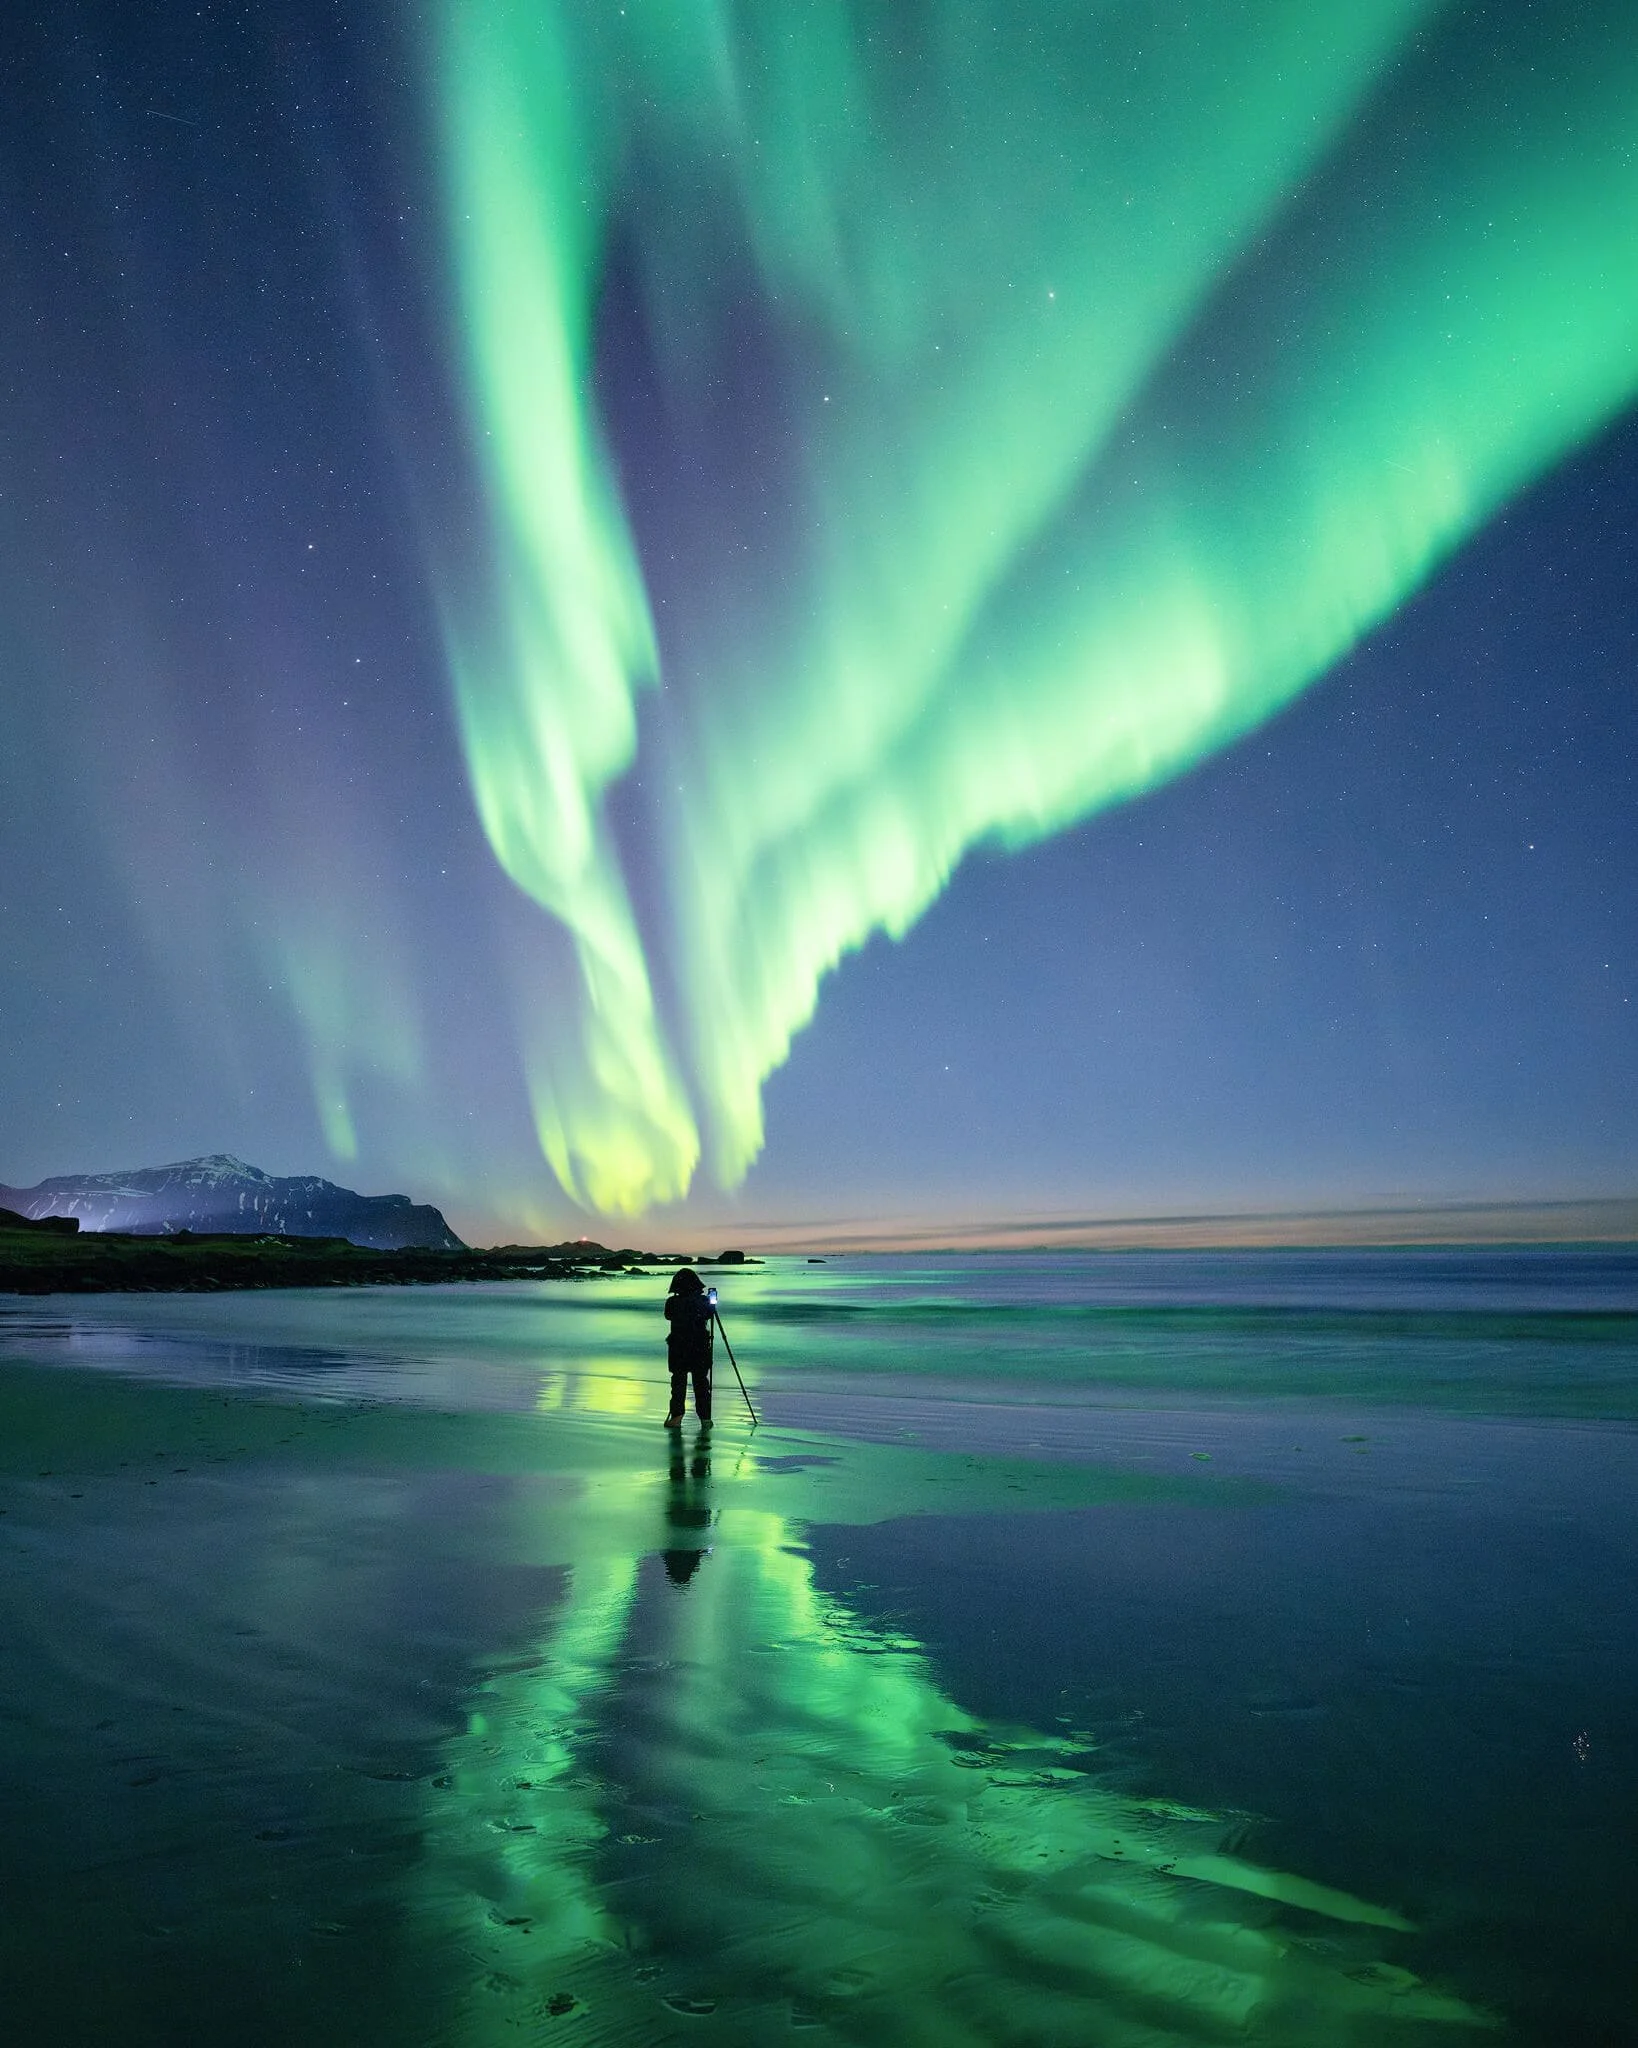
You do not need exotic equipment. You need the right few pieces:
A camera you can trust in the dark. The more advanced the body, the better its high-ISO performance — and high ISO is where aurora photography lives. Any current mirrorless or DSLR from prosumer level up will do the job.
A fast, wide lens. This is the one place gear genuinely matters. You want a wide angle to hold the sky and a dynamic foreground in the same frame, and a big aperture — f/2.8 or faster — to collect light. My own aurora lens is the Nikkor Z 14-24mm f/2.8 S, and it is exceptional. Any of the astro-capable lenses in my lens guide for landscape photography will serve you well, as long as it is wide enough for sky and foreground together.
A sturdy tripod that does not start shaking in arctic wind. Everything in this discipline is a long exposure; a nervous tripod ruins all of it.
Spare batteries, kept warm. Cold drains batteries fast. I keep spares in an inside pocket, close to my body. I even stopped using a battery grip for this reason — smaller camera, and the batteries stay warm until the moment they are needed.
A headlamp. Not camera gear, but the most important item on the list. You will be working in total darkness with numb fingers.
Water and snacks. The cold burns calories quickly, and a long wait goes better with chocolate.
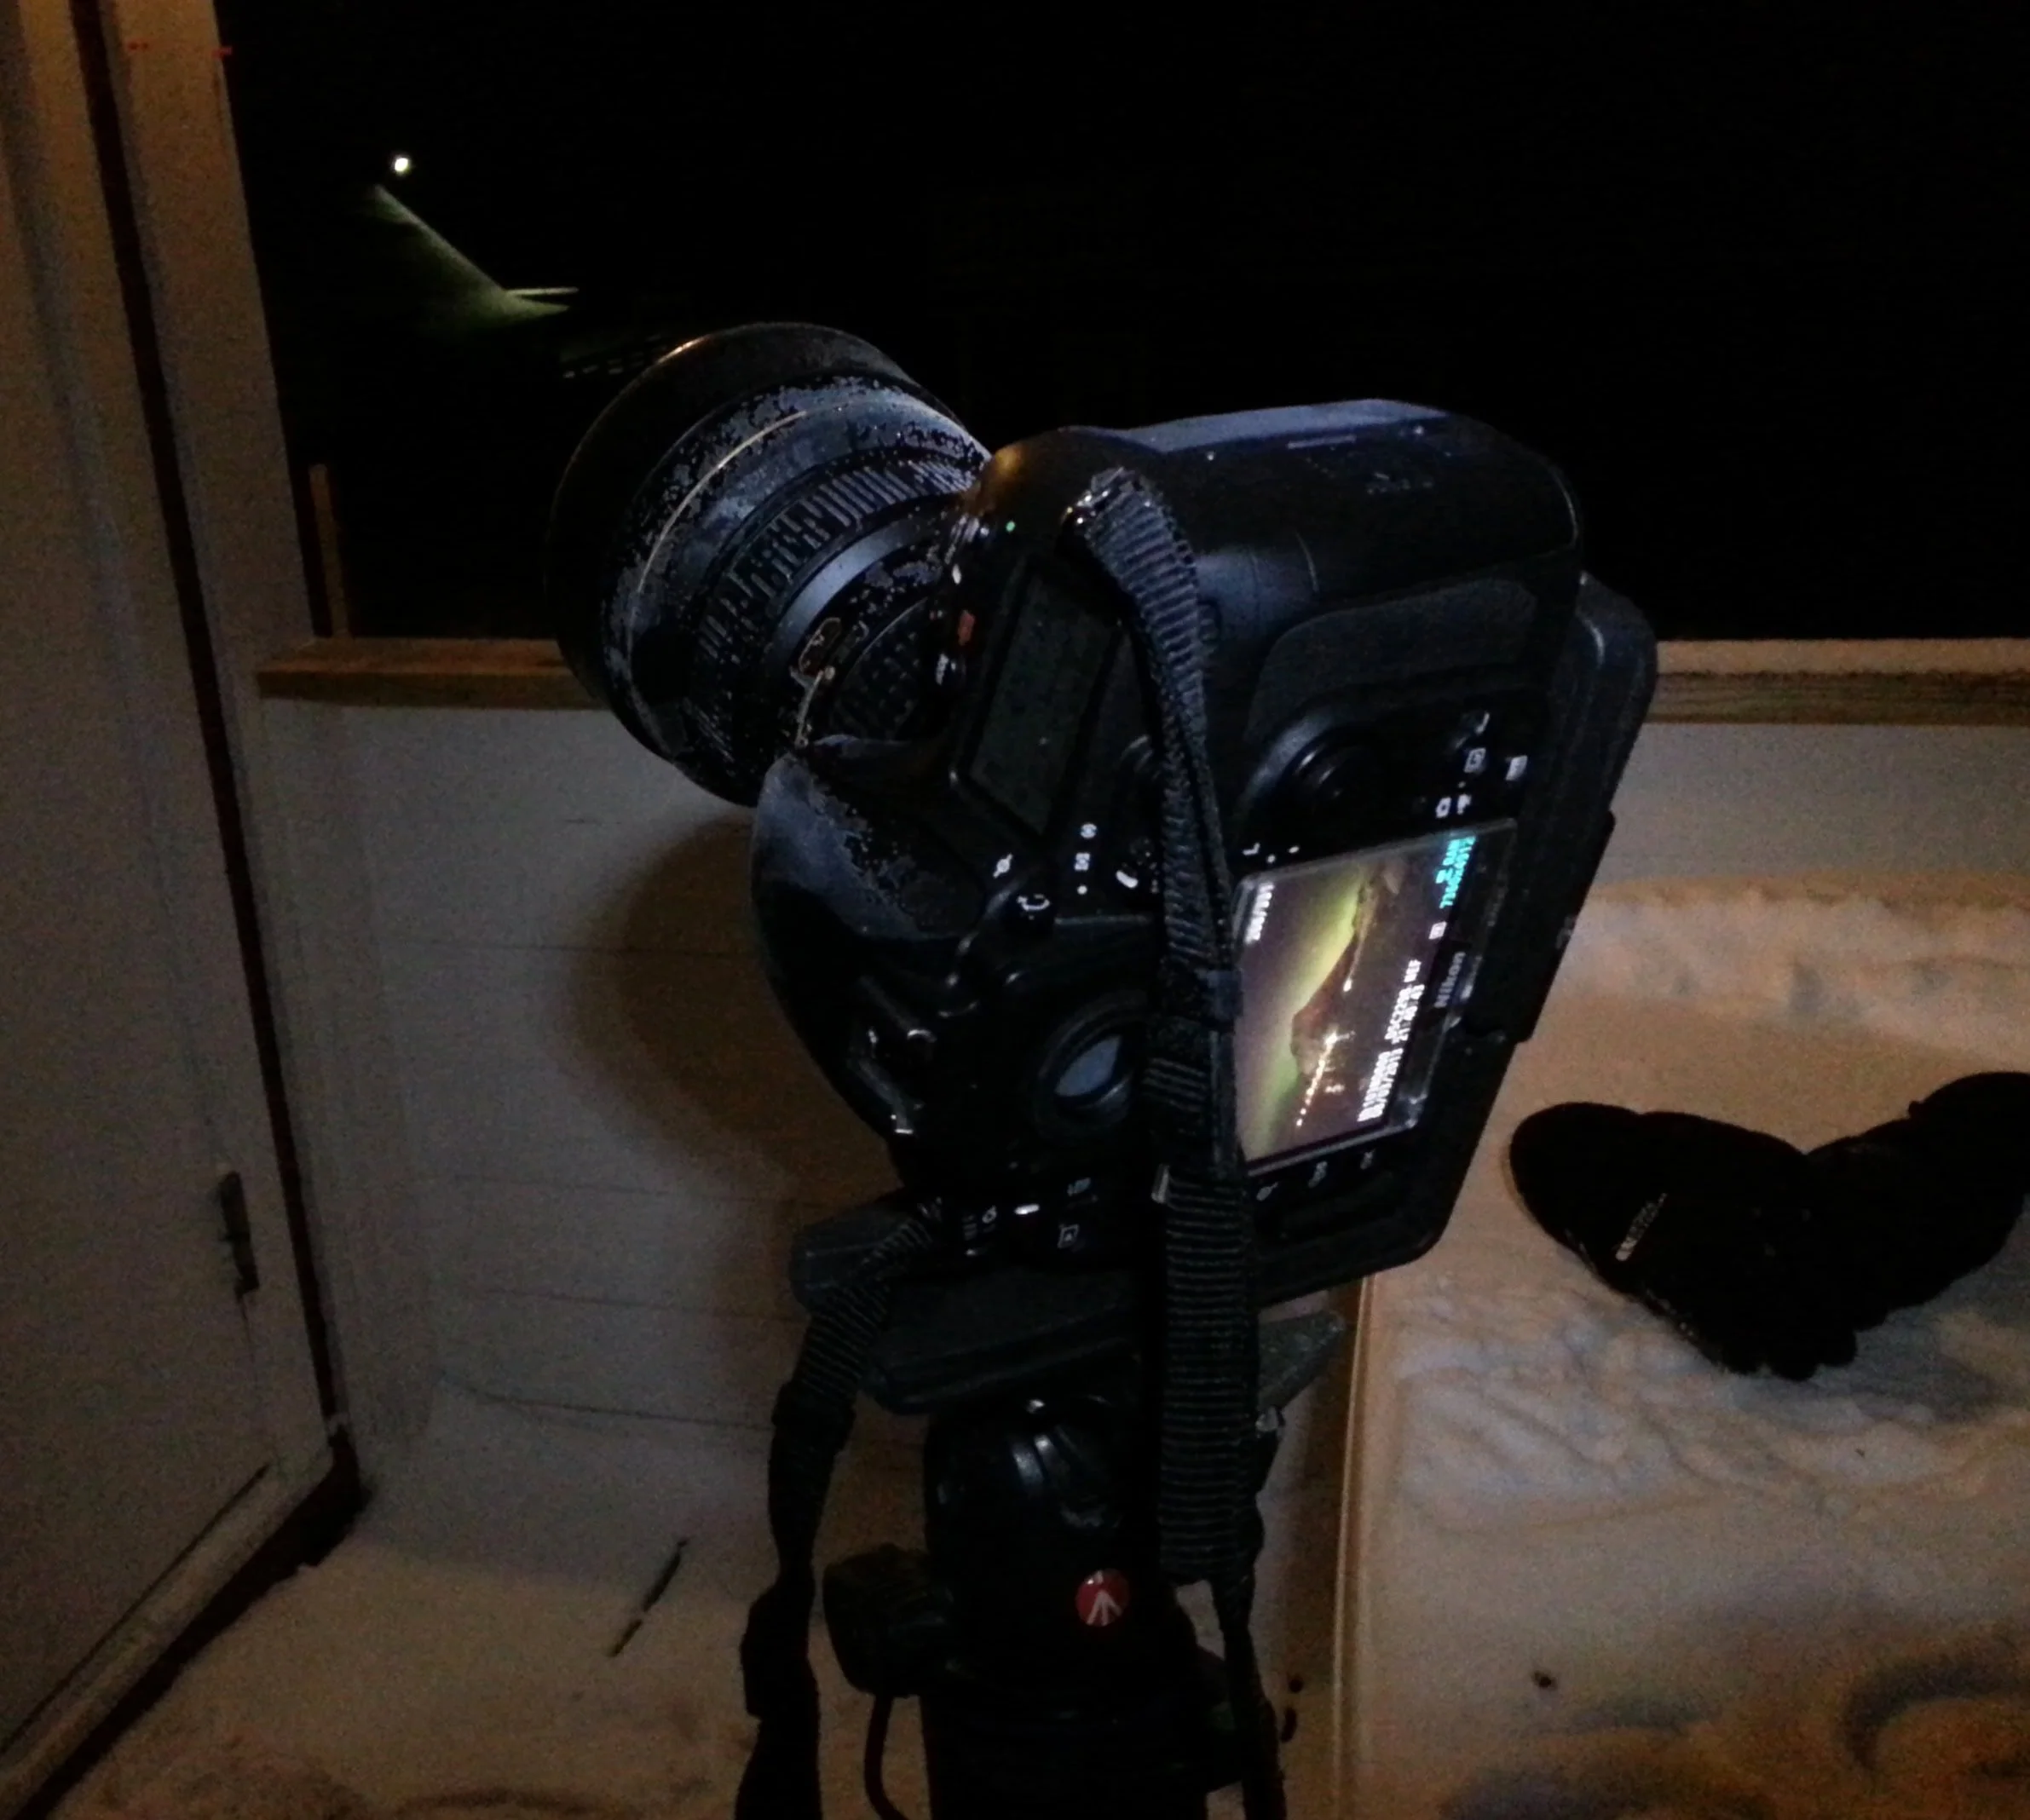
When it get´s really cold you need to watch out, don´t cough next to your camera or it might freeze over…
5. Camera Settings: Shutter Speed Rules Everything
Forget the idea of one correct aurora exposure. There is a hierarchy instead, and at the top of it sits the shutter speed. Every other setting exists to serve it.
Here is why. The aurora moves. Sometimes it drifts like slow smoke; sometimes it explodes across the sky in seconds. Your shutter speed decides whether you capture that structure — the rays, the curtains, the sharp lower edge — or smear it into a shapeless green glow. The faster the aurora dances, the shorter you must expose. Faint and slow: 15 to 25 seconds works. Fast and violent: you need to stay under 5 seconds, sometimes under 2.
Aperture and ISO are how you pay for that shutter speed. Aperture goes wide open — that part is simple. ISO is the variable you push until the exposure works. Modern sensors handle ISO 3200, 6400 and beyond far better than the cameras this advice was originally written for, and today's AI denoising cleans up what remains. The old doctrine of protecting ISO at all costs is dead. Protect the aurora's structure instead.
My first move on location: before I worry about a perfect exposure, I dial in deliberately extreme settings for the ambient light — very high ISO, wide open, a generous shutter. The result is far too bright, and that is the point. The overexposed test frame shows me the landscape I cannot see with my eyes, and I use it to choose a composition with confidence. Then I pull the settings back for the real capture. Composition decides whether an aurora image is exciting or empty; this trick means you never compose blind.
6. Six Real-World Aurora ScenarioS
These are starting points from my own field notes — combinations of aurora strength and moonlight, which are the two variables that actually define your night. Take the reasoning, not just the numbers.
Slow, faint aurora with little moonlight. A calm situation and a great one for panoramic captures. Start at ISO 1600, f/2.8, 20 seconds.
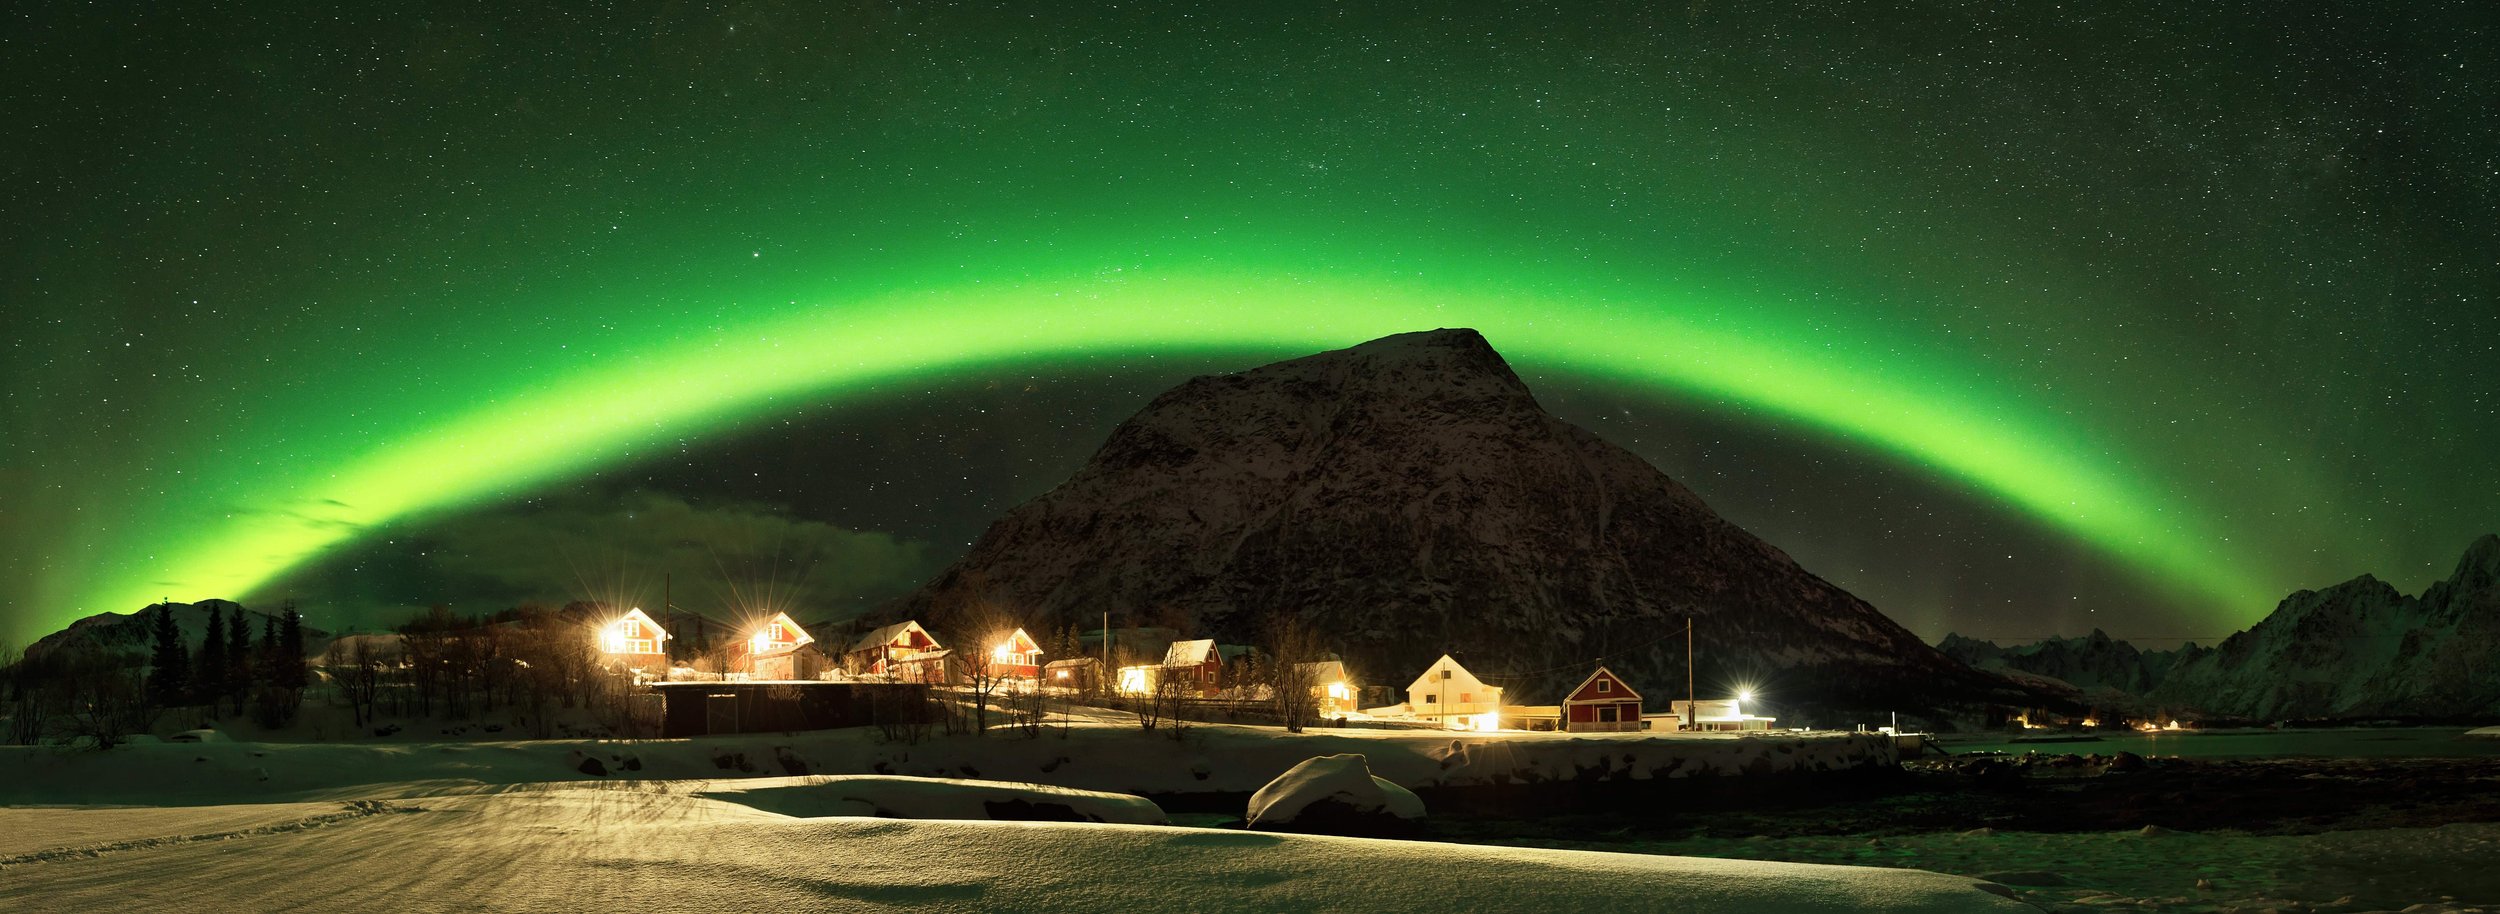
I once won the Global Arctic Award with this stitched panorama of an Aurora arch above a town in Norway
Strong aurora with little or no moon. Challenging: the sky is bright and fast, but the land is black. ISO 6400, f/2.8, 2 seconds — and accept a dark foreground, or blend a separate foreground exposure (see the next scenario).
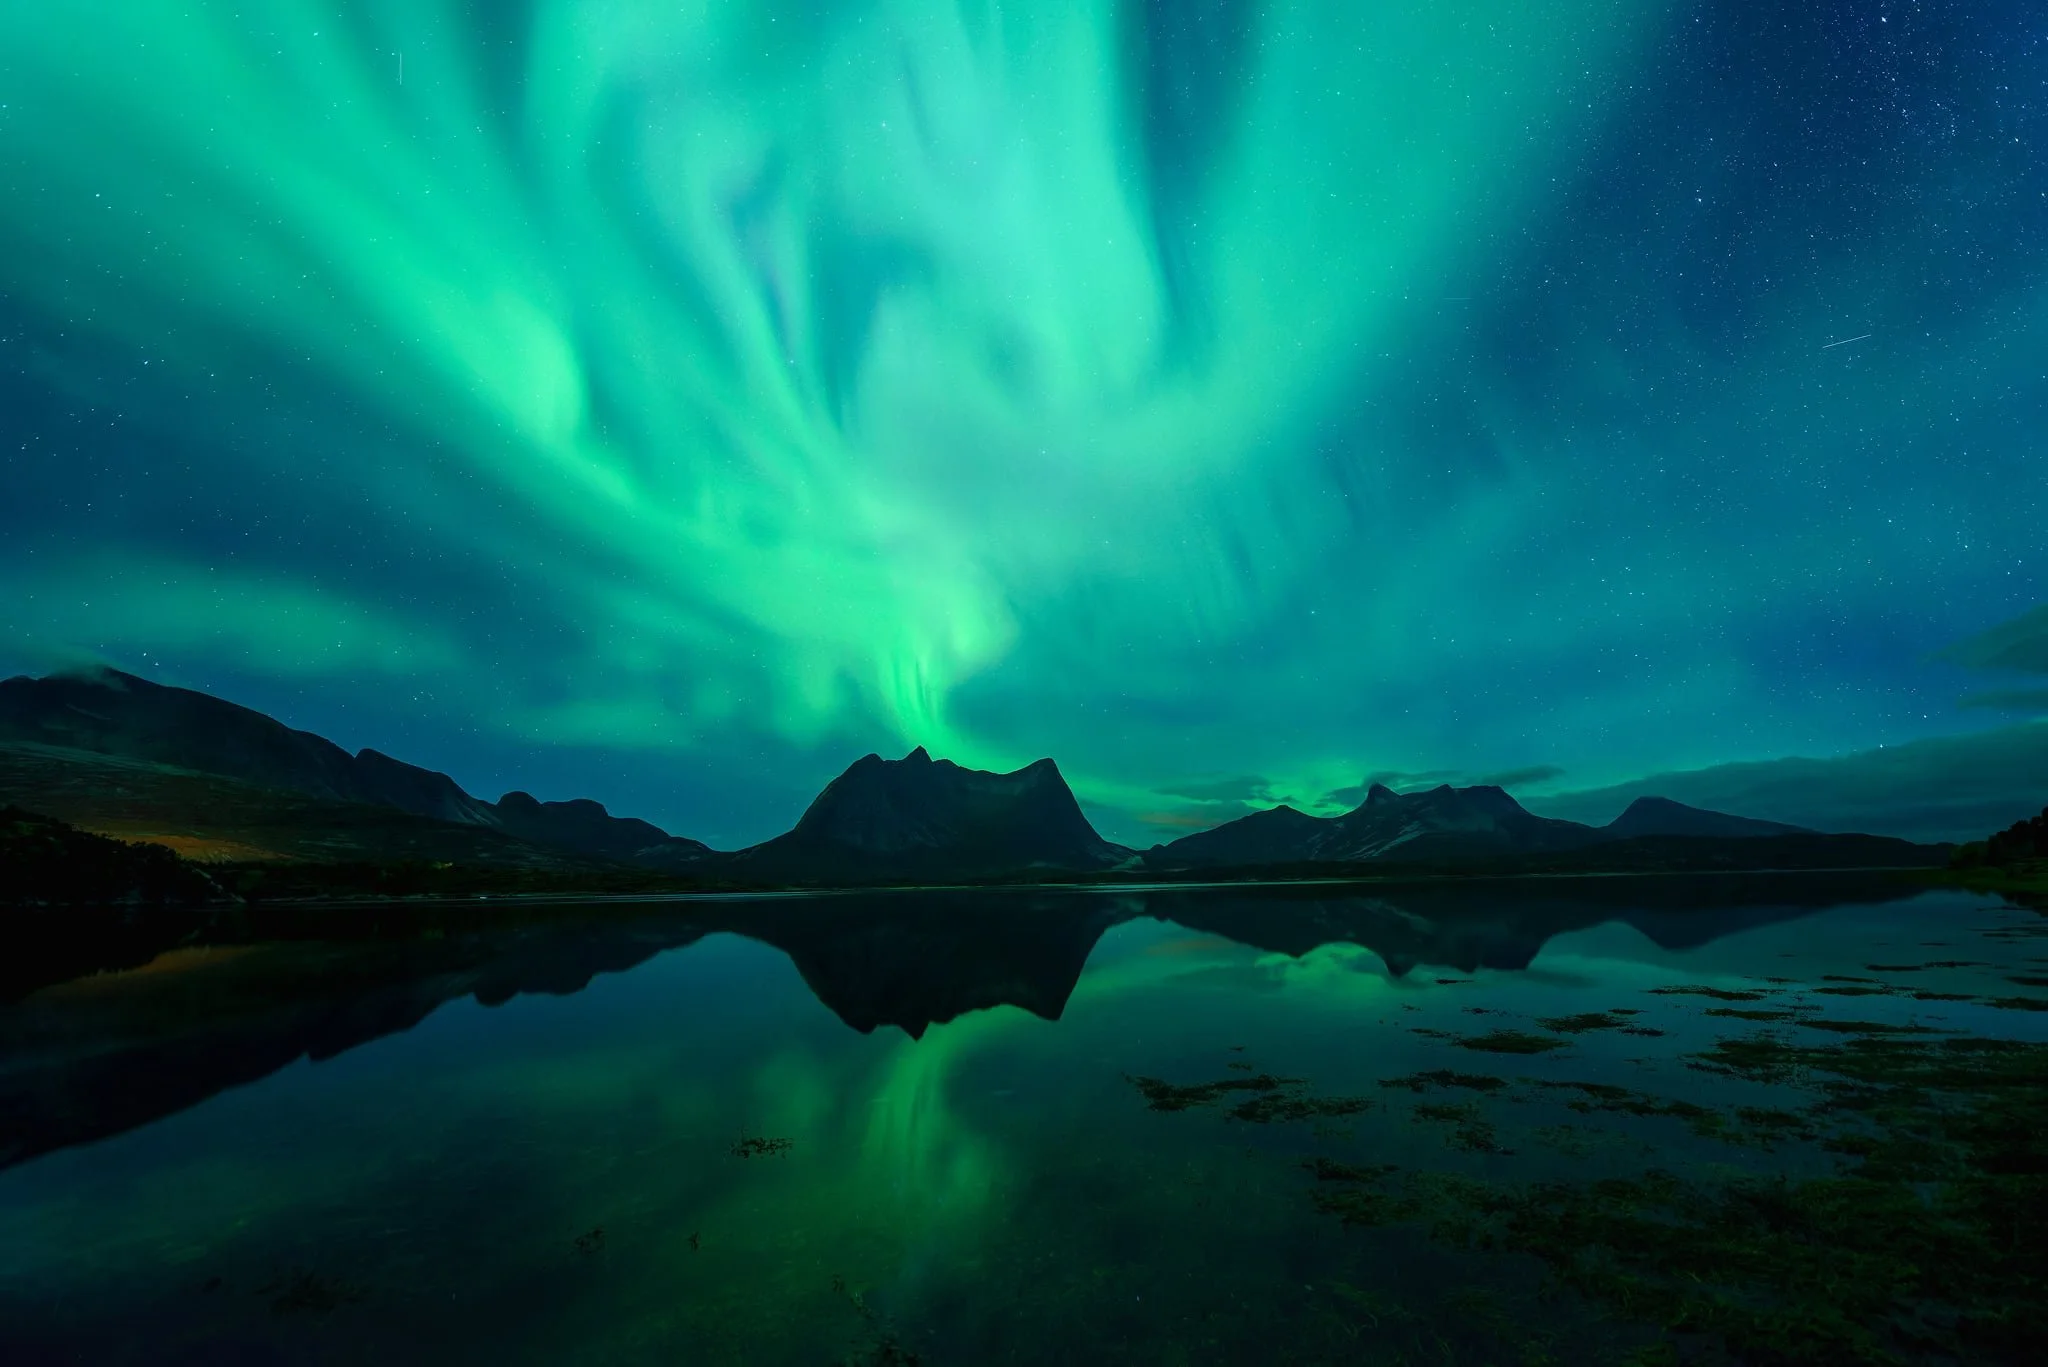
This was a night of strong contrast- bright Aurora and very dark landscape in lack of moon light.
Strong aurora without moon, done properly. Shoot two frames: foreground at ISO 1600, f/4, 30 seconds; aurora at ISO 4000, f/2.8, 2 seconds. Blend them in post. Also a beautiful setup for abstract takes of the aurora structure alone. (The Reynisfjara image closing this article was made exactly this way — see below.)
Medium aurora with strong moonshine. The balanced gift: the moon lights the landscape evenly while the aurora holds its own. ISO 1600, f/2.8, 3 seconds.
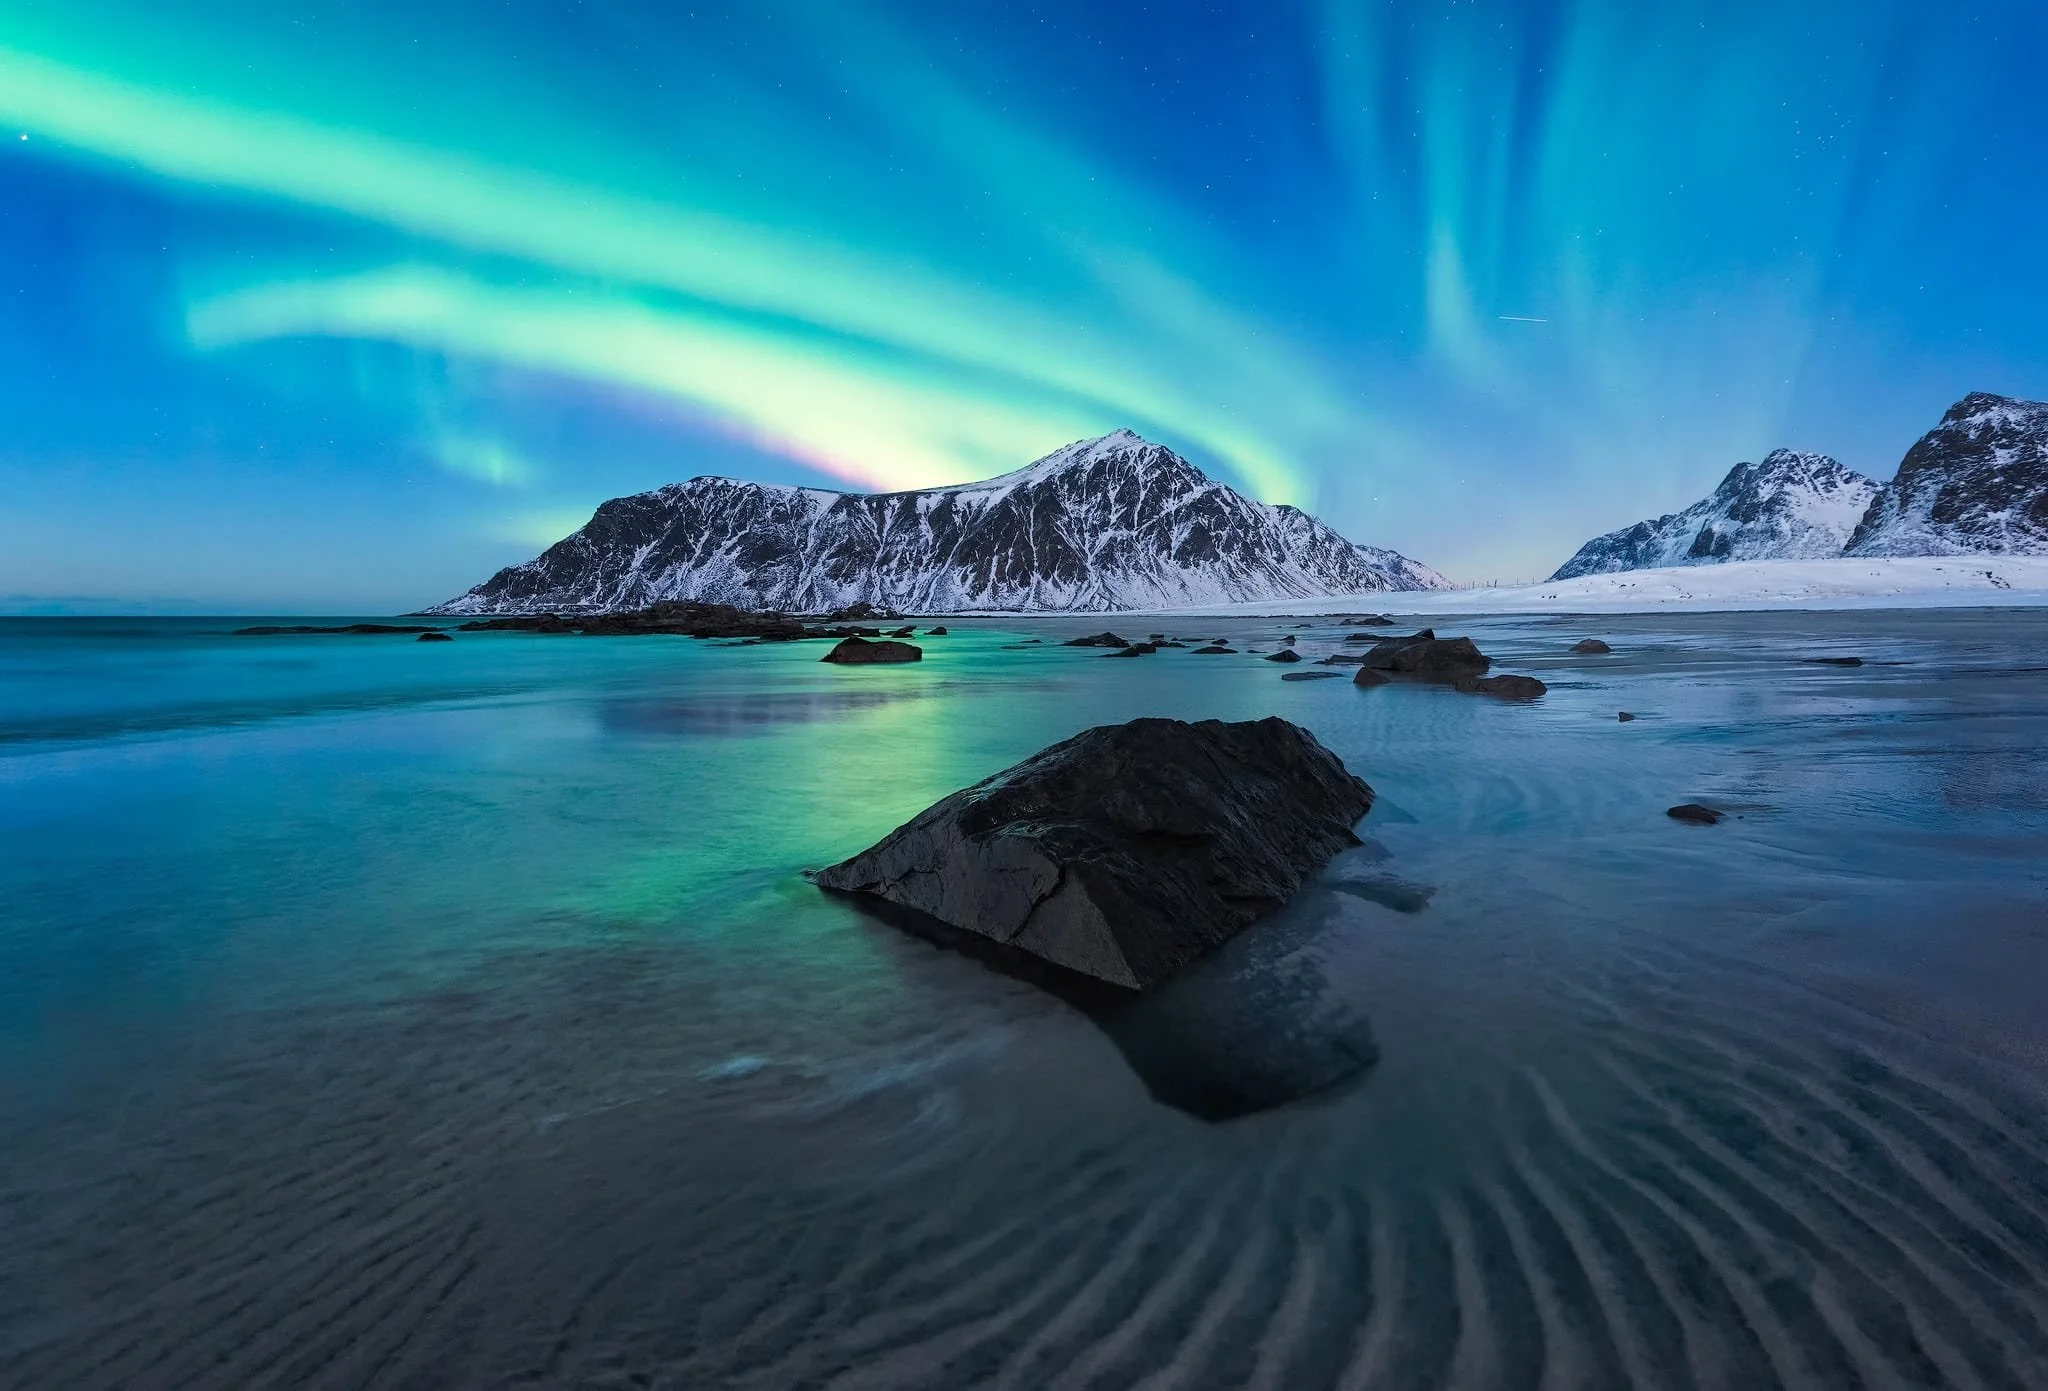
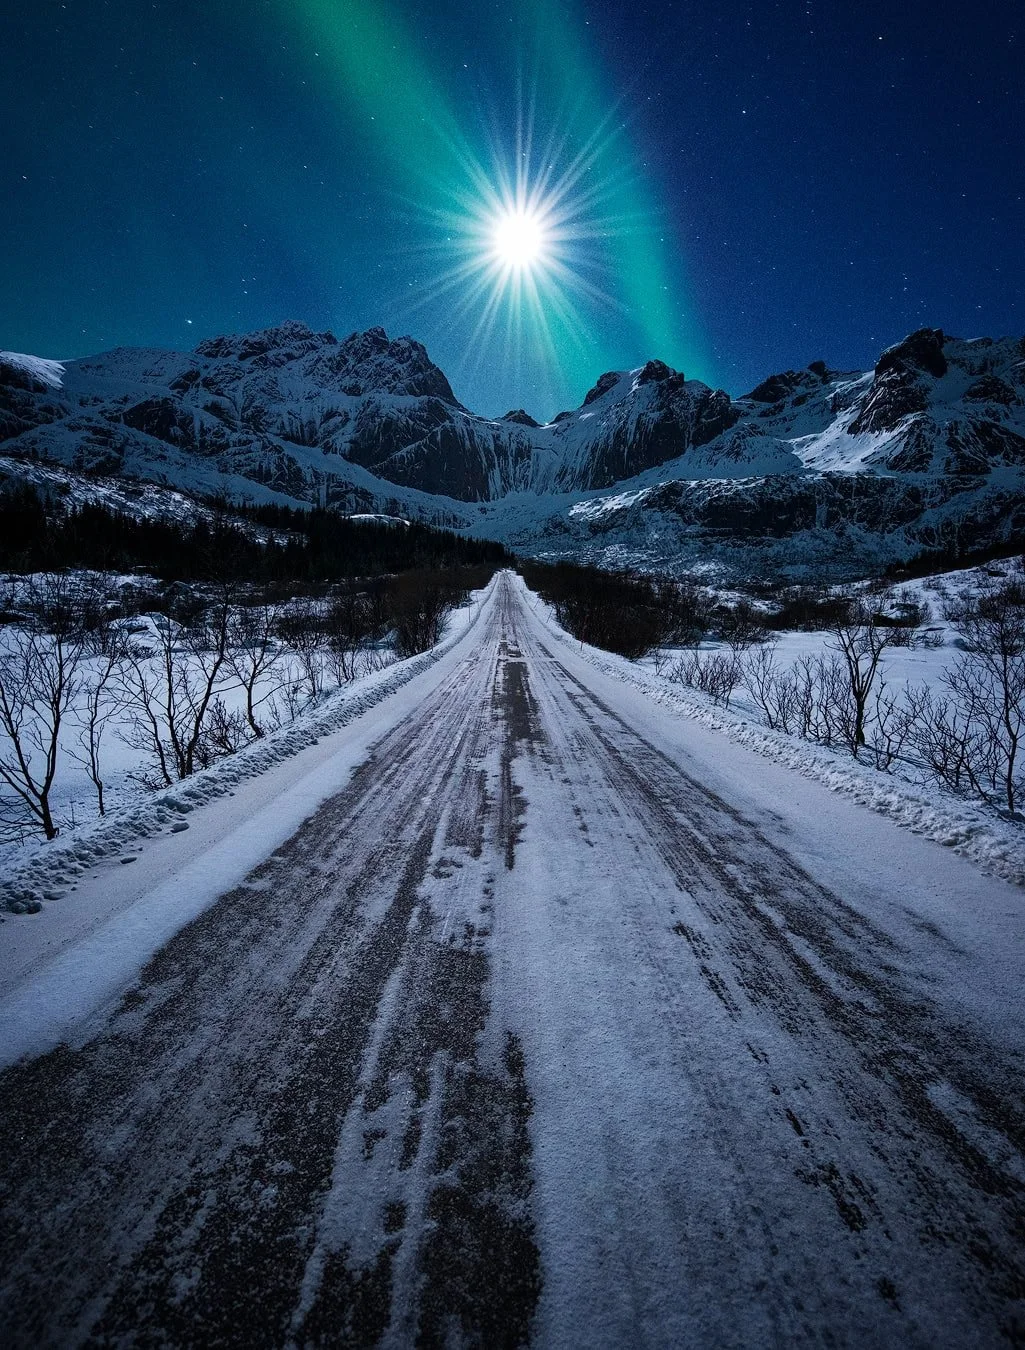
Faint aurora with a strong moon. Stop down and let the moon become a star: ISO 1000, f/5.6, 25 seconds gives you a moon burst over a lit landscape with soft aurora colour above. This image shot on the Nikon D810 + Nikkor 14-24 f/2.8 was used in the global lens catalog by Nikon.
7. The Moon Is Your Friend
Most aurora guides tell you to plan around the new moon for the darkest possible sky. I disagree, and I have for years.
My preference is a waxing or waning moon — real moonlight, just not the full disc. Around new moon the sky is dark, yes, but the landscape is a black void, and a landscape photograph without a landscape is only half an image. A partial moon paints the foreground: snow gets texture, water gets shine, mountains get shape. The aurora still reads clearly against the sky, and the whole frame comes alive.
Full moon is the other extreme — it can overpower faint displays and flatten the night. The sweet spot lives between the extremes. And if you can, extend your trip: more nights means you experience the same locations under different moon phases, and you learn firsthand how much moonlight gives — and when it starts to take.
8. How to Nail Focus in the Dark
Wide open apertures mean shallow depth of field, and autofocus systems give up quickly in the dark. My focusing ladder, from easiest to most involved:
Autofocus first, then switch to manual. Aim at any bright, distant light source — a star, the moon, a street light, a lit house across the fjord. Once focus locks, flip to manual so nothing shifts, and leave it.
Mark infinity during the day. Focus on a distant subject in daylight and put a small mark on the lens barrel. At night, you return to that mark in seconds.
The flashlight trick. No usable light in the scene? Place a headlamp or have a friend hold a light about 50 metres away and focus on that. Near or far, a controlled light source gives autofocus something to bite.
Focus stacking for compositions with a prominent close foreground: same settings, several frames, only the focus point walks through the scene. Use a torch to confirm the near focus — but be considerate, other photographers in the dark will not thank you for a light show.
9. White Balance: Shoot for Mood, Not Reality
Yes, we shoot RAW, and yes, white balance is technically free to change in post. Set it in the field anyway.
The reason is judgment. I want to see on the camera display whether the scene conveys the mood I am after — because mood is what I photograph. I care more about the emotion of a night under the aurora than about a documentary record of it. When the preview already looks close to my final vision, I make better decisions about composition, exposure and whether the frame is worth keeping.
My starting point is 3750 K, plus or minus 500. Cold, but not sterile. Push too warm and the image drowns in yellow while the aurora's greens turn messy and unappealing. Taste plays a role here — but if your night skies keep disappointing you on the back of the camera, try coming down to my range and watch the greens clean up.
10. From High ISO to Clean Files
The settings above will put you at ISO 3200–6400 on the regular, and that is fine — high-ISO aurora files are exactly the case where modern AI denoising changes the game. It is the single best use case I know for DxO PureRAW: run the raw file through it as the first step after import and the noise disappears while the aurora's structure stays intact.
Check out my DxO PureRAW 6 review
11. The Night That Taught Me to Stay Out
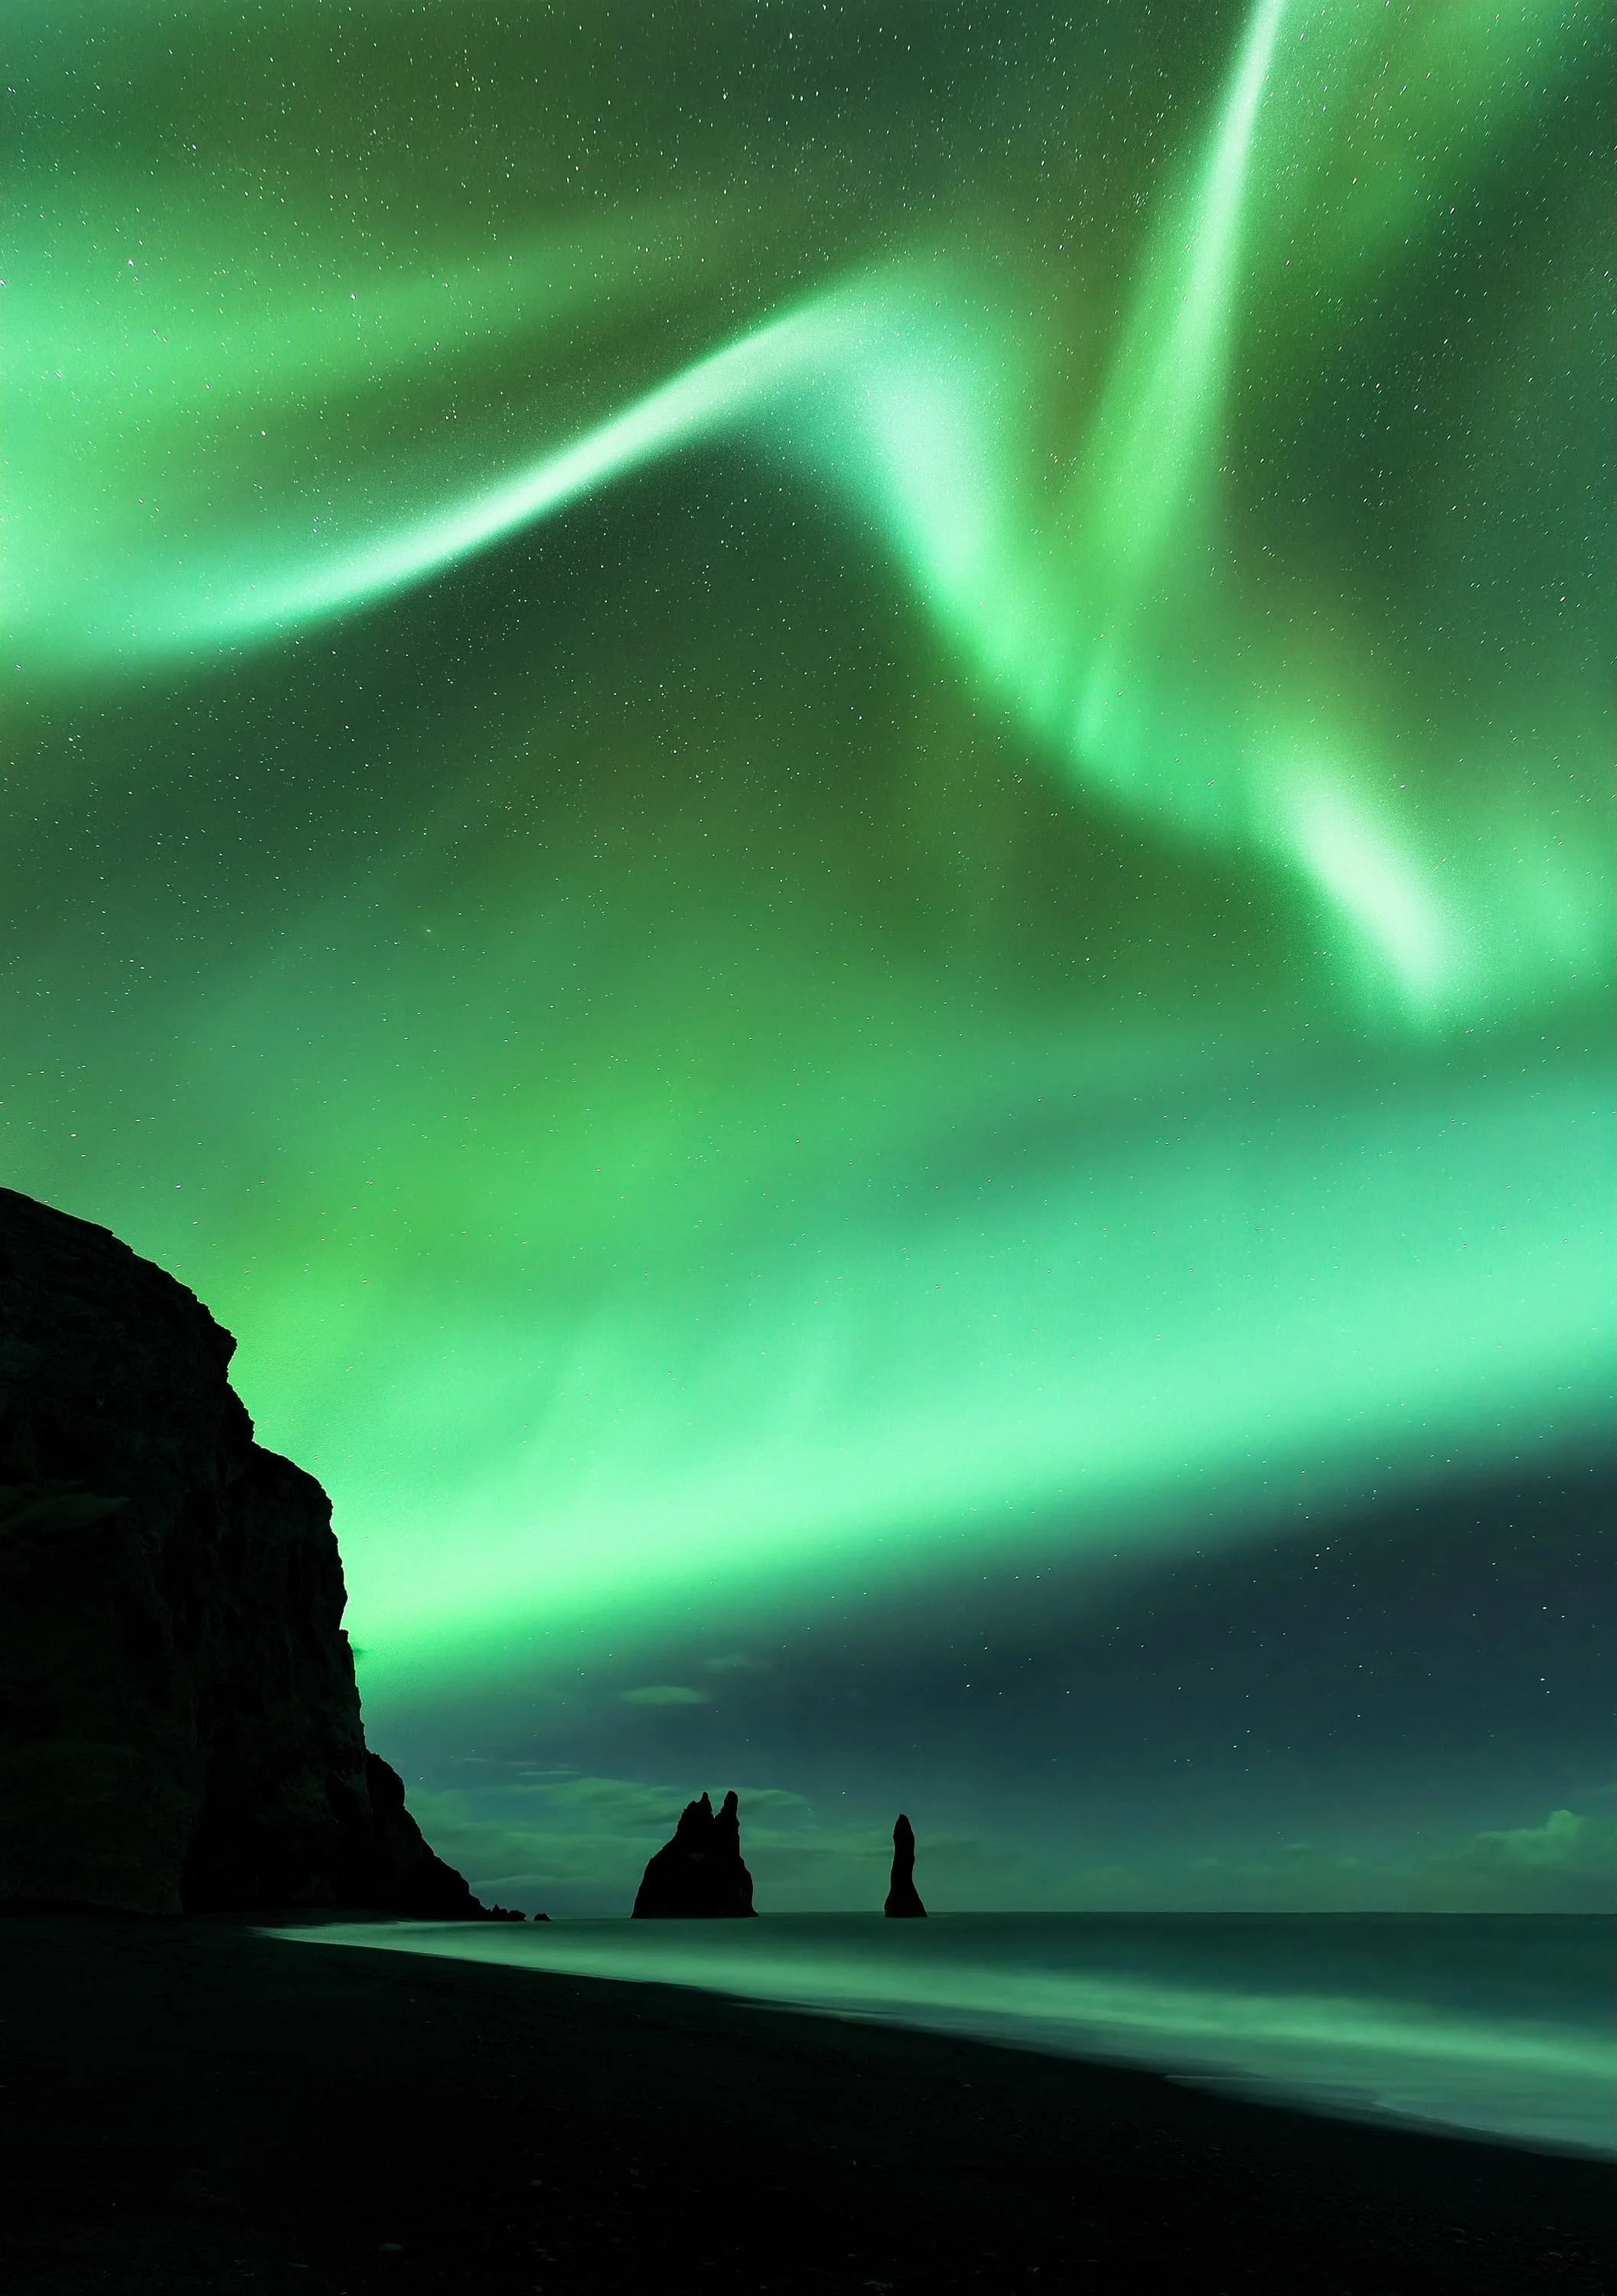
This image is now not possible anymore- this section of the beach is now deep under the water…
In 2015, on my honeymoon in Iceland, the forecast showed essentially zero chance of aurora. The weather was bad. Then our rental car broke down, and the rental company made us drive the failing car from Jökulsárlón all the way to the swap point ourselves. We ended up sleeping in the car.
In the middle of the night I stepped outside for a moment — and looked up into a sky going wild. I spent the next hours alone in the cold wind at Reynisfjara, shooting the aurora as a corona exploded above the Reynisdrangar sea stacks. No forecast promised that night. No plan produced it. I was simply there, awake, with a camera.
Those frames are among my favourite aurora photographs ever. And they have become something more: after an underwater landslide collapsed part of Reynisfjara, the spot where I stood that night is no longer accessible. The picture cannot be repeated by anyone, including me.
That is the real lesson of aurora photography. The apps, the settings, the moon phases — they stack the odds. But the photographs that matter go to the people who are still outside when everyone else has decided the night is over.
The aurora will test your patience before it rewards it. When it finally erupts, you want your decisions already made — which is why I run the same four compositional checks before every shutter press, aurora or daylight. They are a free guide: